I neighbor owns CLS roofing, and he told me that he normally eschews doing roofs in the neighborhood. Too much can go wrong and then he is getting bad-mouthed in his own area.
But he agreed to help me out because one of my other neighbors (may the fleas of a thousand camels infest his armpits) called the city to complain about the mess my yard was in after the great wind storm leveled the fence and transferred half the roof shingle to the ground. The city gave me about 3 or 4 weeks to complete everything.
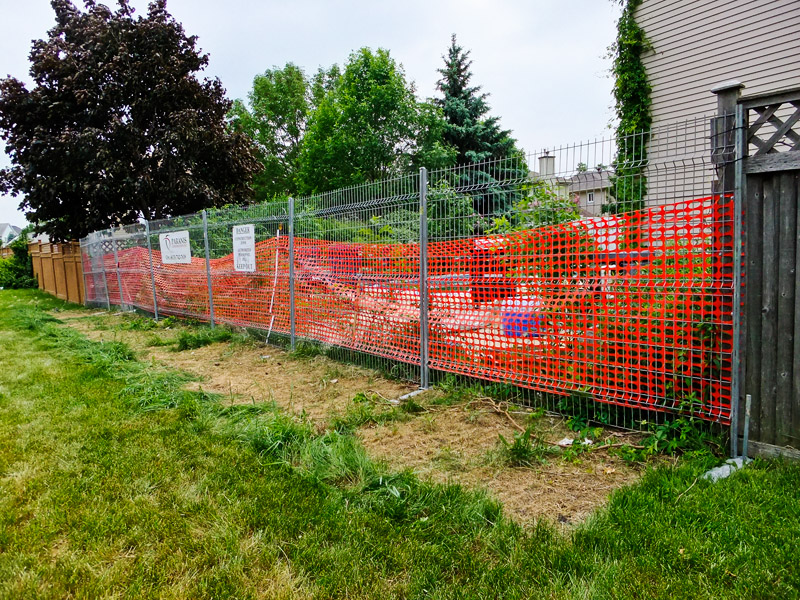
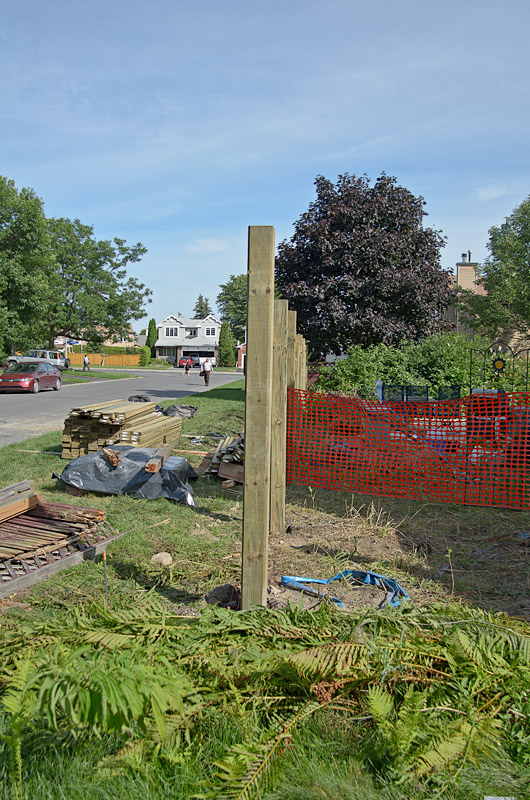
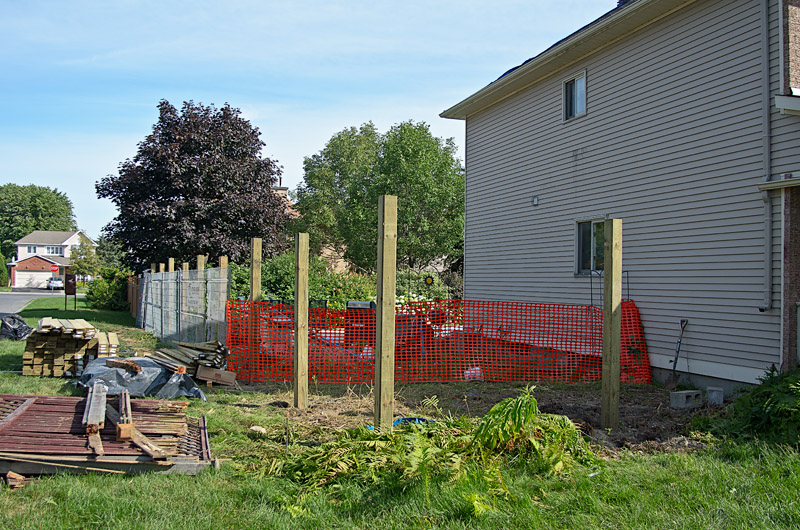
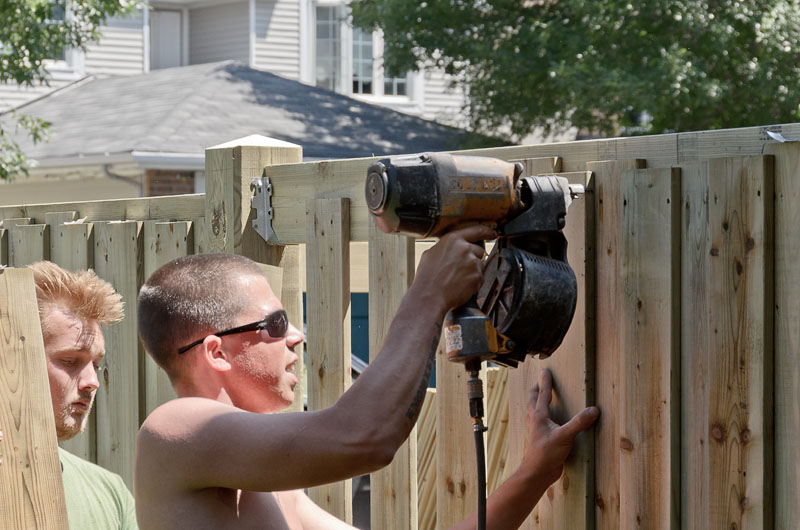
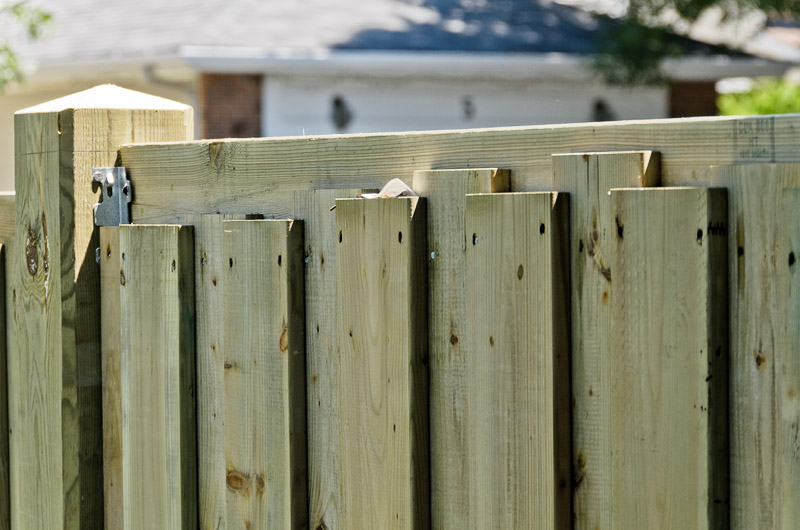
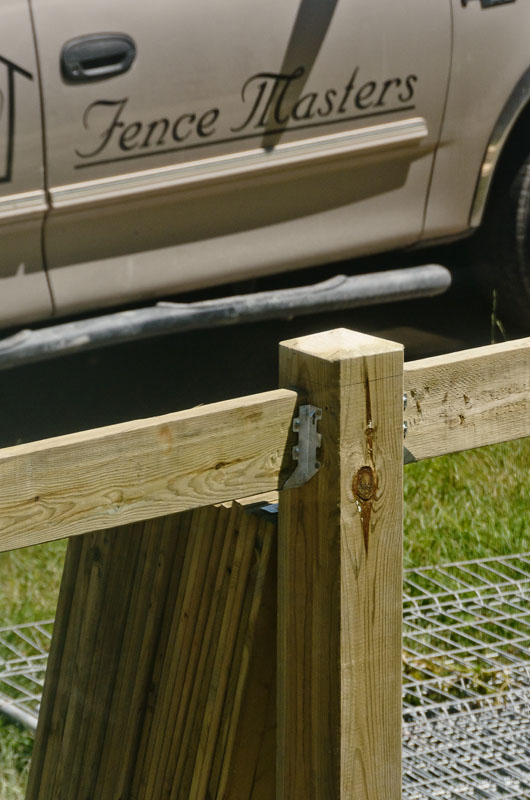
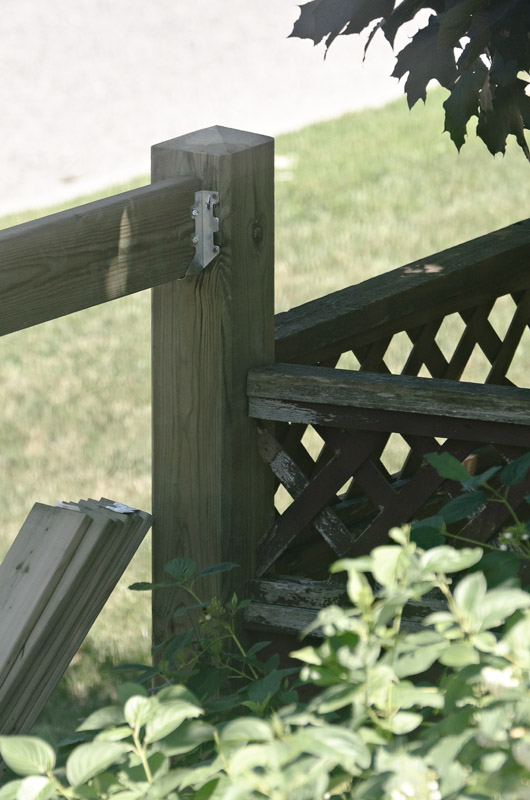
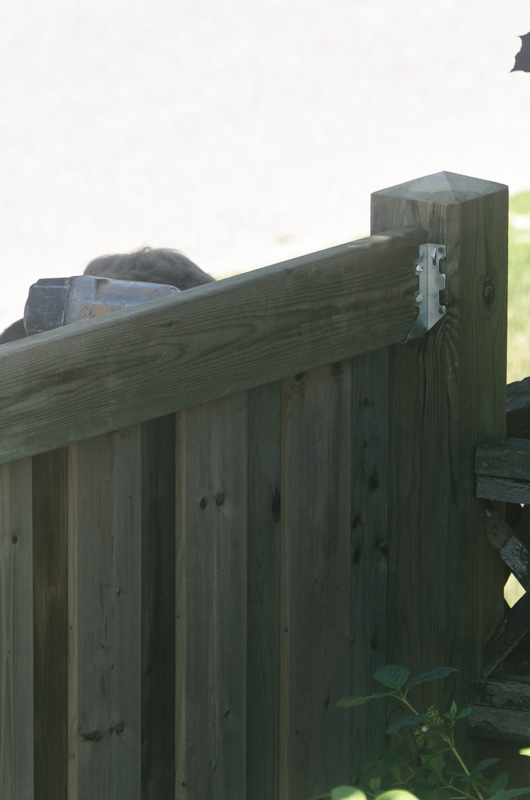
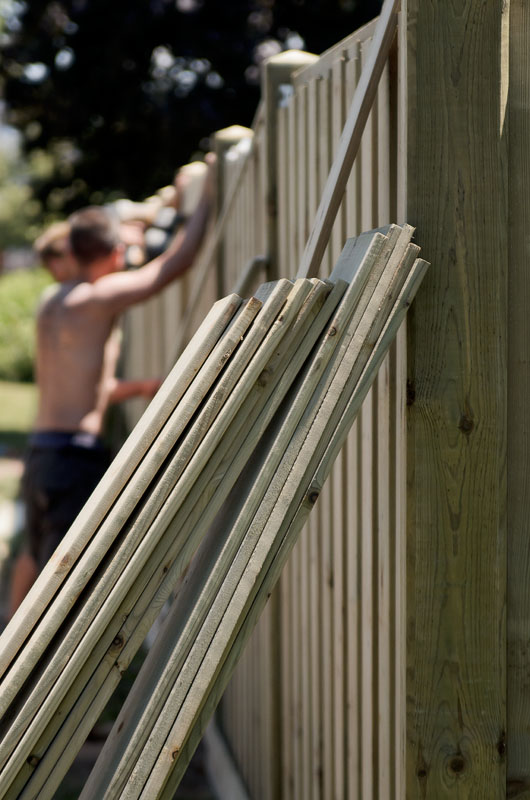
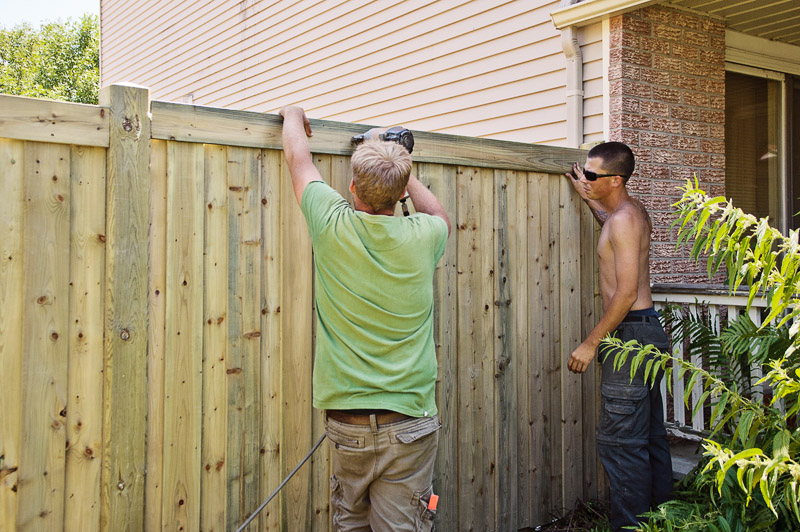
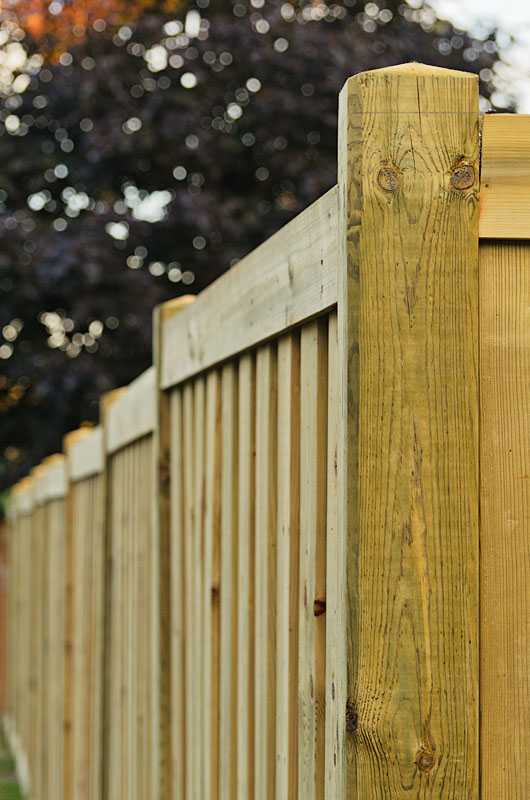
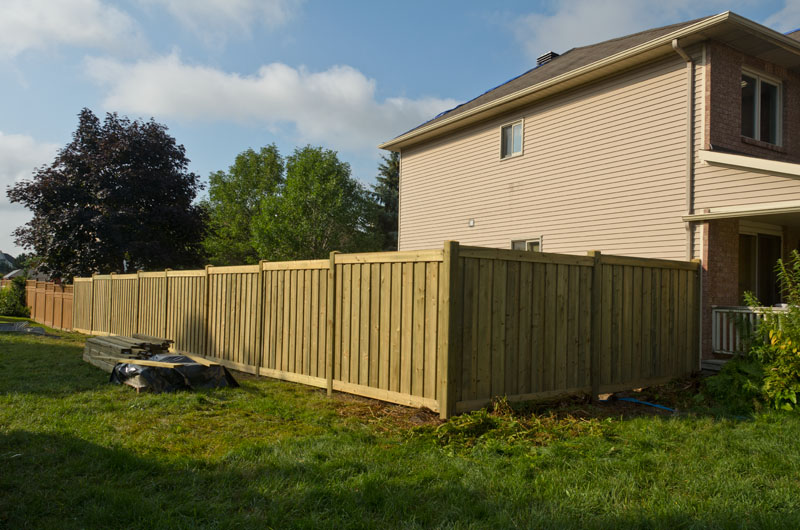
So the rush was on. My previous post documented the new fence, which I still marvel at whenever I walk by my yard. This post documents the roof, which is equally stunning in its new form.
The insurance company and the other roofing company were at odds for a long time over getting accurate measurements in order to suss out their quote and compare it with CLS’s quote. Thus, I did not get the go ahead until about 5 days before the deadline on 11 July. Chris (the owner of CLS) was a good sport and agreed to do the roof the next week.
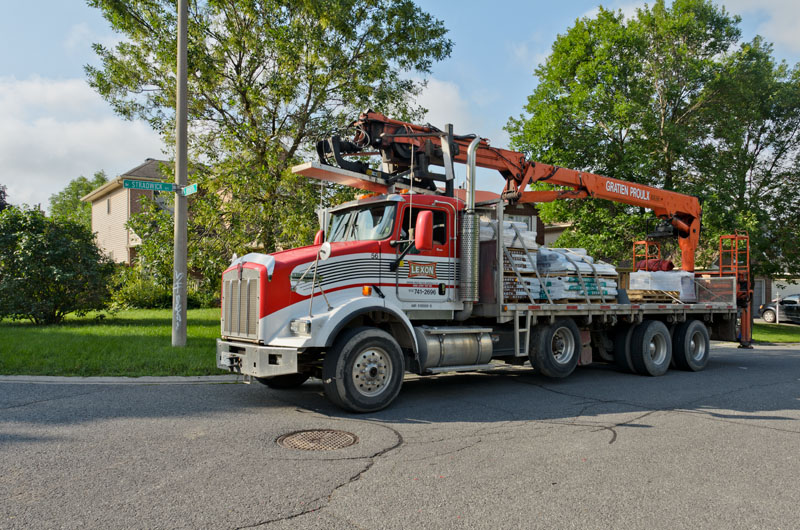
Thus, on the morning of 12 July, I woke up to a bin on the yard and a crane truck parked on the street with the operator asleep, waiting for the crew to arrive and help him position it up on the roof.
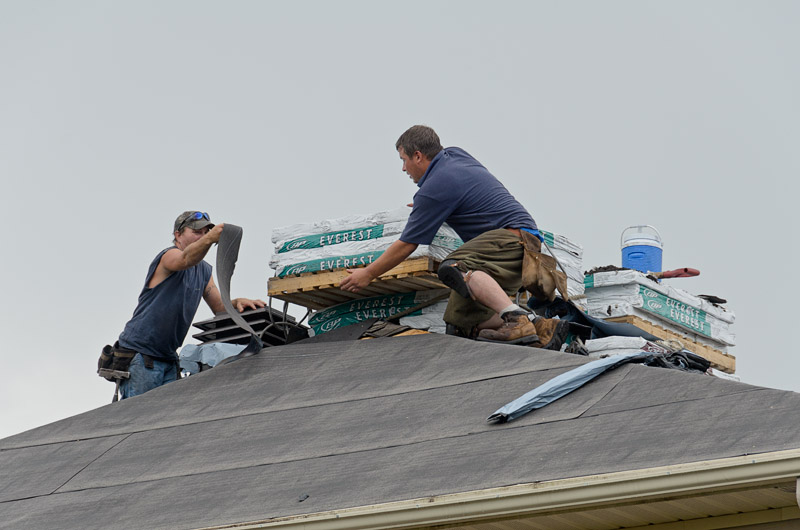
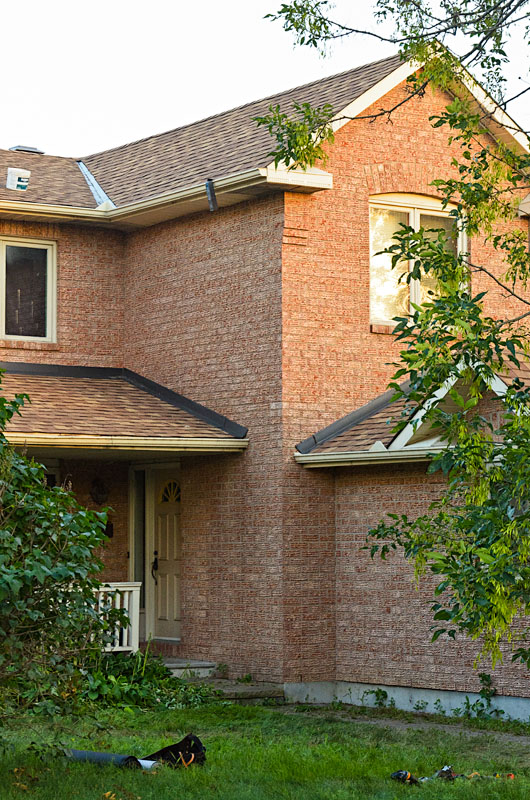
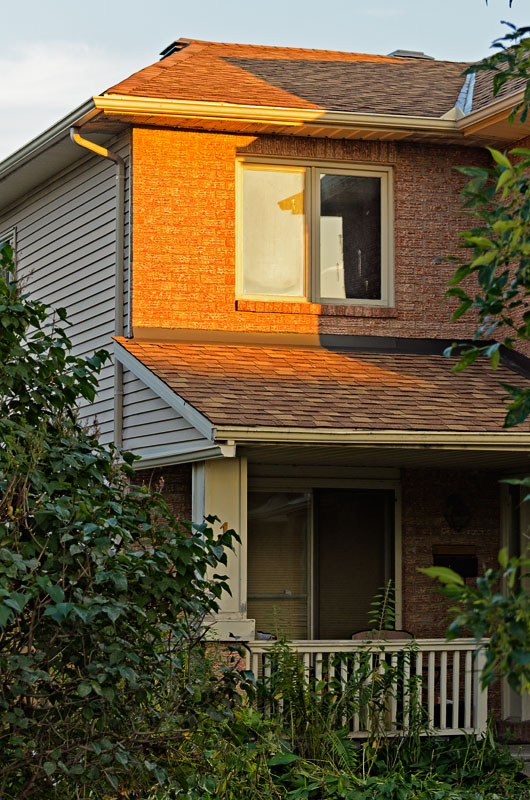
I had selected a 40-year architectural shingle by Everest called Lune de Miel (Honeymoon) in a gorgeous color called Sunset Cedar. This was the one color that appeared to match my brick, and I was happy that they had them in stock.

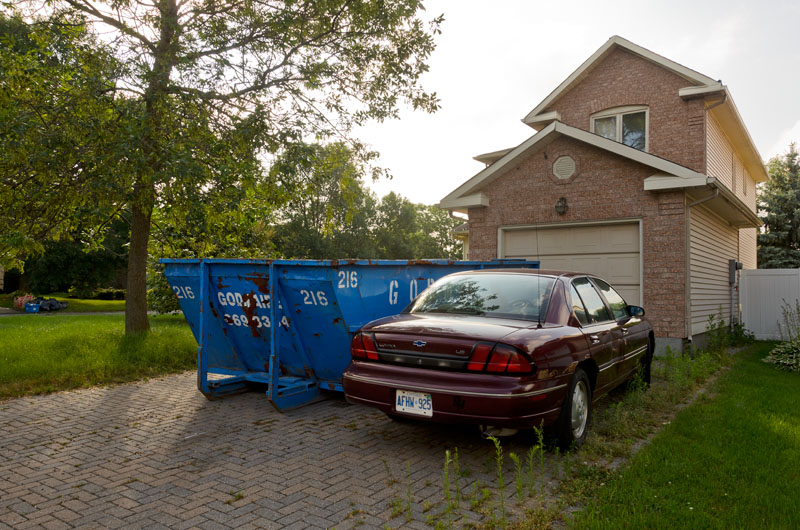
With 180kph wind resistance, I think I might be quite a bit better off with these. The bin was of moderate size. I had planned to move the HMS Lumina from its space, but the battery had gone completely flat, so they had to drop the bin beside it.
When I got home that evening, the shingles and other supplies were waiting up top for the next day. I mentioned this to Karen, as I thought it was peculiar that no work happened that day, but she pointed out that she had heard that the supplies had to settle over night so that they could not shift and hurt someone while working.

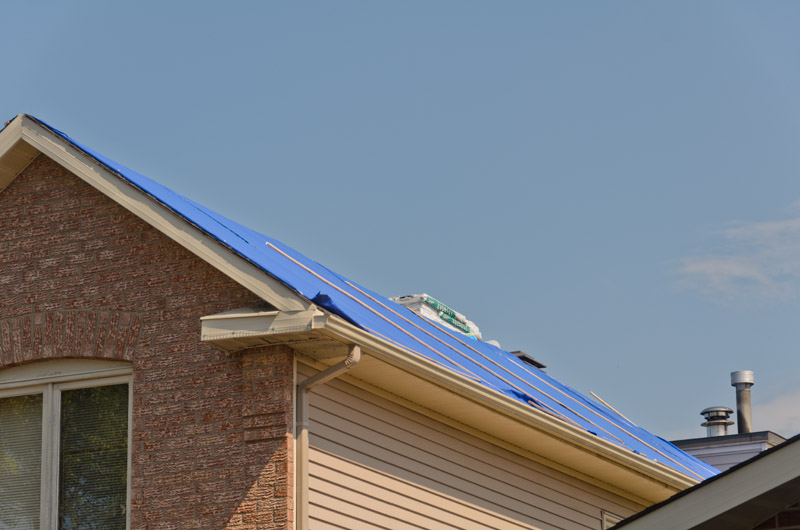
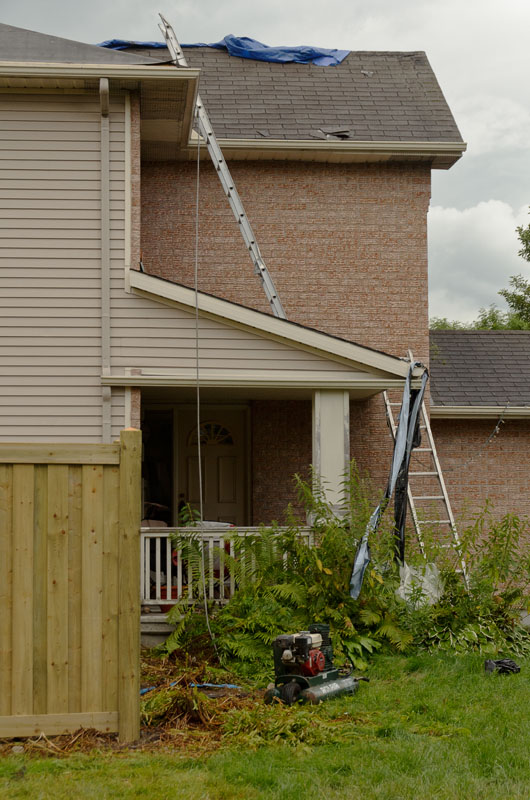
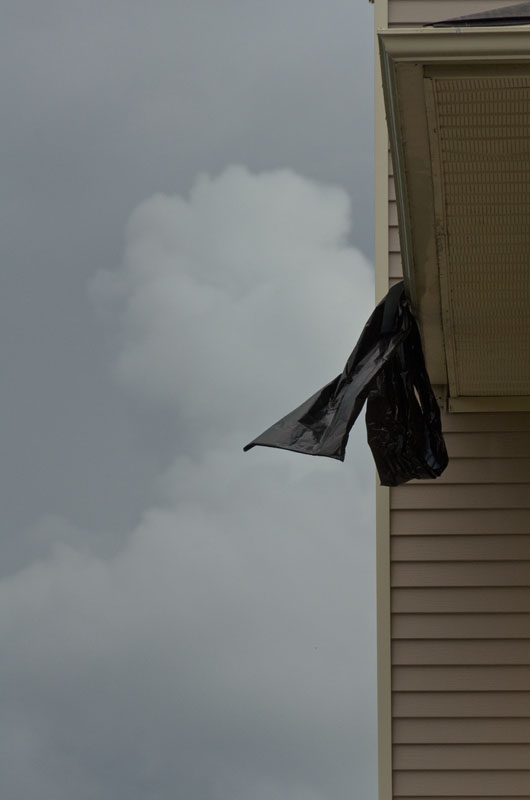
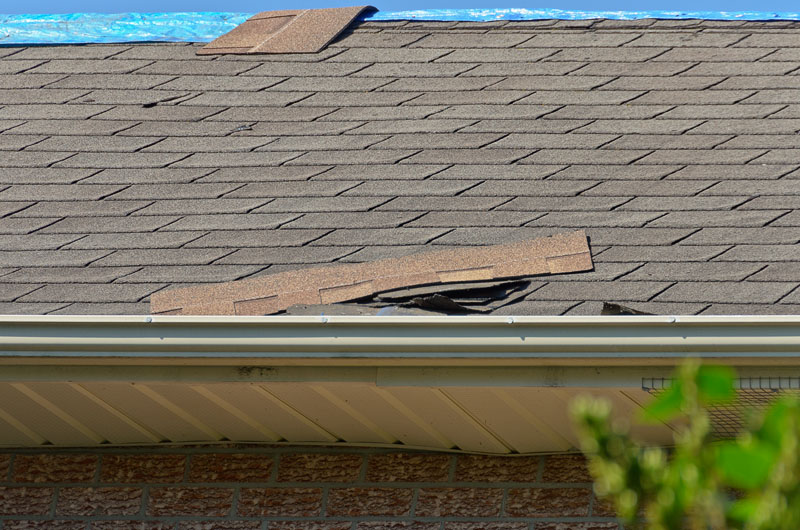
So, a word about what they were replacing. Well, the west and south faces had been tarped over since the great wind storm. So they needed complete replacement. The tarps did not really survive the stripping of the old shingles.
The other remarkably bad surface was the western slope of the garage.
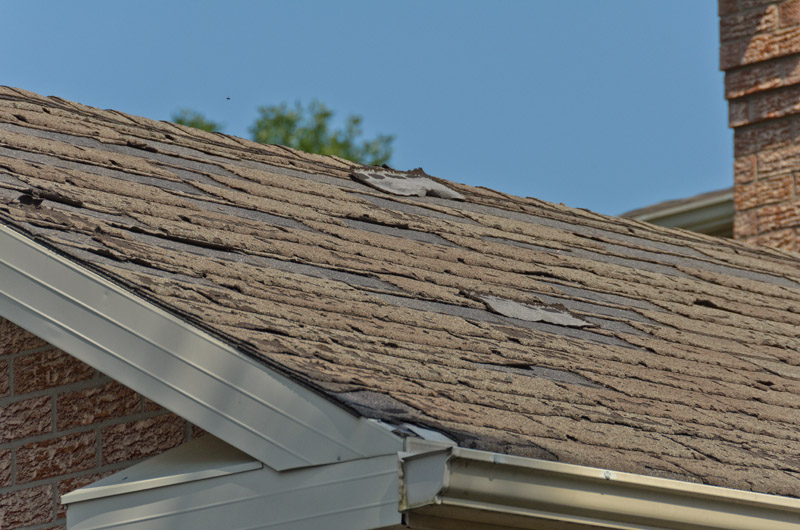
That’s likely what the western and southern slopes of the house looked like before the great wind storm.
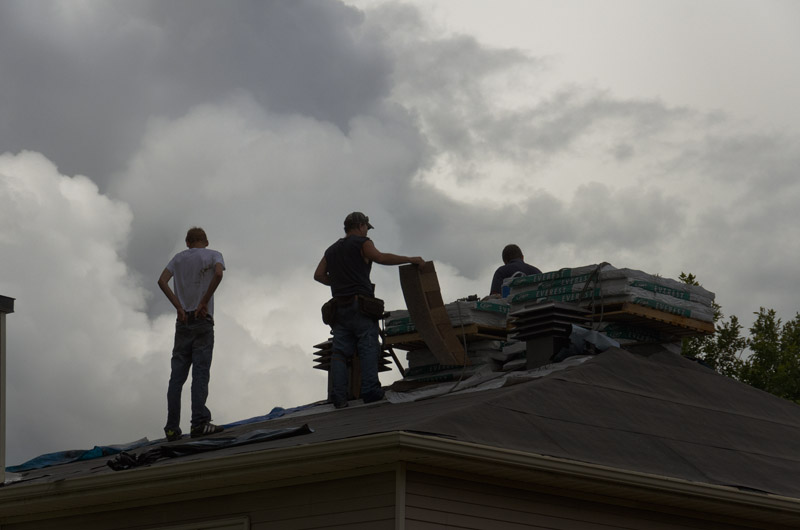
Once they were done stripping the eastern slope, they covered it in heavy felt paper.
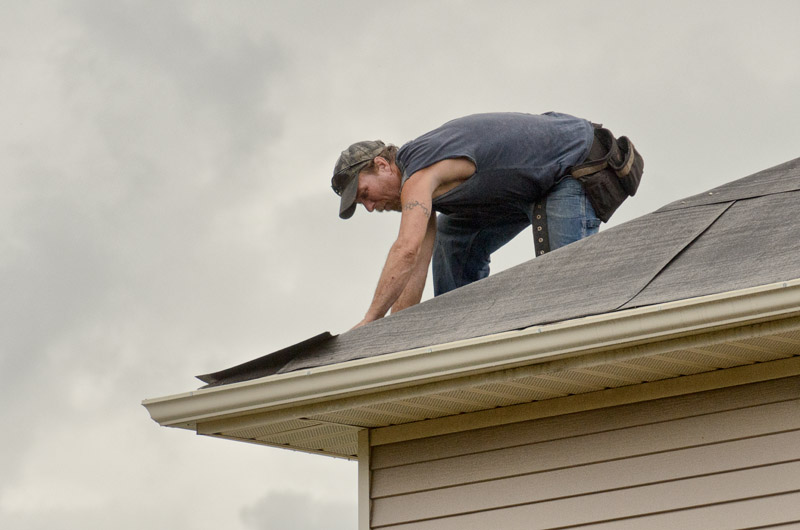
The weather was not great all day, and they had to cover and uncover the roof several times for rain. But they continued with the southern slope as well.
The inside eastern slope over Nick’s room and the garage have not been touched yet. They strip what they will work on that day, which makes perfect sense.
At some point, they were forced to stop working. We could hear thunder in the distance …
Day 3 dawns gorgeous.
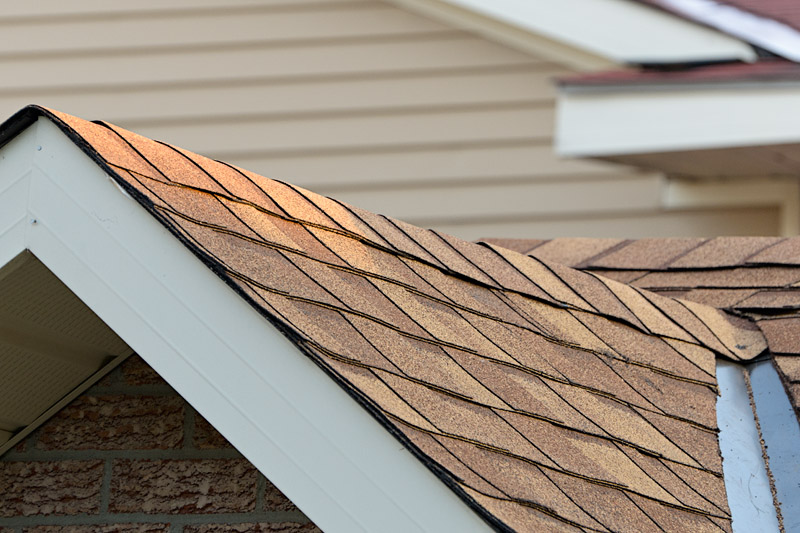
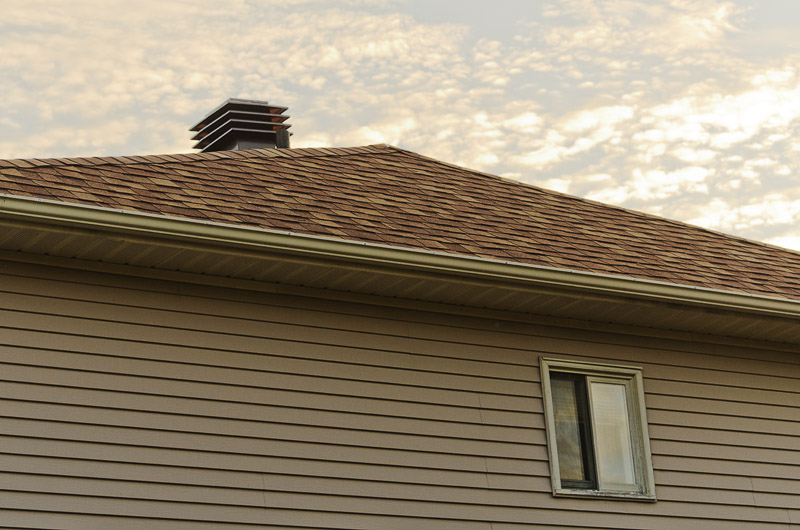
Here’s a good contrast between the old and new shingle colors. No contest …
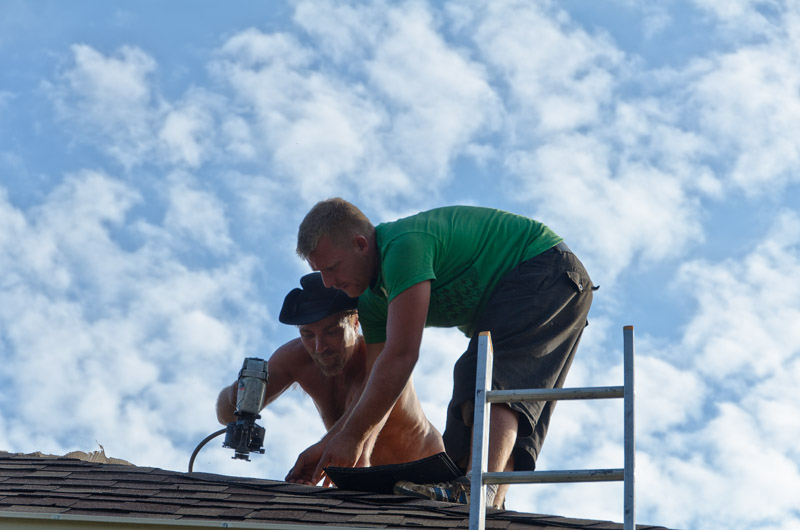
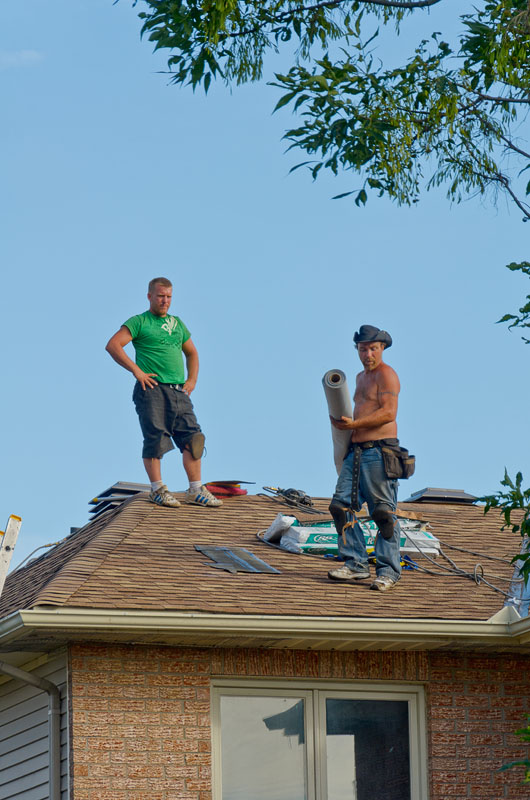
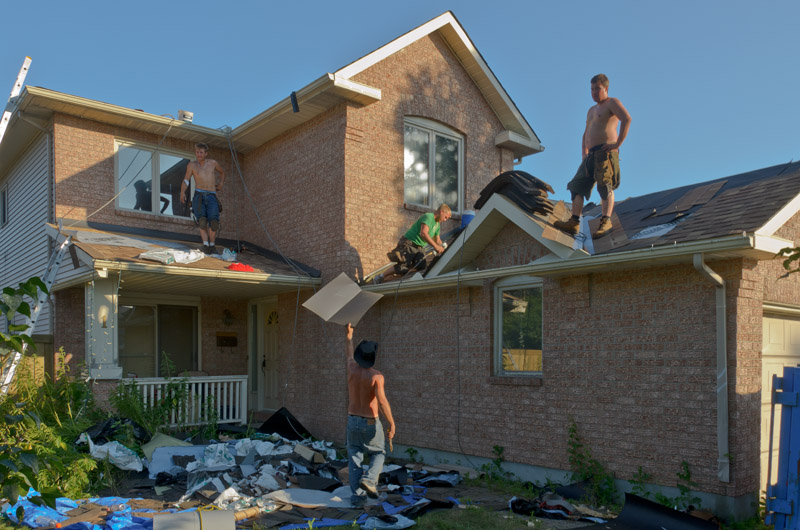
It takes two …
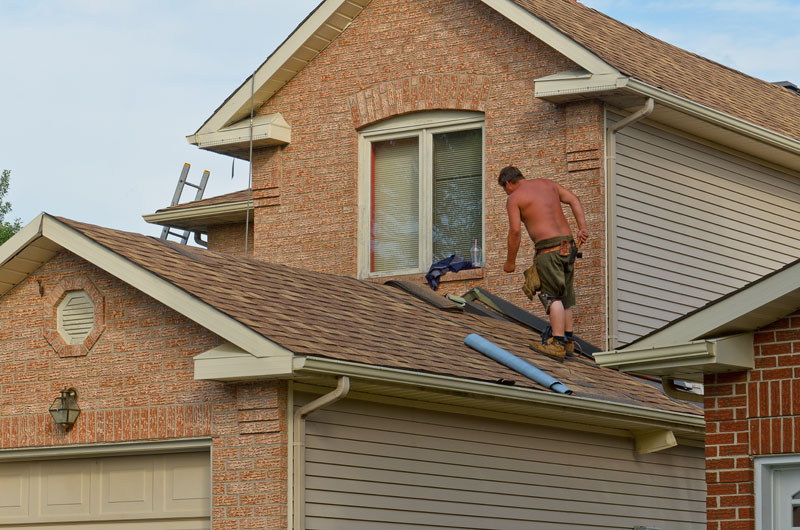
Coming along …

Several slopes done …
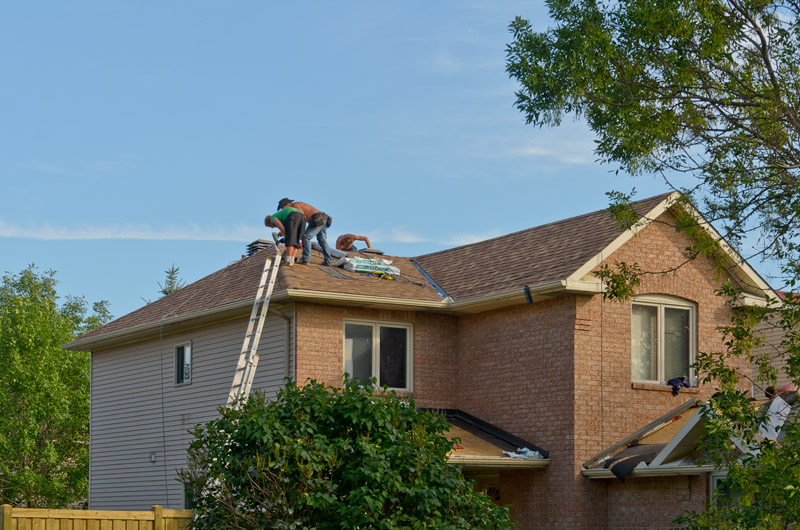
A few to go yet …
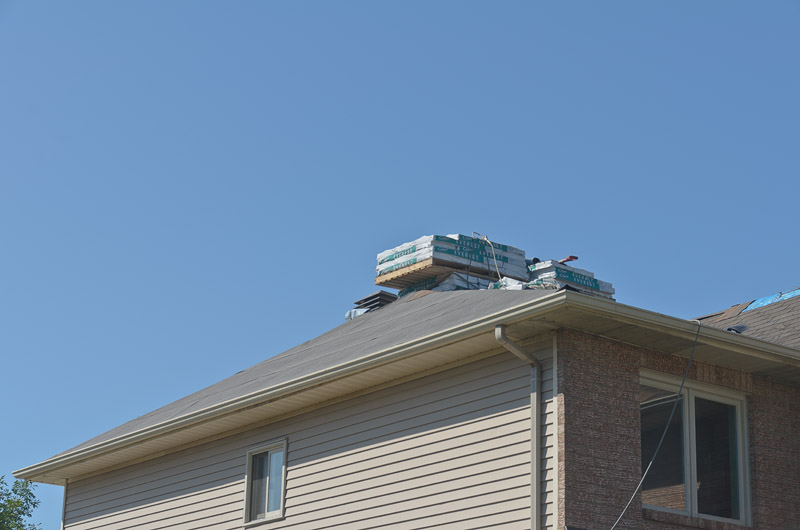
Moving supplies from slope to slope …
Western slopes coming along as well …
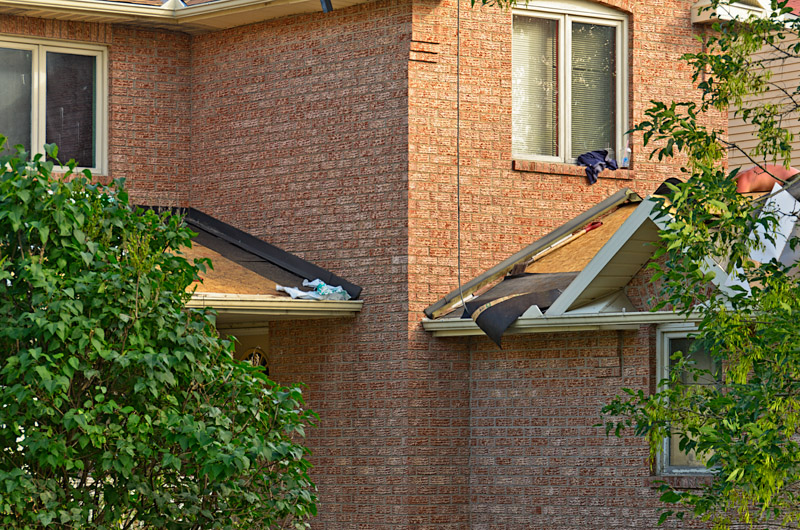
Still need the gable end fixed and the cap put on, but things are really looking good so far …
I gave permission to throw things off the roof onto a tarp laid over my garden. This increases efficiency, avoiding the waste of time for them to run around moving garbage all the time.
Nearly done …
A few details left for Day 4 … finish the cap on the dormer on the garage (they ran out of cap shingles when they reached that last peak.) Also, a little cleanup of the gutters and some final calking of the wall to roof flashings …
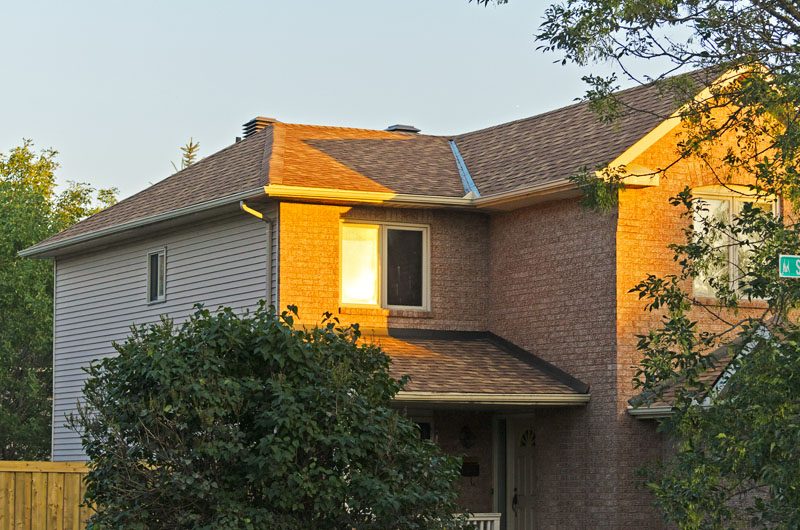
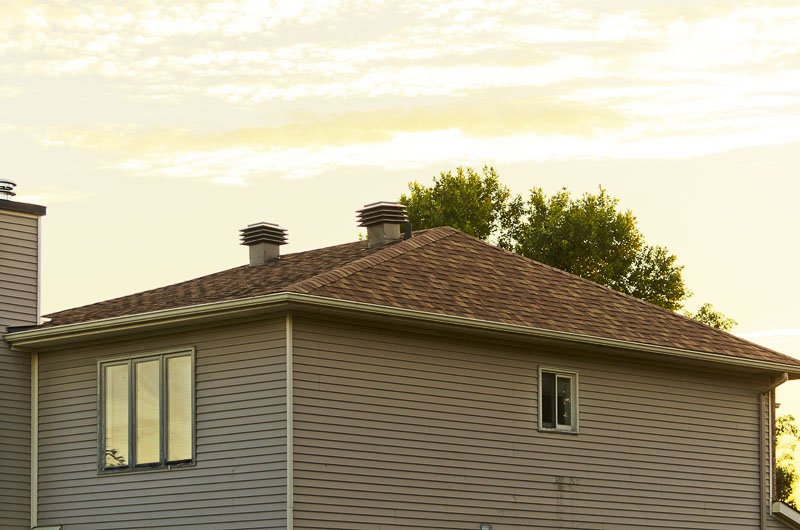
And it’s all done …
Another beautiful update for the house. Two for two so far … not too shabby.

One detail that they could not address is the soffit damage from a second raccoon attack. The raccoon had broken through the roof from above by ripping off shingles and digging through the fiber board. Of course, it then ripped apart my garage ceiling and these soffits, which were badly dented. CLS replaced the wood that had bee destroyed and shingled over it, so I asked them to bend down a soffit to leave egress in case a raccoon was trapped in the garage. That prevents them from ripping the whole thing apart again to get out.
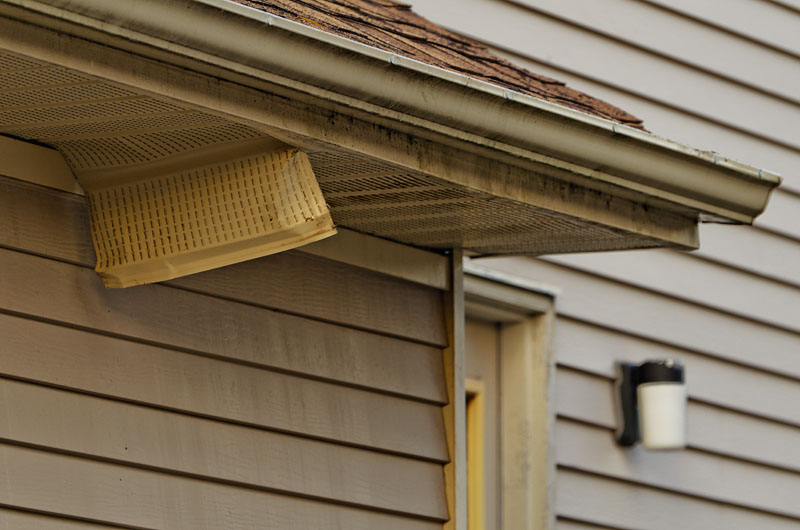
A few days later, Humane Wildlife Control came by and assessed the damage the raccoon had done. He took one look at the destruction in my garage and said “one thing is certain, you don’t have a raccoon any more” … I asked why and he told me that the raccoon had ripped so much of the ceiling down that he no longer had a secure location, so he would not be back.
He then went and fixed up the soffits and deodorized the area, which prevents other animals from being attracted to the spot and then seeking to gain entry.
The eastern and southern slopes are equally beautiful …
A big thanks to Chris from CLS Roofing and to his excellent crew!
To see all the images, have a look at my album.