Monday, July 4, 2011

D7000 and Sigma 105mm 2.8 Macro in very low light …

So yet another garden update. Why? Because I’m puttering around the house this weekend and I am still familiarizing myself with how each lens shoots on the D7000. Remember that its rather high resolution pushes lenses harder than my previous cameras.

I also had the Canon 500D achromat attached to the Sigma for some shots. But the higher magnification in the fairly low late-evening light was not working out. Shutter speeds were too low at already-high ISO of 800.

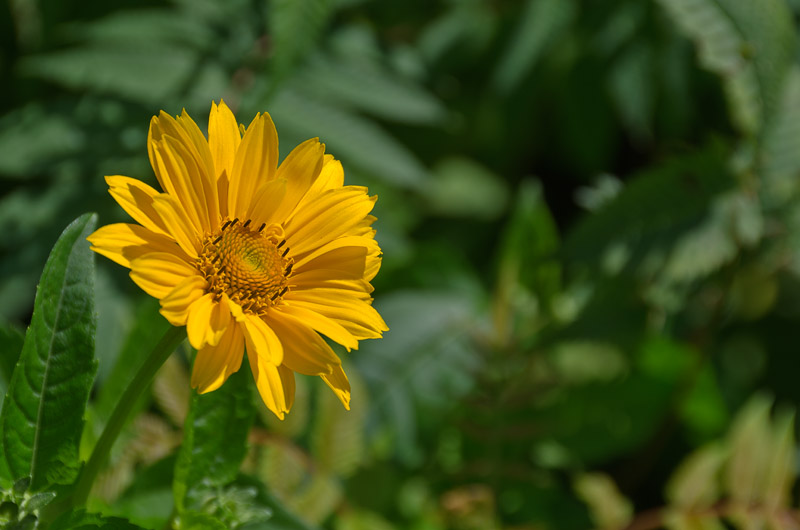
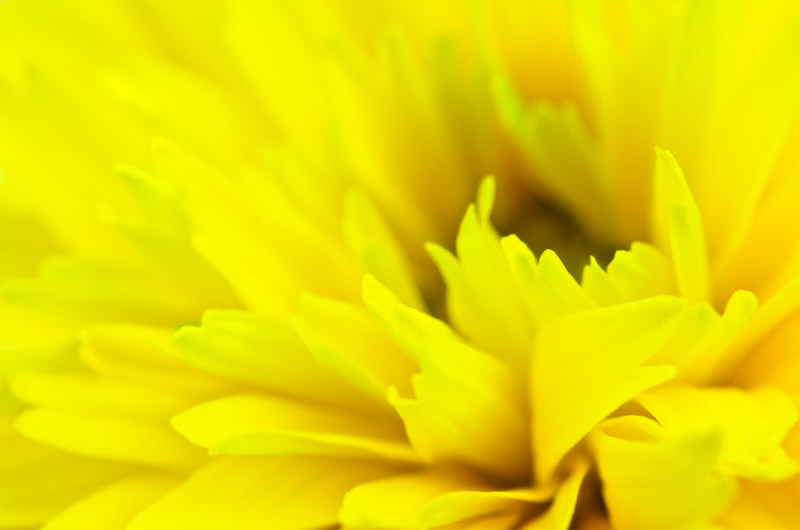
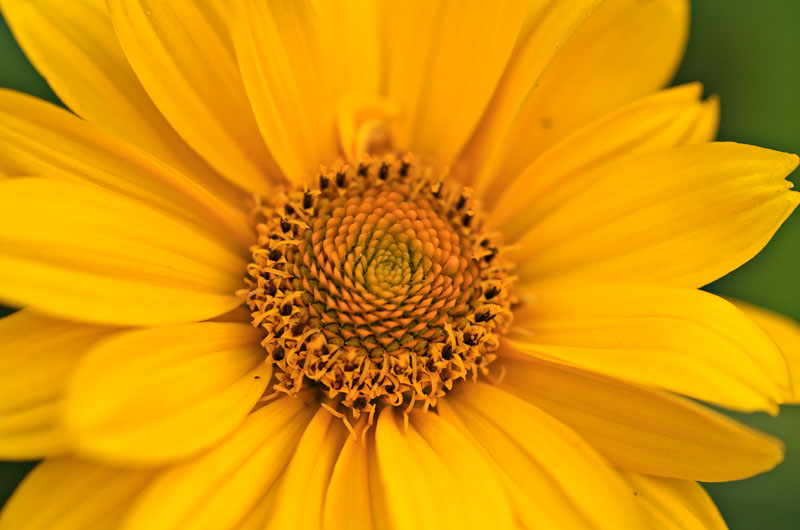
Here’s my first image, shot very close. This is the daisy situated at the western end of my yard, near the deep end of the pool. The petals are not razor sharp because of slight subject movement, but then it’s not that kind of image anyway …
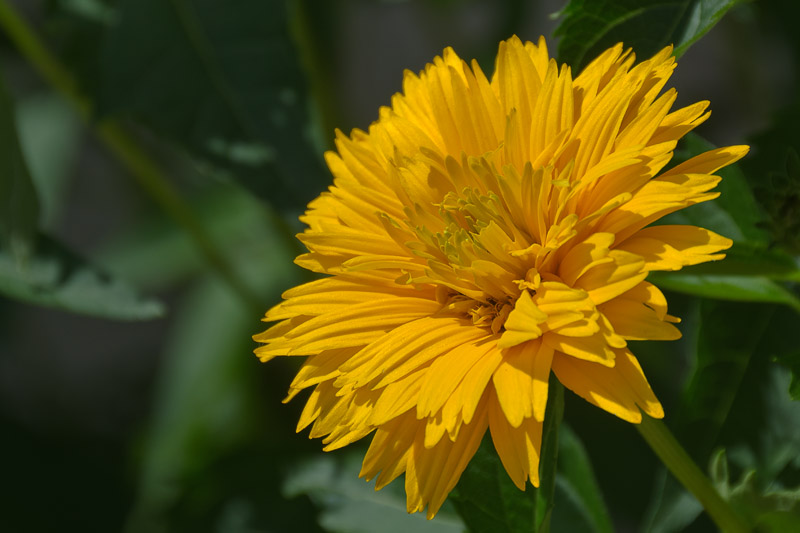
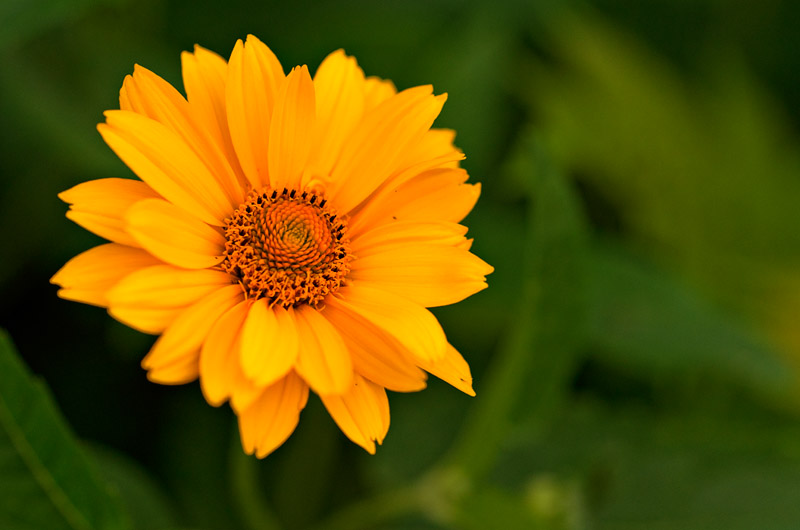
Backing away a bit, I get a reasonably sharp image of the whole flower, which you can see is already nearing the end of its life around the edges of many petals.
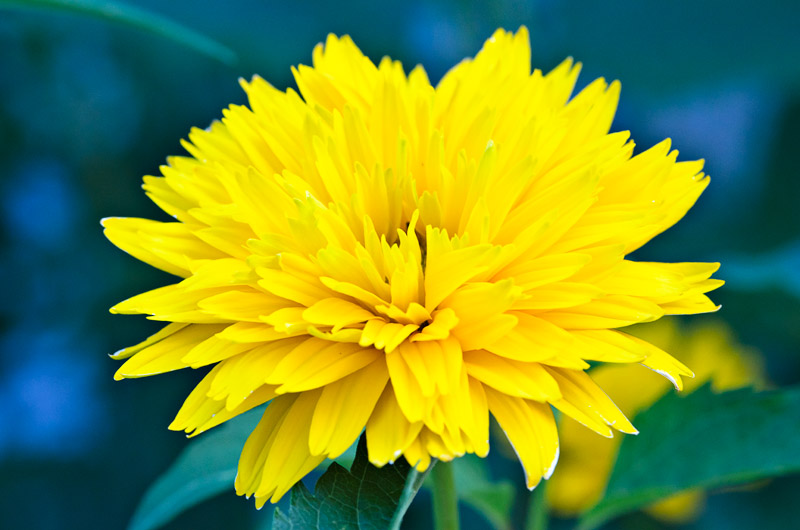
You can also see the strangely blue background. This is caused by the auto white balance’s difficulty in handling the very blue light of late evening. It also turns the orange flowers yellow, an effect I am not displeased with. Later, I switch my processing to shade white balance and the difference is remarkable.

Here’s a shot of another flower with a warmed up background. The stamens in the middle are sharp, but to get the whole thing sharp I would need to stop down more. Can’t do that hand held.
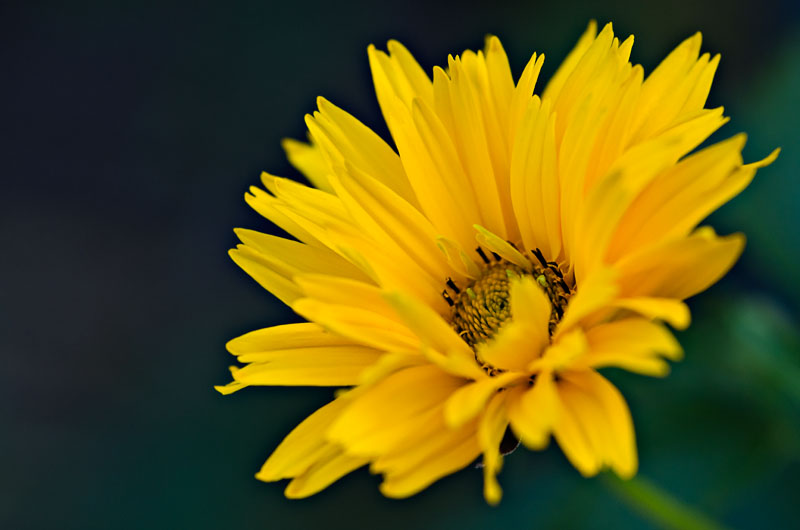
This is, by the way, a classic composition for flowers. You would do yourself a favor by getting used to getting closer and adding a dynamic angle to your images. Much better than the look of images shot from above with a flower in the center (although such compositions are sometimes useful.)

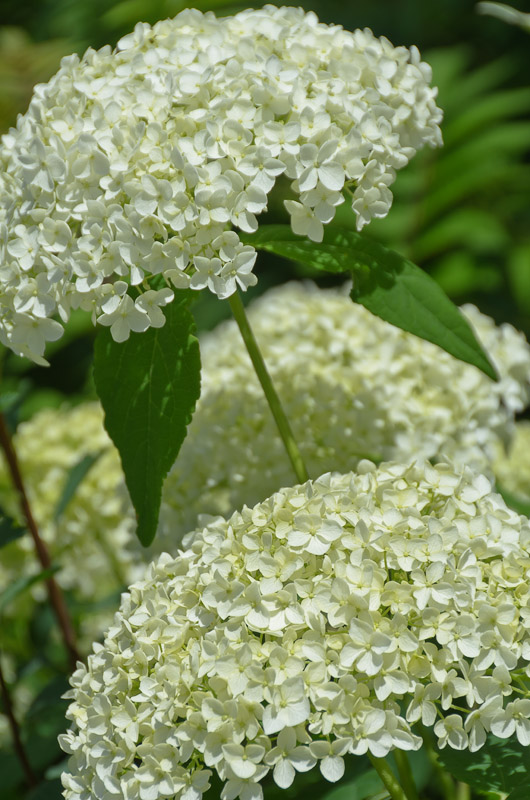
Moving around the pool to the south side, the Annabelle Hydrangeas continue to bloom like mad. For those who explore EXIF when they look at images, you will note that the first bunch of images in this set are shot at –1EV … that’s a brain fart from the settings I used for the fireworks the other night.

Lesson learned (again) … check your settings before each shoot.
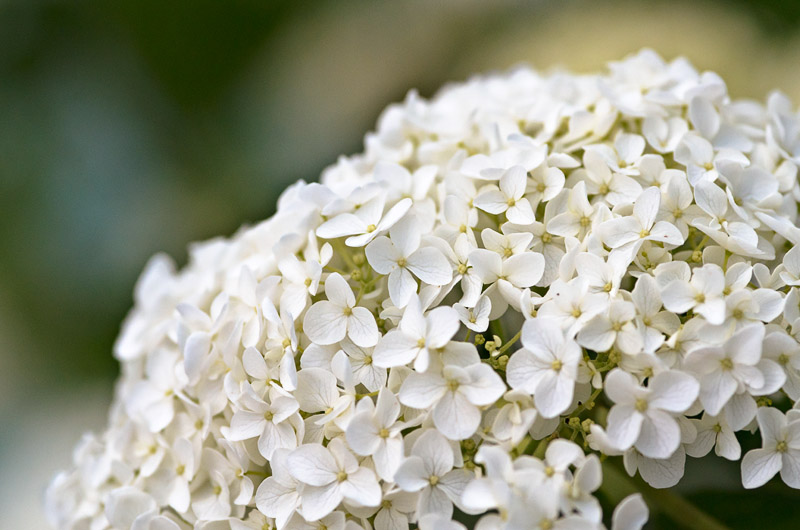
This lens has no problem picking up the fine little veins in these flowerlets … even at f/3.5 which is only half a stop down from wide open.

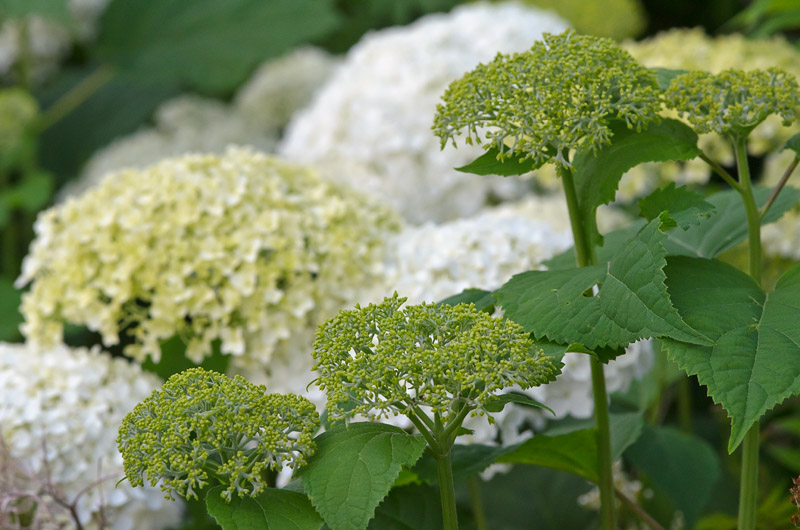
Of course, I always like to capture the Hydrangea’s display of multiple flowers in different stages of the life cycle …
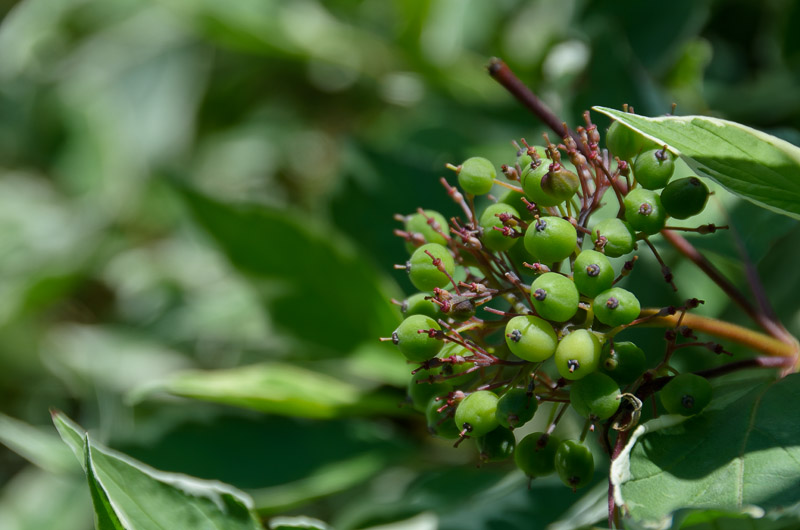
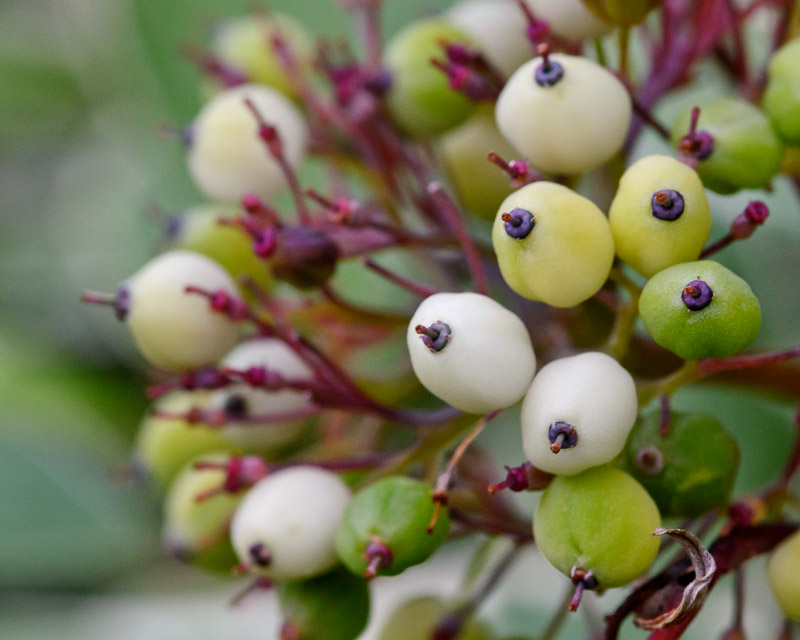
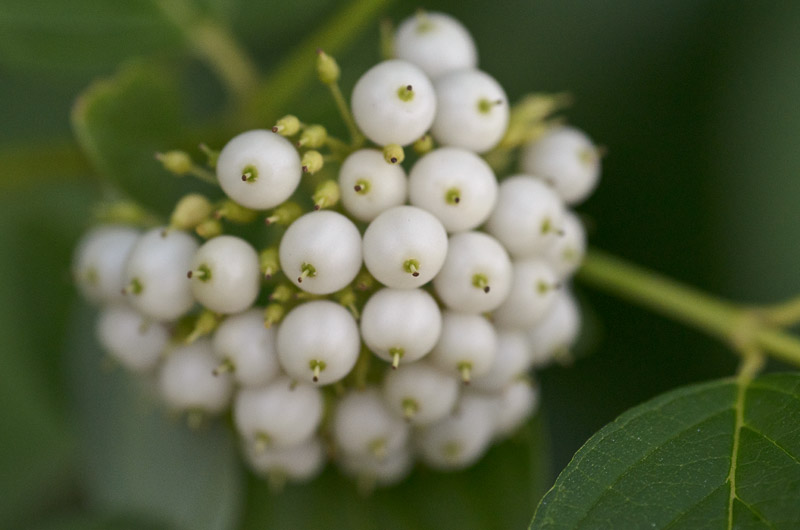
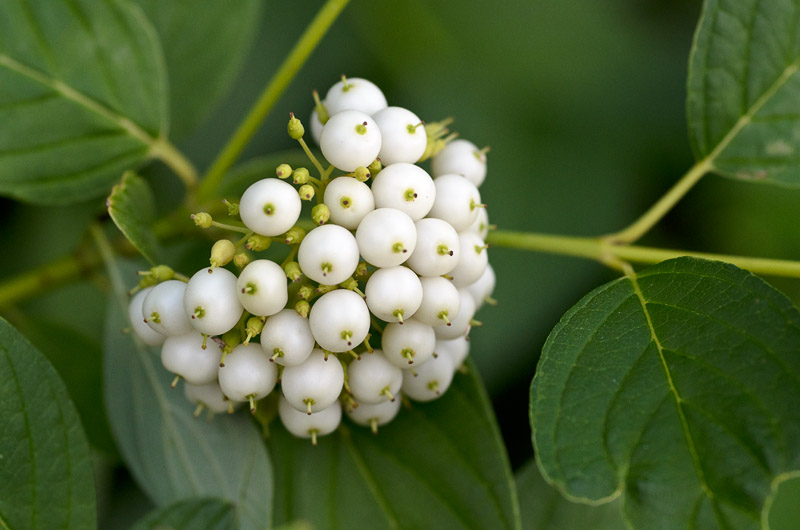
I also enjoy trying to capture the tiny details on the berries that the Silverleaf Dogwood sports. Here, I got rather good detail for 800 ISO …
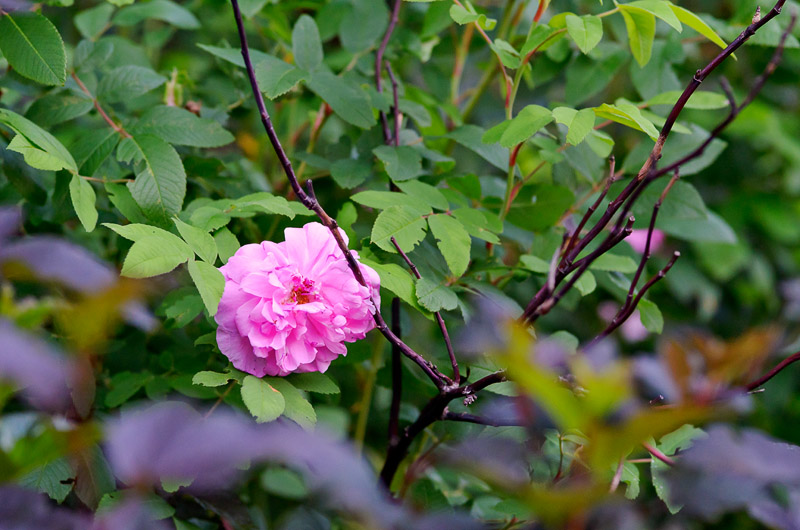
My Hansa native rose bush is nearing its zenith, and as I turned I saw one rather fresh flower in behind the Purple Ninebark’s leaves.
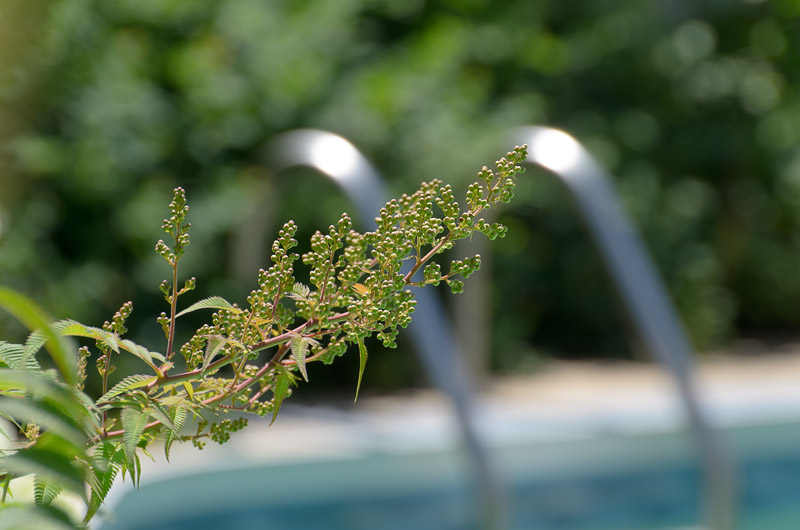
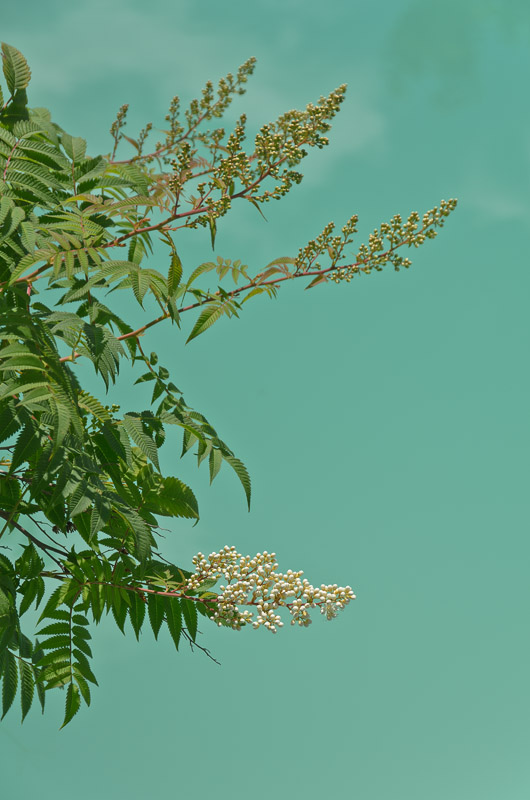
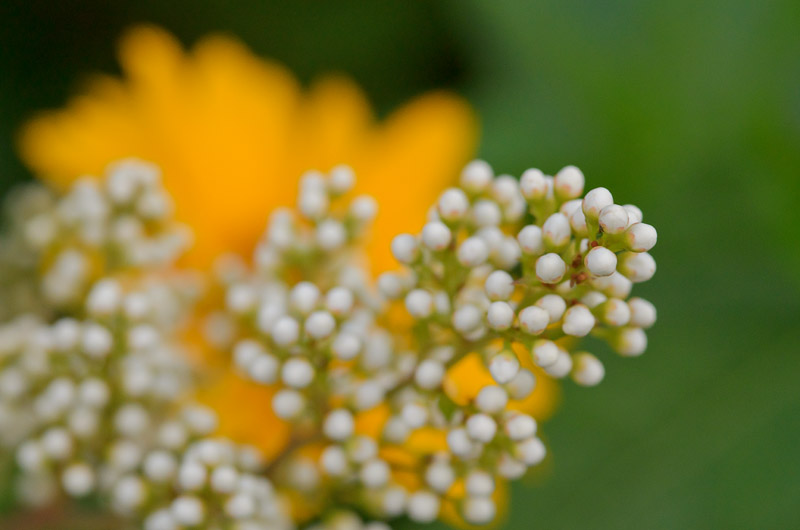
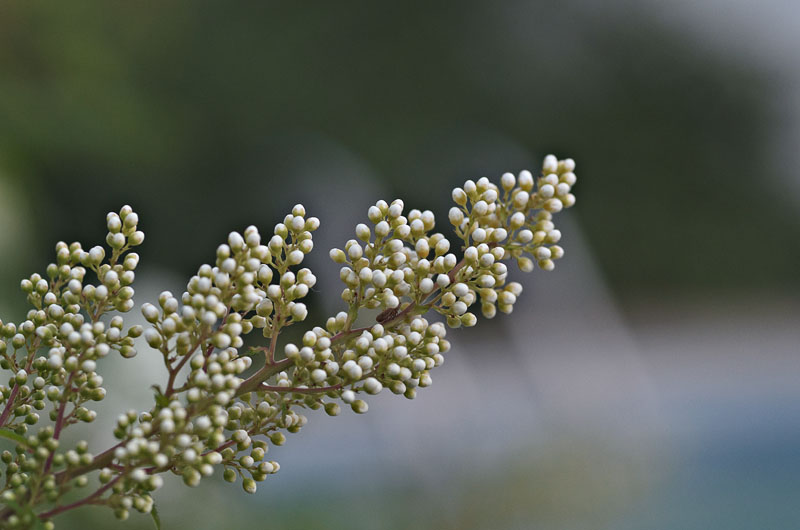
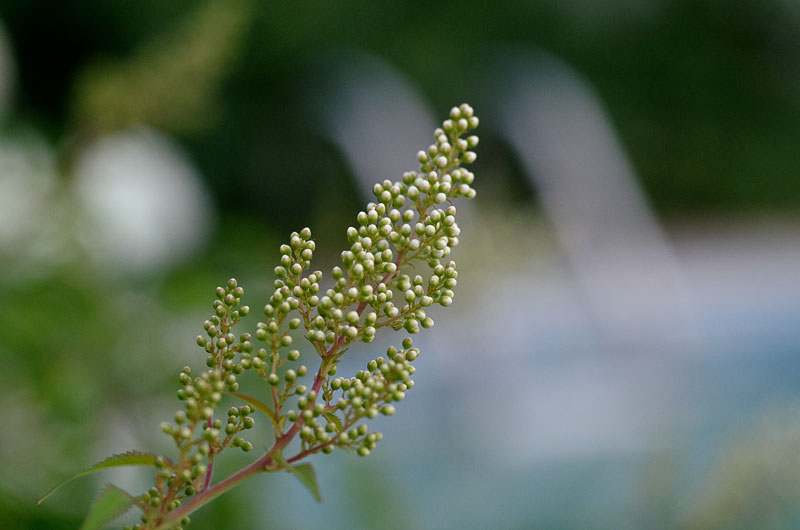
I went around the pool again to the east end and shot more images of the daisy and False Spirea plants. Here’s a Spirea bloom in bud.
A muted image of a daisy, finally showing some of the sharpness for which this lens is known. Pretty nice for an image that is stopped down only 1/3 stops.
Since the lens is able to do 1:1 at closest focus, I can move in and shoot the center with ease. Shutter speeds are dropping pretty low now at 1/125s.
And of course it is interesting to see how the lens handles the pool stairs. The lenses previously tested had harsher, but brighter light. This lens has nicely muted light but slow shutter speeds. You can see here that the lens gives some pretty creamy backgrounds.
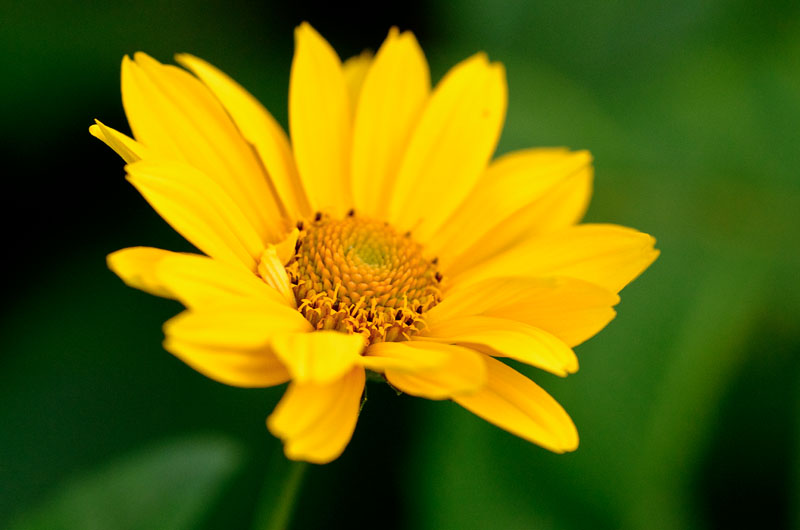
At a more oblique angle, the petals again have trouble staying inside the zone of focus.
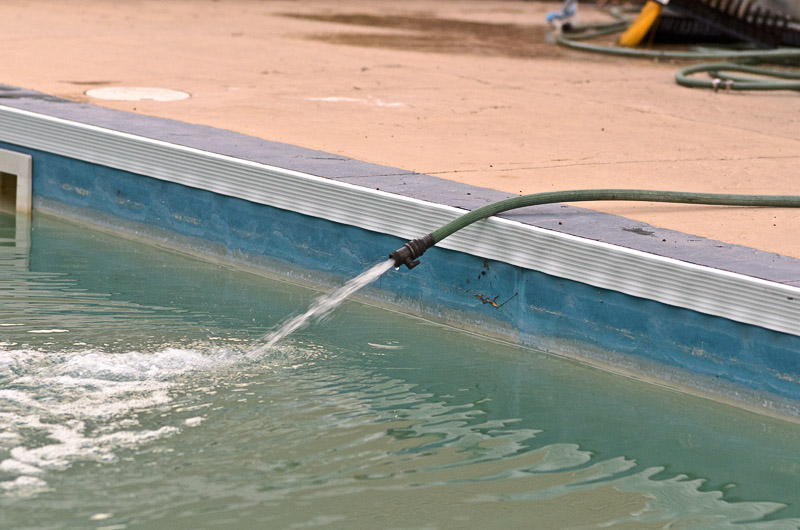
I was really just fooling around while the pool refilled. Our water ban was lifted last week because the new water main was completed early. So I can now legally refill my pool, which was quite lucky because of the brain fart that blew several hundred liters of water all over my pool equipment. I had left the lid off the chlorinator after refilling with pucks …
The Silverleaf Dogwood berries above are interesting to look at, but the Yellow Twig Dogwood berries are mych more subtle. Very pretty …
Here’s an image with really busy bokeh. I’m not sure quite what happened here, but this sort of an image is definitely not a keeper. Your eye cannot stay on the subject for more than a few seconds …
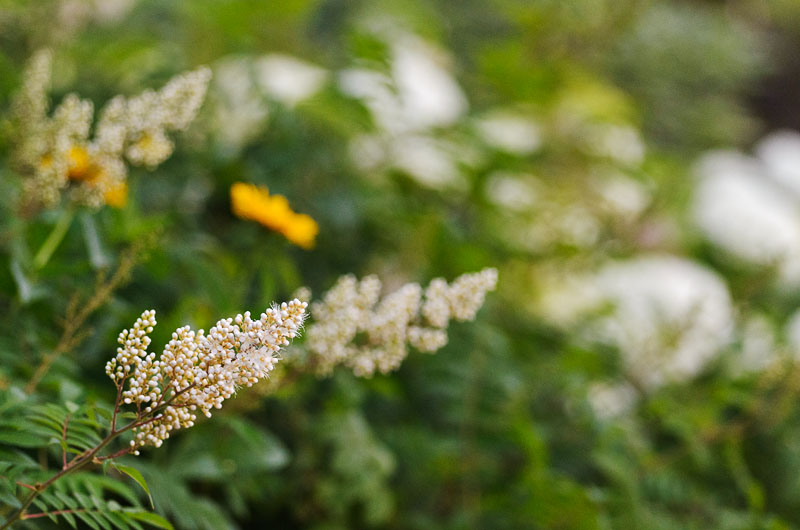
This is a bit better. Another angle on the poolside. Note the ugly branch sticking out. If you were trying to maximize the beauty of your flower images, you would be forced to remove that old dead branch, or to shoot some other sample elsewhere I the garden.

Here you can see the Yellow Twig Dogwood leaves that have been eaten by something. Probably earwigs as they have gone nuts lately in my yard. The fly is just sitting there and allows me to shoot several images.
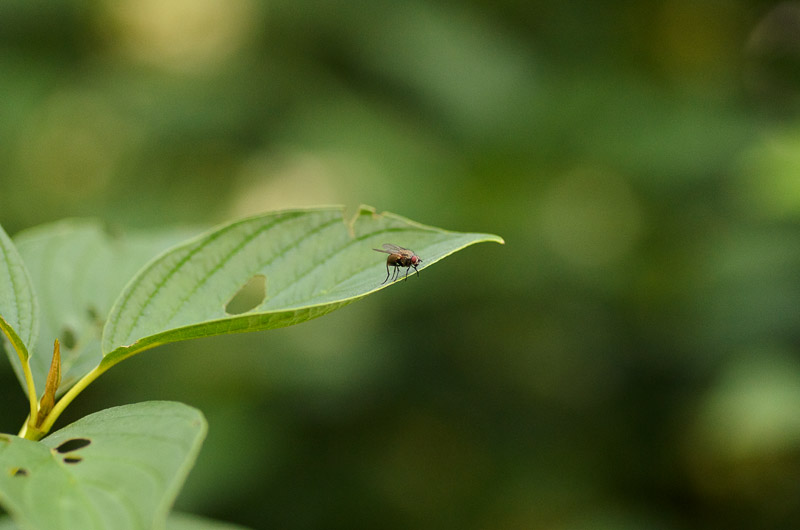
A crop showing some rather decent sharpness …
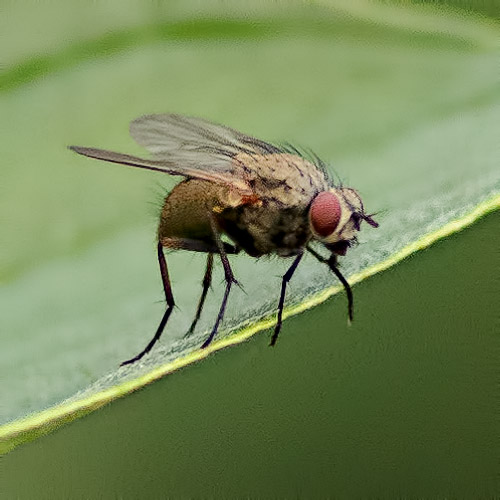
Pushing in a bit closer, I get superb bokeh behind the leaf ,,,
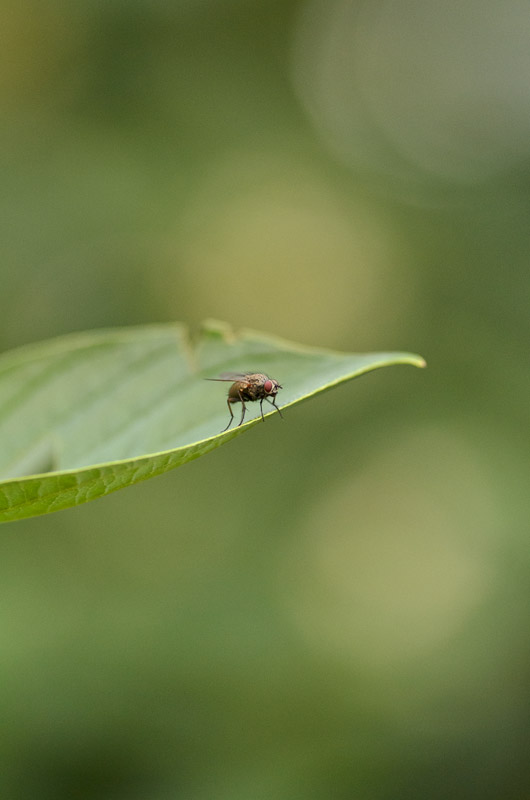
And one last crop showing a pretty detailed view of this fly. Great detail but a fair bit of noise artifacts caused by the rather high ISO. For these closeups I have had to switch to 1600 ISO to maintain shutter speeds.
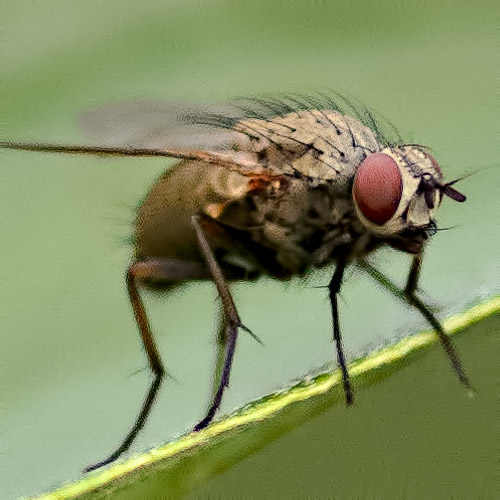
This lens is definitely sharp enough for this sensor. As would be expected from any of the main macro players in the 90 to 105 class …

Saturday, July 2, 2011

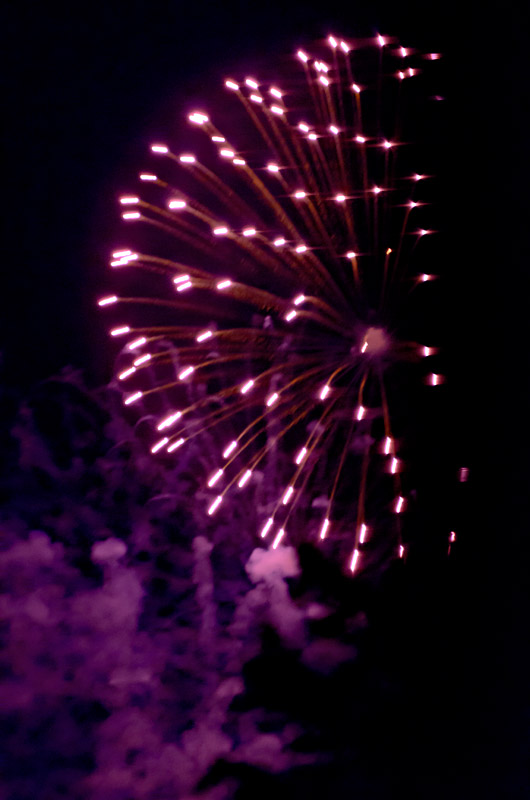
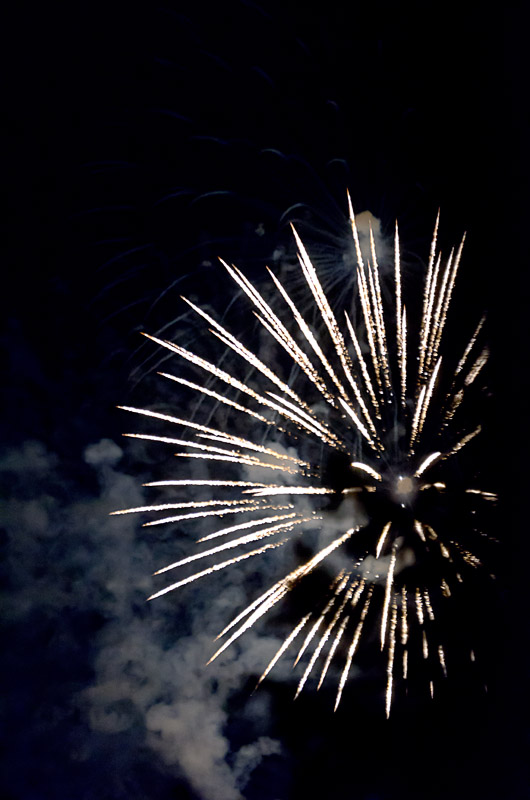
Canada Day 2011 – D7000 does Fireworks!

Well, there are some very impressive fireworks to be seen on Parliament Hill every Canada Day, and today would have been incredible because of the gorgeous clear skies (very rare on July 1 by the way) and the presence of the Royal couple.

However, to head down there requires taking a bus both ways as parking is essentially impossible. And I really didn’t feel like all that hassle for the off chance that I could compete with people who had camped there for several days to get good spots.

Shooting the fireworks would have been a bit easier, but I was doing stuff all day and in the late evening I got caught in a a run of the first 6 episodes of Game of Thrones. That’s another conversation, but let me just say WOW! I am working through the first book and the adaptation is brilliant.

Anyway, I started hearing the unmistakable pop pop pop of fireworks and so I paused the tele and went upstairs to see what the fuss was about. I could not see much until I opened my window and removed the screen. Leaning out the window (over a cement patio … yikes) showed me that the fireworks were almost exactly half blocked by my neighbor’s house.

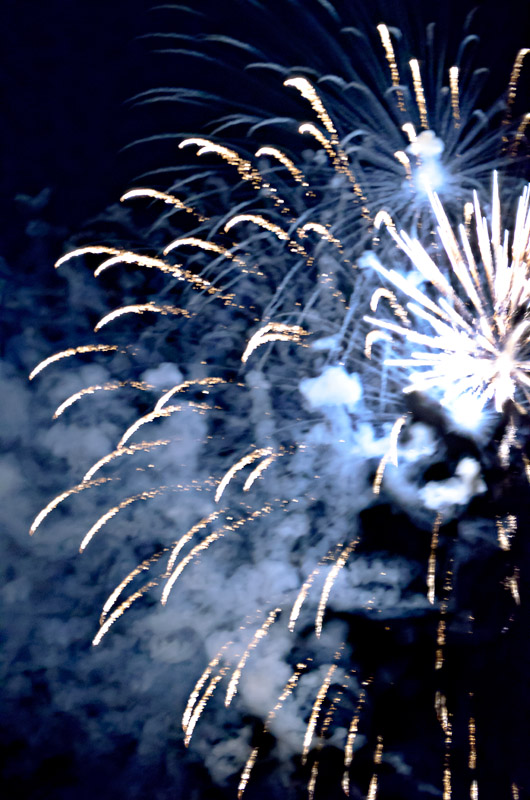
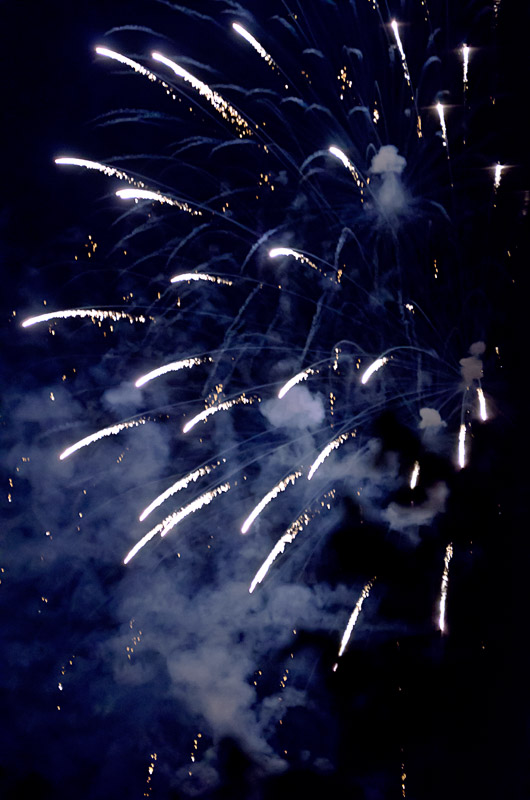
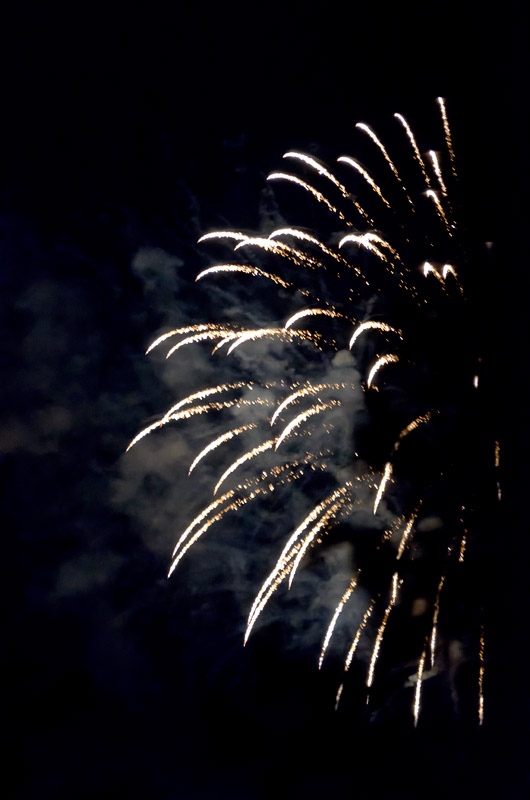
So I grabbed the D7000 with 70-300VR and leaned out shooting in portrait mode. I had to set the focus to manual and take a WAG (wild-assed guess) at a useful exposure. I chose 6400 ISO, f/5.6 and 1/8s. The test images came out ok so I shot a whole bunch, from which I decided to keep 6 snapshots.

Ok, I could have trimmed the right side of a couple of those, but I really don’t see much point with these being nothing more than snapshots. They have no potential beyond that.

And by the way, yes – it is possible to capture fireworks as low as 100 ISO, but I am a big fan of capturing the ambiance as well … all that beautiful smoke makes a real difference to me. YMMV

Friday, July 1, 2011

D7000 and 70-300VR – Let’s try this one in the garden, shall we?

I had just finished blogging the 18-200VR as garden lens (along with its many other talents) and thought that I should take 5 minutes and explore its bigger brother, the rather excellent 70-300VR. This is the lens to get with a shorter lens if you want a very nice long lens on the cheap.

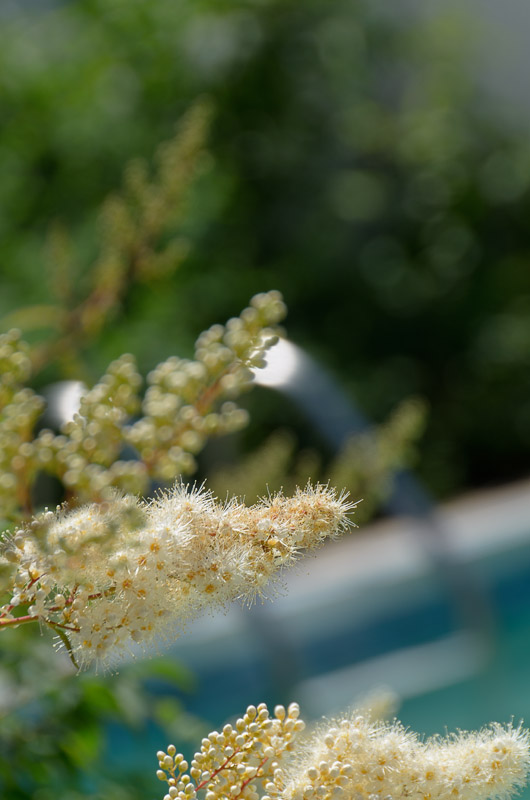
I left the previous post (the one before the talking dog :-) with a couple of images of the False Spirea buds and the pool ladder in the background. These images showed a bit of a weakness in the zoom lens with VR, that being slightly busy bokeh. In fact, there are donut shaped circles all over the second last image, and that is a big off.

Here’s a reminder of the second last image from that post:

The 70-300VR brings two advantages to the table when shooting a scene like this. It pulls in the background, spreading it out so we see much less of it, and it gets us closer to the subject if we prefer that. Even if we walk backwards to get a similar magnification on the subject, the background will still be better. As shown here …

That’s just waaaaay more pleasant to look at and the bokeh is much smoother too. The donuts are barely hinted at and the circles are larger. It’s no longer an overly “busy” image.

At 300mm, the Daisy looks quite nice against a fairly smooth background. The lens is decently sharp, although a macro lens should give more “bite” …

Since this is a zoom lens, and since it is regarded as having superb image quality from 70mm through 200mm, I dialed it back to 200 and shot again.

The Daisy surely looks as sharp as can be, yet the loss of the perspective of the extra 100mm makes more of an overall difference. The 70-300VR is good enough at 300mm (in the center for sure) to compensate for the slight loss of sharpness over the shorter focal lengths.

Here, we see the Annabelle Hydrangea with a budding flower in front of a flower in full bloom. I really like how this plant brings it flowers out one by one, creating an ever-changing mosaic of colors. The color differences are again visible in this portrait of a single flower:

Again, really smooth bokeh. I turned a bit to my left and shot the False Spirea, a freshly bloomed flower in isolation. Very smooth background. A little busy near the top of the image, though, as this lens cannot render the closer bokeh as perfectly smooth. I’m not sure how a macro lens would have handles that. I’ll have to try in the next few days.

I backed out then and shot the two Hydrangeas as a solid field. Here you can see the varying stages of the flowers and this is augmented by the excellent of my plant maintenance with many grey flower heads from last year adding to the cacophony of color. That was planned, yes it was.

Moving to the mystical … when I was trying to keep my pathetic snow fence from falling down (to avoid a tragic drowning), I had to buy a couple of these trellises from WalMart. I figured I could use them later in the garden for climbing vines. We’ll see …

And lastly, as I was getting ready to come in to write this dazzling blog entry, I noticed a Porter Air flight approaching my yard. I’m on the flight path for these guys on certain days (depending on wind direction of course) … Porter flies these turboprops from Ottawa to the Toronto Island airport, the one not far from the foot of the CN Tower.

I waited a moment and caught it again as it passed overhead:

The extra reach of the 70-300VR is really appreciated when shooting far away items …

So there you have it. Another tour of my garden. Boring, I know. Not a lot of flowers these days … I really need to get some more variety back into the gardening. Maybe once my new fence is up I can redo the part of the garden that Karen and I leveled last weekend …

Teasing the Dog – Hysterical Talking Dog Video

My sister Gaye sent me a link to this extremely funny video. Seriously, you have a heart of stone and a funny bone of cement if you don’t laugh at least once …

D7000 and 18-200VR – Can the all-rounder lens shoot a garden?

The 18-200VR is often denigrated by those who shoot professional lenses, and for good reason. It is a compromise lens and cannot be used for the kind of imagery that the best lenses can handle.

Of course, the 18-200VR can be bought used these days for about 500 bucks while the holy trinity would be around 6 grand new or 4 to 5 grand used (they hold their value really well.) Plus, the holy trinity (Nikon 14-24, 24-70, 70-200) weight in at about 6 pounds while the 18-200VR weighs in at 560g, or about 1 and a quarter pounds. A lot less to carry on vacation or for walking around town, which is why such travel lenses exist in the first place.

I decided to shoot my garden today on Canada Day because my son went off to Parliament Hill with his friends and left me all alone with my pool and garden and about a hundred chores … waaaaaaa …

I could have grabbed by Sigma 105mm 2.8 Macro lens and scored some incredible shots, but where is the fun in shooting fish in a barrel? (That actually sounds like fun, but don’t tell anybody …)

Instead, and since the light is horrible at mid-day in blazing sun anyway, I thought I would give the 18-200VR a chance to prove its lenshood …

Click through there to read the test report at Photozone.de, a site that gives me a good feeling for how a lens will shoot.

So, out to the backyard garden this time. I have two locations where I have tall orange / yellow daisies, a nice perennial. The first location is near my fence and was planted there by bird-shit I presume. The sun is blazing and if you are not careful, you get seriously ruined highlights. In fact, the meter on the D7000 – contrary to a lot of whinging on the D7000 forum on DPReview – is quite accurate and gives good exposures in blazing sunlight.

D7000, 18-200VR, f/8, 1/320s, 100ISO

That’s a pretty sharp image. There’s not a lot more that you could get from a better lens, perhaps a tad more “bite” (lens contrast) and perhaps at f/5.6 most of the depth and a slightly better background.

But for a garden snapshot, I am not at all unhappy with that shot. The processing bright back some contrast, but left the shadows visible, which does flatten the image somewhat. You are welcome to hammer process your images with more contrast. It’s really a matter of taste.

Walking around the back of the pool, which is pretty crowded now from excess growth, I get to the Annabelle Hydrangeas that overhang the pool now. The flowers are huge and rather lovely. The wind was gusting, so the following image actually has shadows on each flower and lens, but when processed and downsized for web, those disappear. Still, they steal sharpness from the image so you have to be pretty careful when processing.

Next to the Hydrangeas sits a Silverleaf Dogwood. It has berries on it right now and I captured a quick image of them.

Click through to see the 800px version and it becomes pretty hard to fault the lens for sharpness. Looks decent to me.

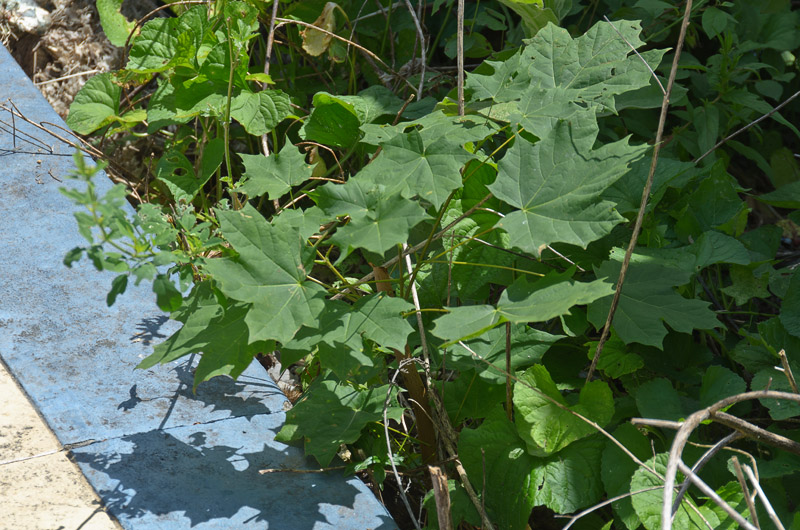
Walking around the pool, I stop at the deep end and look at a rogue Maple tree trying to grow beside the patio. That’s unfortunate as I will have to kill yet another usurper. Can’t have roots trying to poke through the pool walls.

Back around to the eastern end of the pool and the garden there contains the other daisy plant (can someone give me the correct species of plant please?) This is definitely a different variant from the other as the flowers are flatter with the middle very open. Again, what I consider a very sharp image …

Looking west from the eastern end of the pool I see that the False Spirea has begun blooming and is hanging out over the edge of the pool quite dramatically.

So, the bottom line is that this lens is as good a general purpose lens as its fans would have you believe. That’s my opinion and your mileage may vary …

D7000 macro with extension tubes and the Afghan Girl lens …

So what is the Afghan Girl lens you ask? Well, that would be the lens that was used to shoot the incredibly famous Afghan Girl on the cover of National Geographic:

Click on the image to read her story. It’s quite something.

Anyway, the lens used on that shot was a variation on the legendary 105mm f/2.5 manual focus lens that was all the rage way back when (60s and 70s) as a portrait / short telephoto lens. And for good reason … the sharpness of this lens still puts many a lens to shame.

I have owned two of these … a near-perfect copy of the AIS lens with built in hood, and a nice copy of the Ai lens (which precedes the AIS in age) which I still have. I sold the other in my quest to get the D700. I will regret that sale to the end of my days. But the new one seems about as sharp so I can’t really complain too much.

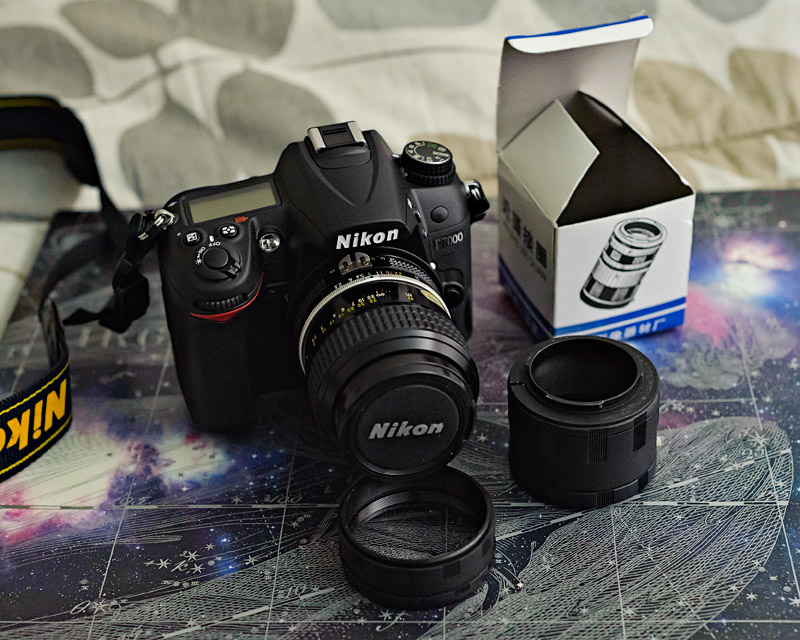
In addition, the experiment for this article was to mount that lens on the end of a cheap extension tube that I bought from a Chinese vendor on eBay a few years ago. It is an ultra cheap set of three rings that screw together with end caps that provide connection to the body and the lens. The cheapest sort of connection, but nonetheless a functioning one.

Here’s what the kit and the lens and the D7000 look like before I actually put it all together.

DSC_7950_105_tubes_d7k

The tube I will use is the largest of the three, which stands next to the camera with the end caps already attached. The lens is on the camera for now and the other two rings are screwed together and provide a stand for the lens. The extra rings were left out of this exercise because I planned to shoot hand held and did not need any more magnification.

This is a just for fun exercise, because when you shoot high magnification you should either use a tripod, or use a flash to stop the action. You can get the info you need from John Shaw’s Field Guide to Nature Photography, which you can link to here.

So, I got the kit put together and walked out into my front yard garden. It had just rained and I was intent on capturing droplets on leaves, since I consider those images to be rather nice looking …

The huge Honey-Bell Hosta near my front step was soaked.

I’m not thrilled with the color on those. Later, I changed my conversions to use shade white balance, and that greened things up considerably. Of course, you can help yourself by shooting with a polarizer filter, which cuts the glare from the sky. Wet leaves reflect way too much sky, which is usually grey during the best lighting, so you really cannot get the best saturation under these conditions unless you cut through that glare.

Here’s what the last one (which is my favorite by the way) looks like with shade white balance instead of “as shot” …

That’s probably too strong, but one presumes that there is a happy medium somewhere between.

Something I have not mentioned yet is that the early exposures are shot at 1600 ISO because the lighting is quite low and I am shooting at high magnification. Need the shutter speed when going hand held. But the D7000 is remarkably noiseless at 1600 ISO. The aperture here is f/2.5 … which is actually wrong. There is no electrical connection to the camera with this cheap sort of extension tube, so have to write down the actual aperture, which I did not do :-) …

The shutter speed is 1/400s. The last couple of images are shot at 400 ISO … to get the exact EXIF data you should click through to the actual image and then use a browser plugin for EXIF display. Very useful …

The bokeh on this lens is first rate. That combination of razor sharp wide open and magnificent bokeh is why this lens is legendary. To match it, you have to go all the way to the 85mm 1.4AFD or 1.4G and now you are looking at something north of $1200 cad for the AFD lens and $1900cad for the G lens. (As I write this, Henry’s Photo has the AFD lens on sale for 1100 …)

They are both amazing, but if you can stand to shoot manual focus, you can match it for under $100 … I paid $225 for the AIS version and sold it for the same money; then I later paid $89 for the Ai version that shot these images. I cannot be without a copy of this lens. That’s just how it is …

Here’s an image I shot by backing away. I have removed the extension tube for this shot … think of Kissing Gouramis …

I then shot a fly with the naked lens and show the image here with an insert to show the clarity and detail. Not bad, although grainy from having to pull shadow detail.

With the extension tube back on I can focus much closer. The fly was hopping away as I got close but it always landed back onto the rail, so I was able to sneak a bit closer each time.

Here is a crop from that image, which is back at 1600 ISO because of the increased magnification.

Obviously, a big increase in shadow grain, and yet there is an awful lot of detail here.

And one more image, cropped a bit as I recall. This is the best I got in this session, and when you get one good image from a hack session like this, you must take that as a success.

The clarity of the eye (think about how small that is) is astounding. This is what we try for every time out. Not too shabby for a $10 extension tube and an $89 lens.