Saturday, March 29, 2014

A tale of three keyboards … *updated* …

Update Nov 2018: I have settled on two keyboards for my general work. I have 2 copies of the $50cad Logitech G105 -- a superb keyboard with relatively quiet semi-mechanical keys -- in my mini-man-cave (which I do my work-at-home), and in my office, where I asked for this keyboard on my first day of the new job on 1 Oct of this year. They are rather hard to find these days, but Best Buy seems to have them again in Canada for now. I also love the much more expensive Logitech G710 Mechanical Gaming Keyboard, which has Cherry Blue switches in it. It is loud and clicky but fast and accurate. The lighting is blue, like the G105, and looks perfect. I would use the 710 for writing a long article over the G105. But for day to day work, the Logitech G105 wins every time. Note that I still have my Razer Black Widow Ultimate, the last one that uses Cherry Blue switches, and an even more expensive keyboard. It sits unused because they got neither the font nor the lighting right. Tragic, to be honest.

I have blogged some about keyboards in the past. This comes up frequently because I type for a living. I write documents, emails and software pretty much all day long. Between conference calls at least.

And because of that, I have experimented a lot with different keyboards. In general, I have settled on one requirement that is universal – backlighting. It is absolutely imperative that the keys always be legible. I am not a touch typist (although I can function surprisingly well between peeks at the keyboard) so I need the keyboard to be visible in all lighting conditions.

This led me to trying the Perixx PX-1000, an inexpensive backlit keyboard (I paid $24 on Amazon) that was surprisingly good ergonomically.

P1050750_DMC-G5_18 mm_ISO 160_4.0 sec at f - 5.3

The red lighting is quite pleasant on the eyes, but what eventually caused me to switch was the fact that the keys were legible only from a 45 degree angle or less. When I leaned back, the keys became illegible. I also wanted to get a keyboard with macro capability.

My next attempt was the Logitech G105.

P1050752_DMC-G5_18 mm_ISO 160_1.0 sec at f - 5.3

This keyboard has blue lighting and 3 banks of 6 macro keys. The program that comes with it is powerful and very good. All in all, this is an amazing keyboard for a very low price of around 50 bucks. I used a Future Shop gift card I had received so I perceived this as a $25 keyboard :-)

The Logitech’s blue lighting is tough on the eyes. It works better than the Perixx, but the blue is less pleasant and it turns out that the blue was simply not bright enough. They should have included a few more levels. Otherwise, the keyboard works just fine.

So why did I choose to switch again? Well, I have been craving a true mechanical keyboard like those old IBM selectric style keyboards (I have one at work actually) and I wanted to try better lighting. I have had my eye on the Razer Ultimate for well over a year and have been trying to catch a good sale. This keyboard sells at $184 at Future Shop but is considerably cheaper at places like NCIX.com and Newegg.ca … still, it’s usually around $149.

So I saw it the other day at $109 at NCIX for this weekend. So I went to Future Shop and found that they had one in stock. I also noticed that this model has been updated from the spectacular Cherry Blue switches – which are known as about the best typist switches available – to a custom designed “gamer” switch that Razer came up with. While I am sure that they make a decent switch for gamers, I wanted Cherry Blues quite specifically.

So since this is the last model year and this was the last one in stock at my local store, I asked them to price match NCIX and got the keyboard at $109. I also happened to have a Future Shop $50 gift card in my wallet, which really helped take the sting out :-)


P1050258_DMC-GF3_30 mm_ISO 1600_1-50 sec at f - 2.8

Now this is one magnificent keyboard. I cannot easily show this, but the lighting is magnificent. There is individual lighting in green on each key, and it can go from just legible to blazingly bright. There is also a field of soft lighting under the keys, which helps in a dark room. The Cherry switches are of course magnificent. And the macro facility is quite functional. I can reassign any key I like and so far it works pretty much as well as the Logitech that way.

Update: The macro facility for the Ultimate relies on the Razer Synapse software, which controls everything that happens with Razer hardware. This dependency seems to mean that the macro keys are useless inside remote desktop sessions and inside vmware images. Coupled with what I find to be unreliable playback (loses its mind after a while) and I will say that Razer has ruined that facility for me. The Logitech is vastly superior in every way, shape or form where macro recording and playback is concerned. On the other hand, I am willing to give up the use of macros for the cherry blue switches and the superb lighting, but I have to say that I am very disappointed in Razer’s lack of capability. Shame on them for doing such a poor job of macros with such a great keyboard.

All in all, I find this keyboard the fastest of the bunch, and that makes a huge difference when I am typing all day. The keys are more sure than the non-mechanical (but still very good) keys on the Logitech. All in all, the Razer is an incredible keyboard.

If you type for a living, you could do a lot worse than the Razer Ultimate 2013 model. And NCIX has them cheap right now …

image

Pinpoint Focus on a Panasonic GM1 (How do you re-center the crosshair?)

There was a recent thread on DPReview where the pinpoint focus on the GM1 was being discussed. I read it with interest, since I was finding the same annoyances in the GM1’s firmware. That being that the techniques that work on other Panasonic bodies like the GF3 are still specified in the manual for the GM1 but do not work … so people were doing all sorts of strange things to get back to the center. The obvious choice is to simply press the LCD in the center, but it is surprisingly difficult to get anywhere near center with that technique.

In testing it more thoroughly, it turns out that there is much more to this than meets the eye. I made a video on the re-centering technique that is used for thr GF3 and the GM1, do if that is all you want to see, then just watch this:

Pinpoint Focus has been rethought as a feature, though. While the obvious part of the user interface – the crosshair – appears the same, how it actually works is very different.

First, let’s explore the GF3’s interface and then see where things have changed.

OLYMPUS DIGITAL CAMERA

To start off, you simply click where you want to focus. This works well enough and you get a magnified view while it focuses … like this:

OLYMPUS DIGITAL CAMERA

The room is somewhat dark, so you end up seeing some noise in the image on this screen (which is also magnified) … not to worry. The images look fine.

Note the arrows. You can drag the entire image around and it will show you when you bump into the edges. The inset also shows you where you are in the overall image. This works very well, although the pressure sensitive screen is not as responsive as you might be used to on a smart phone or a newer camera.

Resetting it to center is a trivial matter … you just press the screen to make sure you are in magnify mode as above, then press the “disp” button. And you can see by the inset that the pinpoint has centered itself on main screen.

OLYMPUS DIGITAL CAMERA

OLYMPUS DIGITAL CAMERA

And there you have it.


The GM1 does not really work like this. Many little things have changed. I have written in the DPReview thread and indeed commented in the video above that I thought this was some kind of brain fart on Panasonic’s part. But using it for a while leads me to believe that they have simply changed how it works. It is different enough that it makes no sense at first, but once you get used to how it works you start to see the value of the new methods.

The basic interface is the same. Touch where you want to focus. The background here is less blurry because I am shooting the kit lens at 32mm instead of the Sigma 30mm 2.8.

OLYMPUS DIGITAL CAMERA

You can see that I have touched the same point but because this camera is a bit shorter, the crosshair is not in the same place, but rather is more centered. Still, it is off dead center and that’s what we want.

The real difference here is in how things work when you go into magnify mode.

OLYMPUS DIGITAL CAMERA

As you can see, I have made a slight change to the pinpoint setting where I have chosen PIP (picture in picture) mode here, but this is trivial to change so it makes no real difference. Note that the inset is smaller, but still shows where we are overall. Note also that the arrows on screen are now clustered around the crosshair and not on the edges. This is because dragging the screen no longer works. Now you drag the pinpoint within the magnified area.

This is actually very useful as it is much more responsive than dragging the entire image, especially on the lovely capacitance screen (assuming that you are not trying to work with gloves on) … and the arros show you when you hit the edge of the allowable focus area. They disappear as you touch the edge, obviously indicating which edge you touch.

Since you can change the magnification from 1x to 10x in increments, this can lead to some seriously precise work. So I think that this is a reasonable change.

But the tricky part comes when you want to recenter the crosshair. The disp button still works, but it only recenters within the currently set PIP area. So you can move around all you like in magnified mode, but recentering does not work here.

So what do we do instead? Well, you click the left side of the ring dial, which is focus mode. That puts you here:

OLYMPUS DIGITAL CAMERA

Now you touch AF Area there at bottom right and you see this:

OLYMPUS DIGITAL CAMERA

Now you are being shown a new look … the 4 way arrows showing the magnified area within the overall screen. This is where you touch Disp. Reset at bottom left or click the Disp button on the body (button at bottom right corner.) This immediately recenters the pinpoint …

OLYMPUS DIGITAL CAMERA

And touching the shutter button (half press) or touching Set at bottom right puts you here …

OLYMPUS DIGITAL CAMERA

This is a bit ugly when compared with the GF3’s very quick way of resetting. But it really is just one more click. And for that price you get a much more responsive pinpoint interface.

I think they could have just left it the old way, with disp in magnify mode just recentering the point on the main screen as with the GF3, but one supposes they have use cases that made this seem like a better choice. I know that you can hand a user interface problem to ten developers and receive ten solutions, of which 9 or 10 will suck … so this is actually a decent result :-)

Wednesday, March 26, 2014

Published in the Ottawa Citizen this Thursday, 27 March

Thanks go again to Robbi Hay – editor of the OurTown section of the Ottawa Citizen newspaper – for using my work as this week’s section banner. This particular one has been used before as it epitomizes the early spring weather in Ottawa with iced branches starting their annual spring melt …

image

This year, of course, we could use blizzard or deep freeze conditions as well, but the weatherman says that we are about to catch a break. I believe that we jump to near 10C on Friday and we basically stay above zero from that point on. Woohoo!

As always, if you want ideas for things to do in the city this weekend, grab the Citizen this Thursday (tomorrow as I write this) and check out OurTown.

Wednesday, March 19, 2014

Panasonic GM1 – Review Part 2 – The Grip

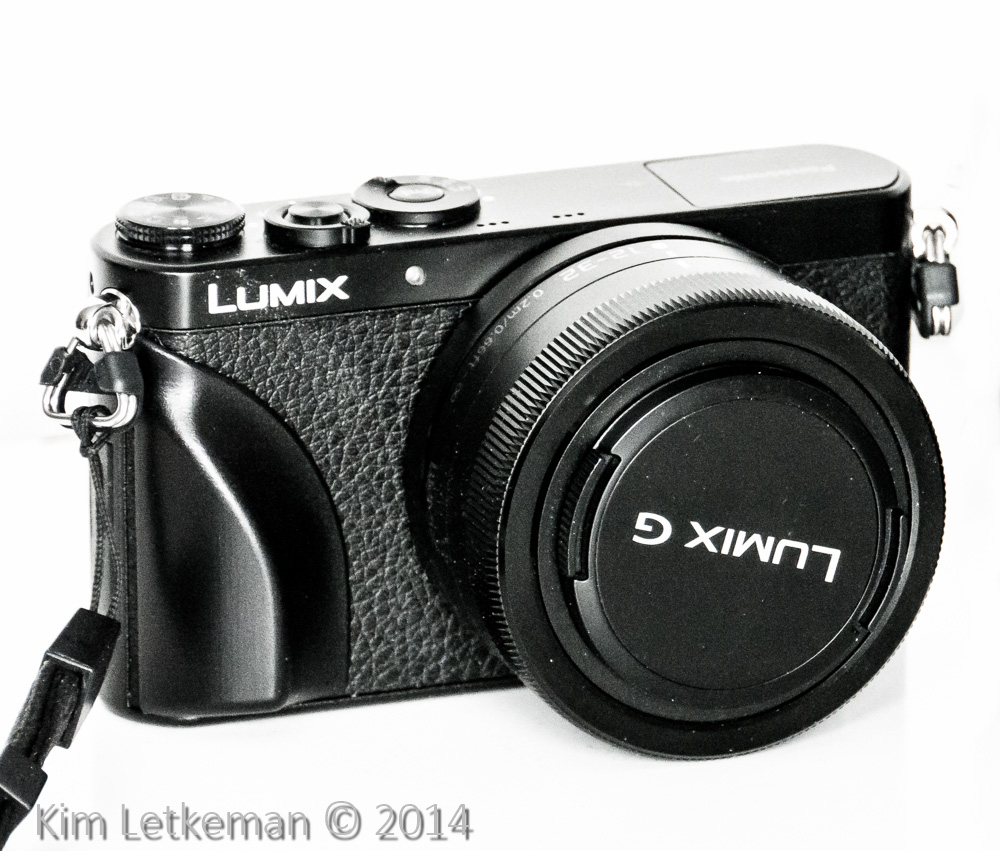
What grip? There isn’t one.

Here is a standard stock photo of the camera as it comes out of the box:

image

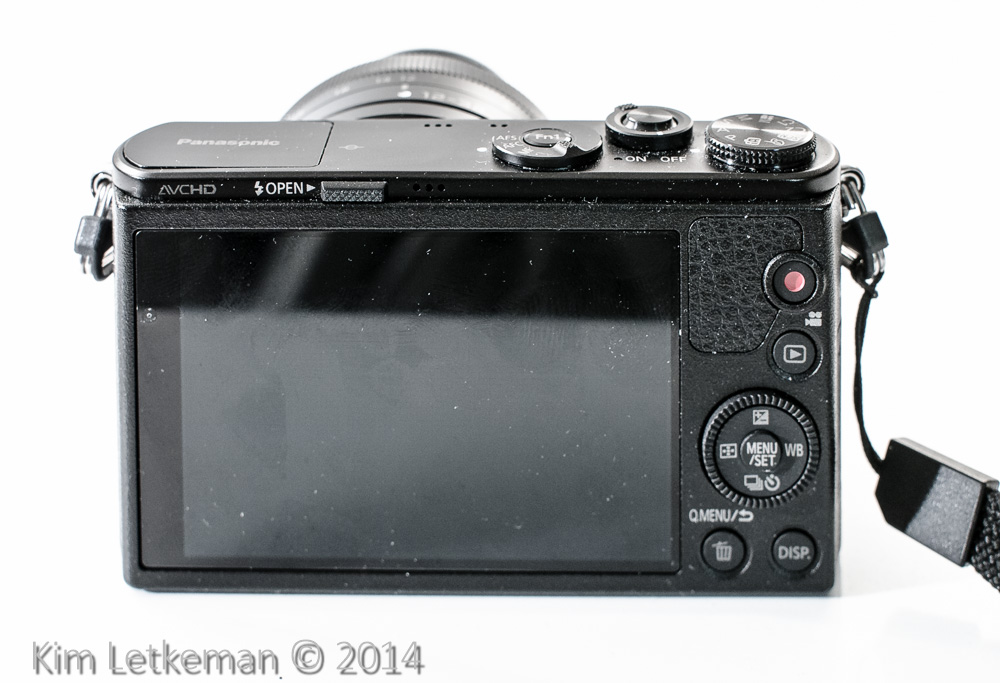
The lovely grippy material on the front here and on the back in the next image does help a lot, but it requires that you pinch pretty hard if you want a one handed grip. I wouldn’t, that’s for sure.

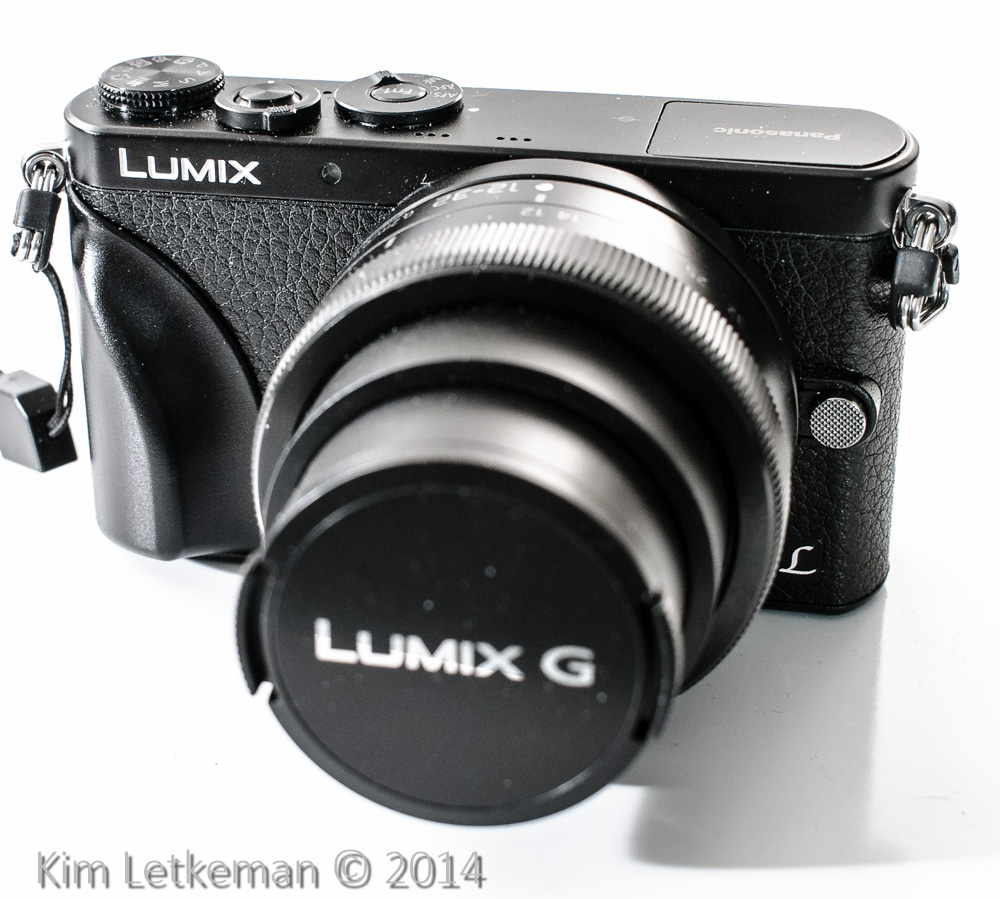
So instead, I decided to grab myself one of those cool metal Richard Franiec grips. And here it is …

The key here is that the right middle finger folds naturally down the front frip while the thumb lays on the rubbery patch on the back. All in all, a far nicer feel to the camera. And it looks amazing …

Highly recommended.

Sunday, March 2, 2014

Goodbye, Mom …

This morning, at about 7:30CST, my mom passed away at Seven Oaks Hospital in Winnipeg. I will miss her …

Sunday, February 2, 2014

Panasonic GM1 – Review Part 1 – The Arrival

Well, it’s late on a Sunday and my brain is pretty much fried after a weekend of brutal snow storms with middle of the night rescues (taxis stopped running) and all day shoveling and such …

So I thought I’d introduce my latest m4/3 body. I am at the point where I am not interested in more bodies unless they improve on what I already have. I have enough bodies to do any kind of filming I might want (and I don’t do it nearly often enough so I am evaluating whether I should have a bit of a selloff) … but my bodies are all one generation behind in sensor development.

Now, don’t get me wrong … I’m not all starry eyed over the differences between the newest sensors and the older sensors (although the 12mp generation is way too far behind in low light for my taste … but they are gorgeous in bright light.) Rather, I am looking for a camera that can shoot in near dark and return usable results.

Well, in looking at extreme ISO in my recent article on the topic, I concluded that the GM1 was the best sensor out there right now for extreme ISO, provided you work around its eshutter issue with banding (and to be fair – all eshutter bodies do this, but the GM1 does it as soon as you cross 1/500s shutter … you are left with no choice.)

So after looking over my options, I decided on the GX7. In fact, the GX7 with 20mm kit was on for an amazing price .. 1069, which saves the entire price of the 20mm lens and a bit off the body when talking list prices. But in the end, the slight extreme ISO edge the GM1 enjoys, plus its incredible size advantage, and the much lower price I found ended up winning the day.

A note on pricing: In the US, the standard price is 748usd while in Canada the standard price is 799cad.

Update: The kit dropped to 698 across the board in the USA. Very good deal against other cameras in that size and capability range.

Since the dollar is close to 10% difference nowadays, this was advantage Canada last week. At least for US citizens. But I found a place where I could get the kit in all black (the only colorway I like) for 739cad and it came bundled with a full license of Adobe Lightroom 5. Whaaaaaaaaaat? Flog the LR5 on eBay and you have an effective price below 650cad … or around 600usd. WOW!!  So there you go … I bit and it arrived – get this – the next day from Waterloo, ON. Wow again …

The vendor is called BJPhoto and is a family business here in Canada. Great shipping and very well regarded on forums etc. I’m quite glad I ordered when I did, because it is out of stock right now, and who knows if it is coming back in this form and at this price. I would call if you are interested.

image

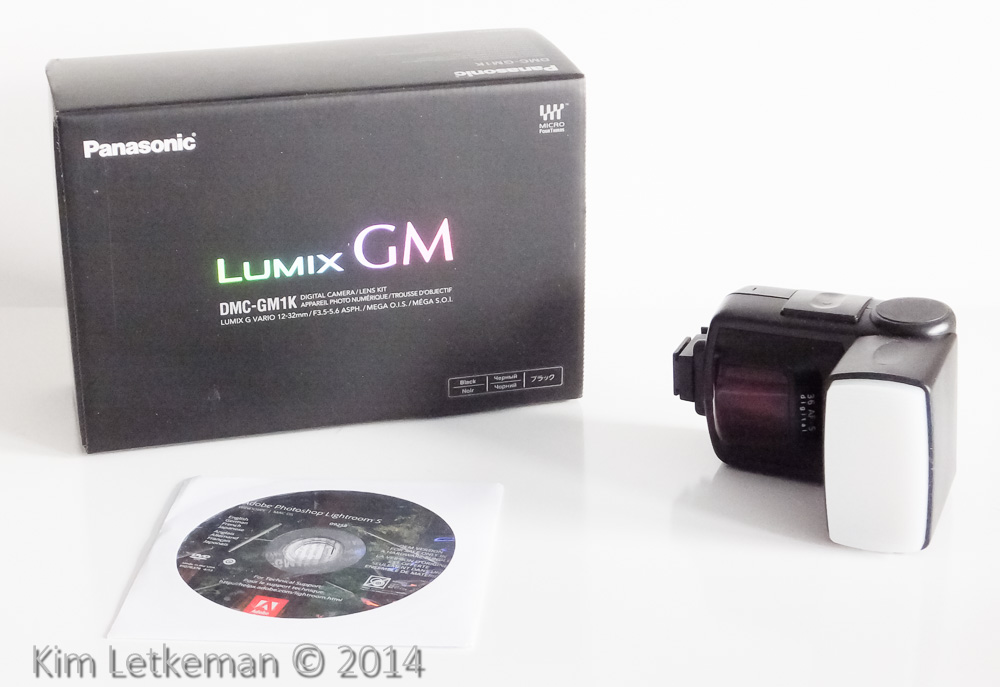
Meanwhile … the camera. As I said, it arrived almost exactly 24 hours later. Here is the box and the DVD inside with LR5.

Note the flash sitting beside it … this is the other smokin’ deal I managed in the last few weeks. It is a Metz 36 AF5, a well regarded flash that retails for about 130 in both Canada and the USA. I got it for $12.50 or so with about 12 in shipping. I.e. 25 bucks. A steal by any standards. The seller listed it as for parts, not working. But in the description he said that it powered p and test fired but that he had no camera with which to test it. So I sniped it intending to send it to Mecablitz for repair if it was broken, but on arrival my tests showed that it worked perfectly. Happy camper here :-)

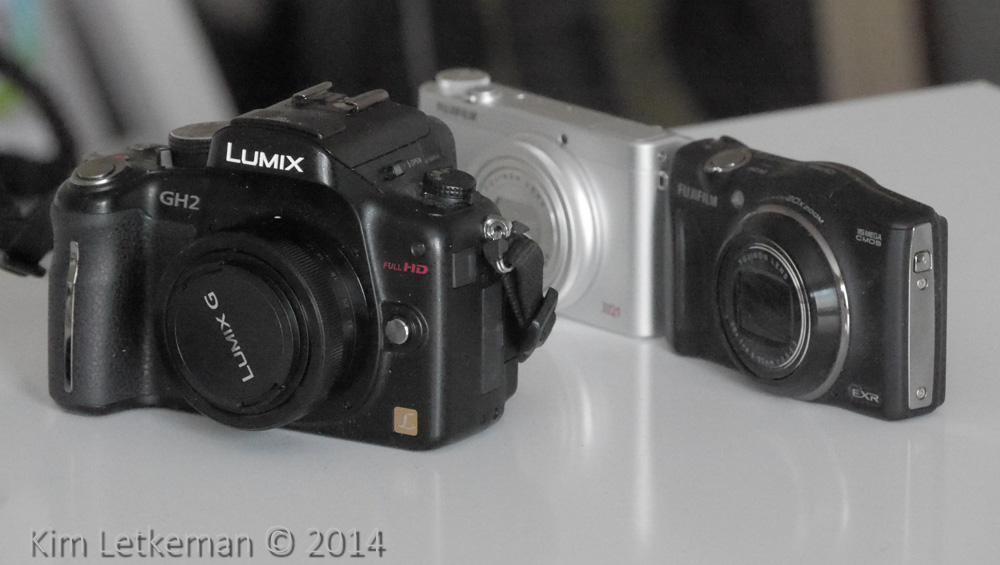
Here’s the camera with the GF3 X zoom kit and two Fuji compacts, the F770EXR and the XQ1. The size is simply amazing.

If the lens was a true pancake, it would be pocketable. As it is, you can call it coat pocketable. Any coat or cargo pants should have no trouble.

My general impressions of the body so far:

  • Superb fit and finish
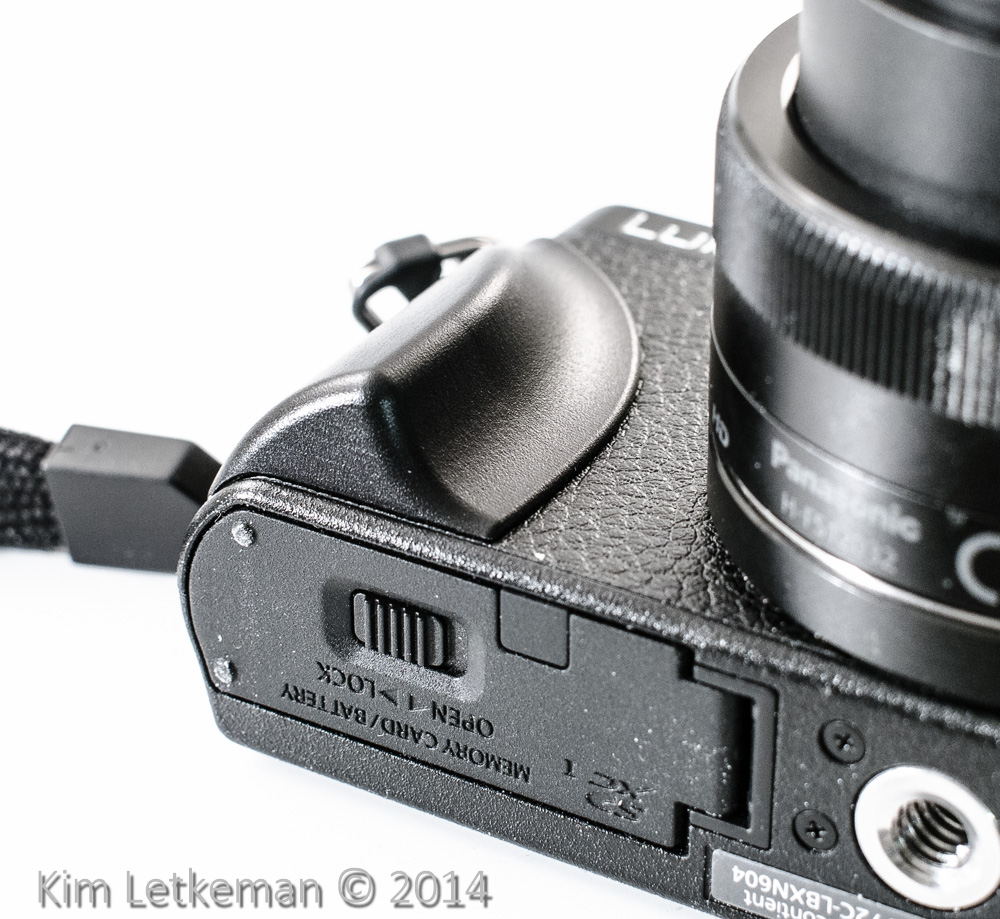
  • Battery door is damped, feels great
  • Buttons work very well, dials are perfect (but I shoot a lot of compacts so this is right in my wheel house)
  • No problems holding it, but I ordered a Franiec grip anyway (it shipped the same day the GM1 arrived)

I tried two things to start with … manual focus with peaking, and extreme ISO. Since these are the premier features I was after, this seemed the logical intro to the camera. Focus peaking does not actually kick in in a lot of cases where I shoot. Meaning that you need a pretty hard edge before peaking will show you something. I will have to spend much more time testing how to best use it though, so my first impressions are not of much use.

Still, the magnification at 10x works great and I liked that result. Here, I focused on a tin can with the Pentax 50mm 1.4 set wide open. Obviously, that is a really tough task, since DOF is very shallow.


Panasonic GM1 & Pentax 50mm 1.4  200ISO  f/1.4  1/160

I won’t complain about that.

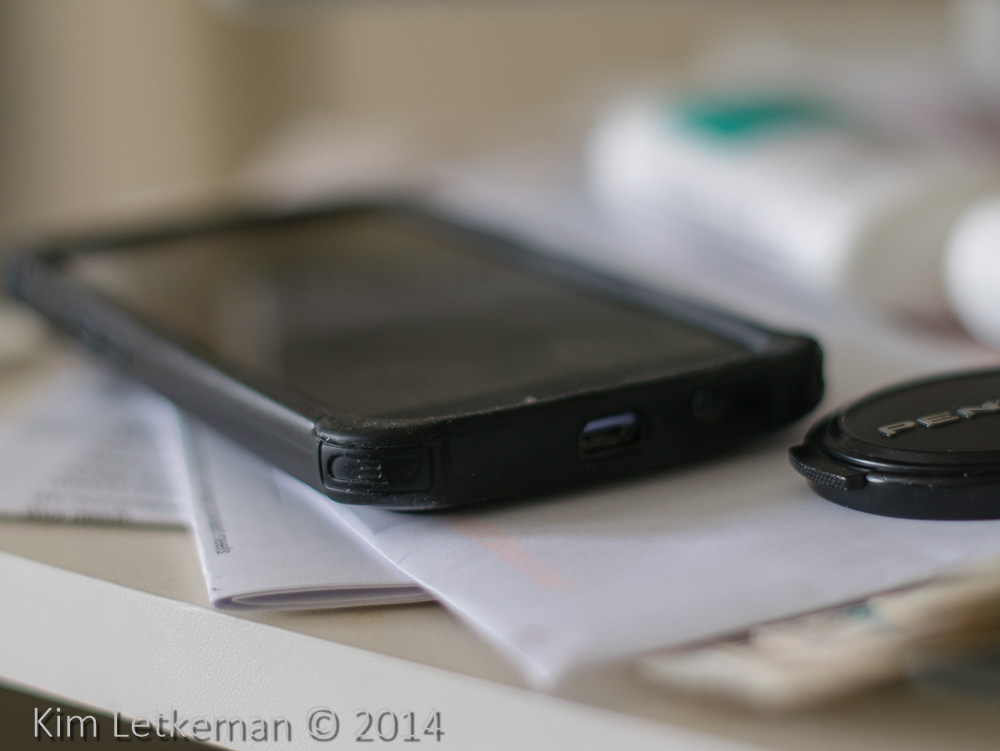
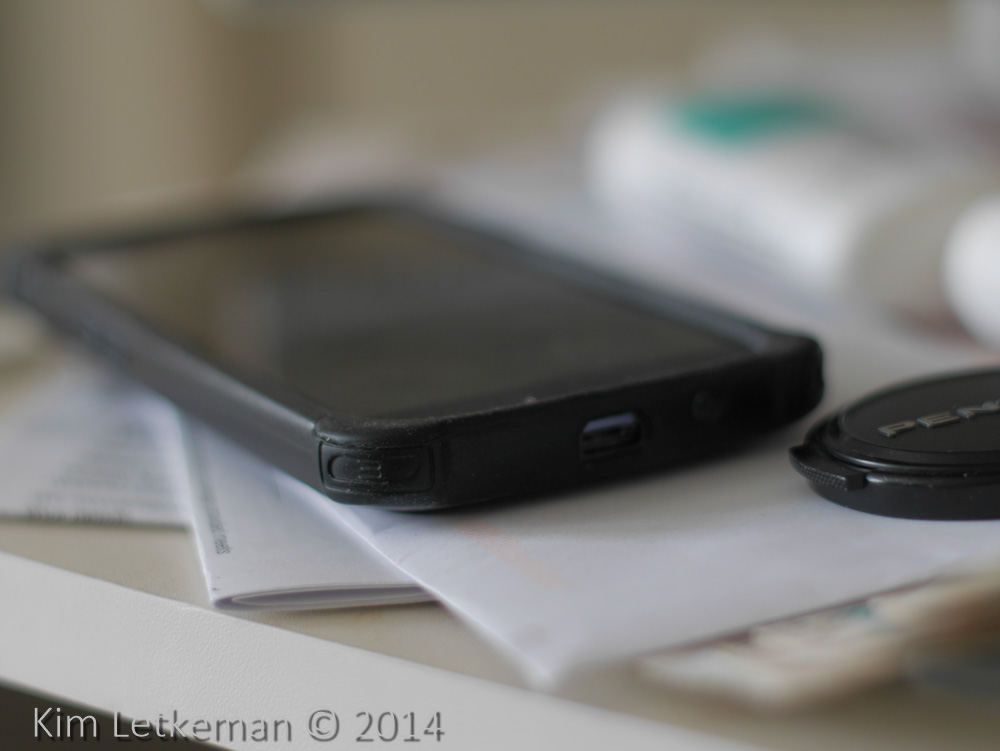
The following shot was focused on the corner of the Galaxy S3 case closest to the camera. Again, no glowing edges to help. But again, very easy to focus at full magnification. Wonderful LCD on this cam. I show the Lightroom 5 image and the out of camera JPEG image. The JPEG is softer and has much less contrast, which is how I set them up for now. I think I will change that to stronger settings for the preview value, especially sharpening. I never use the JPEG anyway, despite them being very good on the GM1.


Panasonic GM1 & Pentax 50mm 1.4  250iso  f/1.4  1/125  -- Lightroom 5


Panasonic GM1 & Pentax 50mm 1.4  250iso  f/1.4  1/125  -- JPEG OOC

I am very satisfied with how manual focus works on this camera, but I plan on spending some quality time with the manuals and the camera to suss out the best settings for focus peaking and manual focus. I expect more from it than what I’ve seen so far. More on that later on …

High ISO came next in my initial examination.

I must say that I am really, really impressed so far. In fact, I set 12800 as my max ISO for auto mode and I allow the camera to go nuts … it is that good.

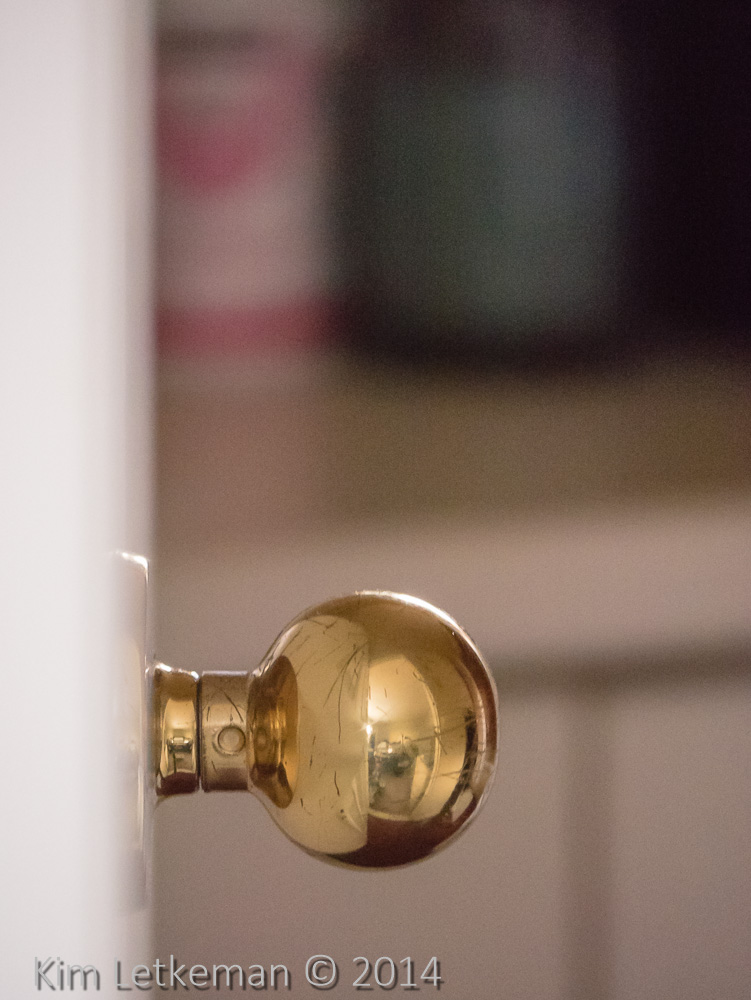
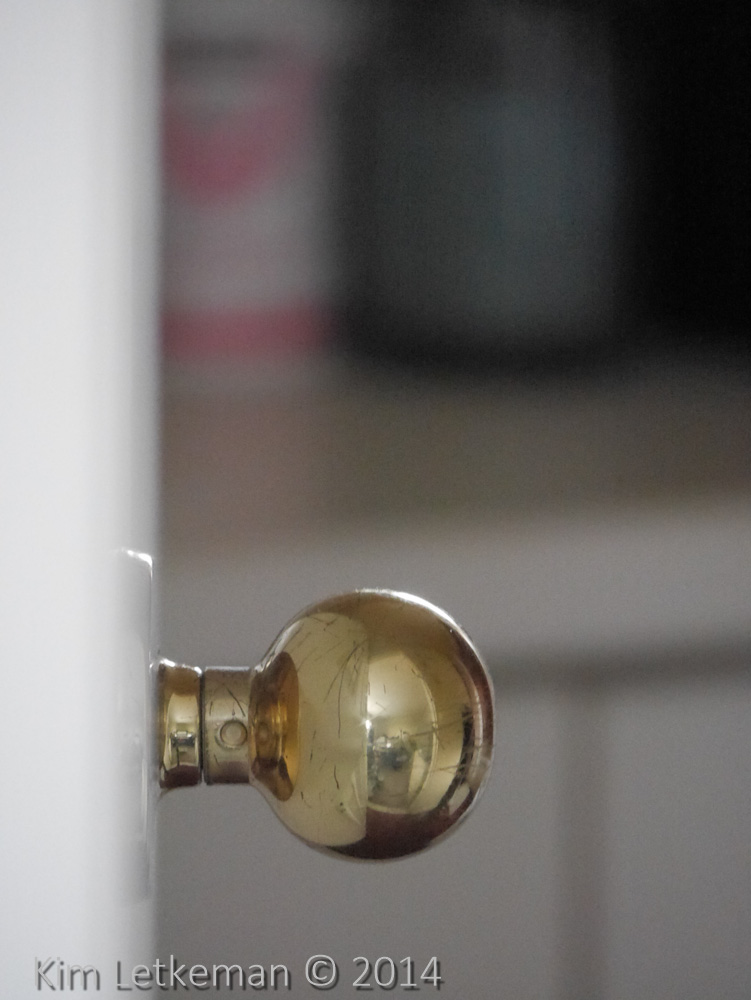
Here is a shot of a door knob. The lens is the 100-300, which sounds and even looks like nonsense on this body, but in fact which works extremely well. The door is edge on, so the shallow depth of field blurs the door over the base of the knob. A neat effect I think.


Panasonic GM1 & 100-300 @300mm  12800iso  f/6.3  1/100

I always leave some grain because I don’t consider it ugly. Further, it disappears when printed or downsized. The JPEG is even smoother, although a tad softer as well. And of course the tones are all muted.

Next up, one of my favourite targets for low light testing – a wire mesh pencil case with lots of pens and markers. The market make particularly good subjects because I am always looking for reasons to lose the “3D” effect of round pen caps. Meaning, I want to see how much dimensionality is retained at high ISO. Small sensors tend to butcher the edges at high ISO, but this camera does a remarkable job in this rarified ISO …

Again, the raw first and then the JPEG.


Panasonic gm1 & 100-300 @300mm  12800iso  f/6.3  1/80

Note the shutter speed … this is 600mm EFL indoors at 12800. The appropriate hand held shutter speed is 1/600s, but we’re at 1/80s and relying on OIS. That is exactly 3 stops of stabilization and I remain impressed by these lenses. And on this body, which has none of the dSLR grip and anchor points for your hands and face. Just excellent …

While the 100-300 is on the GM1, I leave the 12-32 on the GH2, which is easier than finding lens and body caps for both. (Can you say PITA?) So here is what that lens looks like on the GH2 … this is the OOC JPEG by the way.


panasonic gm1 & 100-300 @100mm  12800iso  f/6.3  1/200

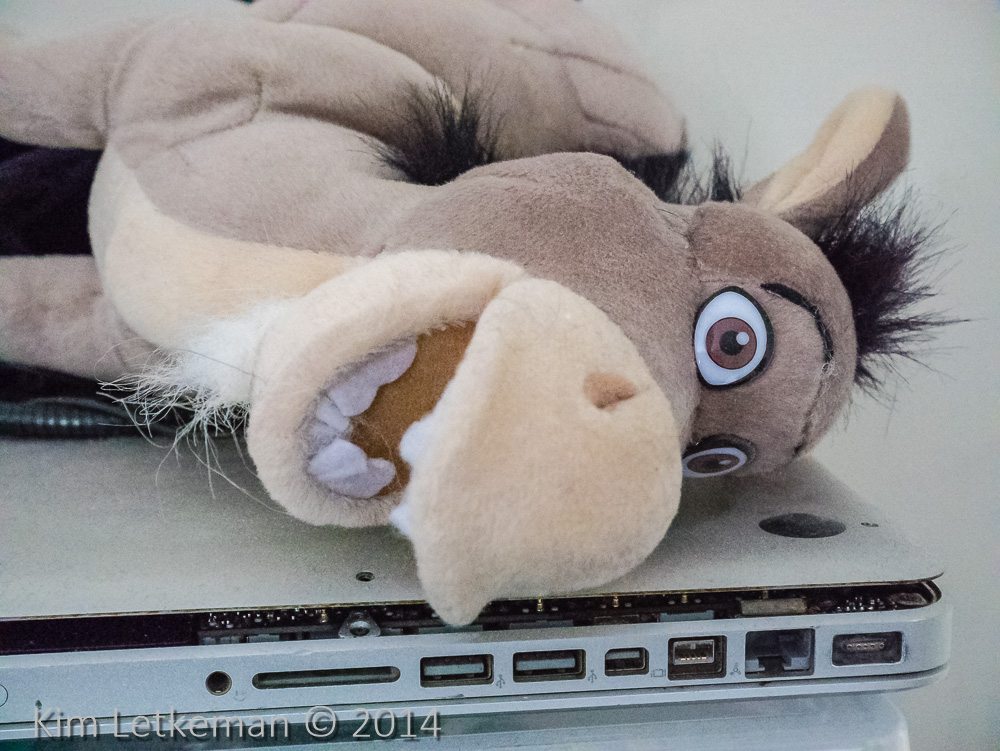
I then swapped the kit lens back onto the GM1 and shot this donkey right in the face, so to speak. Now, if this texture at 12800 ISO does not impress you then I suggest you get checked for a pulse :-)


panasonic gm1 & 12-32  @32mm  12800iso  f/6.3  1/80

Even the JPEG retains tons of texture.

Conclusion

Wow.