Sunday, February 2, 2014

Panasonic GM1 – Review Part 1 – The Arrival

Well, it’s late on a Sunday and my brain is pretty much fried after a weekend of brutal snow storms with middle of the night rescues (taxis stopped running) and all day shoveling and such …

So I thought I’d introduce my latest m4/3 body. I am at the point where I am not interested in more bodies unless they improve on what I already have. I have enough bodies to do any kind of filming I might want (and I don’t do it nearly often enough so I am evaluating whether I should have a bit of a selloff) … but my bodies are all one generation behind in sensor development.

Now, don’t get me wrong … I’m not all starry eyed over the differences between the newest sensors and the older sensors (although the 12mp generation is way too far behind in low light for my taste … but they are gorgeous in bright light.) Rather, I am looking for a camera that can shoot in near dark and return usable results.

Well, in looking at extreme ISO in my recent article on the topic, I concluded that the GM1 was the best sensor out there right now for extreme ISO, provided you work around its eshutter issue with banding (and to be fair – all eshutter bodies do this, but the GM1 does it as soon as you cross 1/500s shutter … you are left with no choice.)

So after looking over my options, I decided on the GX7. In fact, the GX7 with 20mm kit was on for an amazing price .. 1069, which saves the entire price of the 20mm lens and a bit off the body when talking list prices. But in the end, the slight extreme ISO edge the GM1 enjoys, plus its incredible size advantage, and the much lower price I found ended up winning the day.

A note on pricing: In the US, the standard price is 748usd while in Canada the standard price is 799cad.

Update: The kit dropped to 698 across the board in the USA. Very good deal against other cameras in that size and capability range.

Since the dollar is close to 10% difference nowadays, this was advantage Canada last week. At least for US citizens. But I found a place where I could get the kit in all black (the only colorway I like) for 739cad and it came bundled with a full license of Adobe Lightroom 5. Whaaaaaaaaaat? Flog the LR5 on eBay and you have an effective price below 650cad … or around 600usd. WOW!!  So there you go … I bit and it arrived – get this – the next day from Waterloo, ON. Wow again …

The vendor is called BJPhoto and is a family business here in Canada. Great shipping and very well regarded on forums etc. I’m quite glad I ordered when I did, because it is out of stock right now, and who knows if it is coming back in this form and at this price. I would call if you are interested.

image

Meanwhile … the camera. As I said, it arrived almost exactly 24 hours later. Here is the box and the DVD inside with LR5.
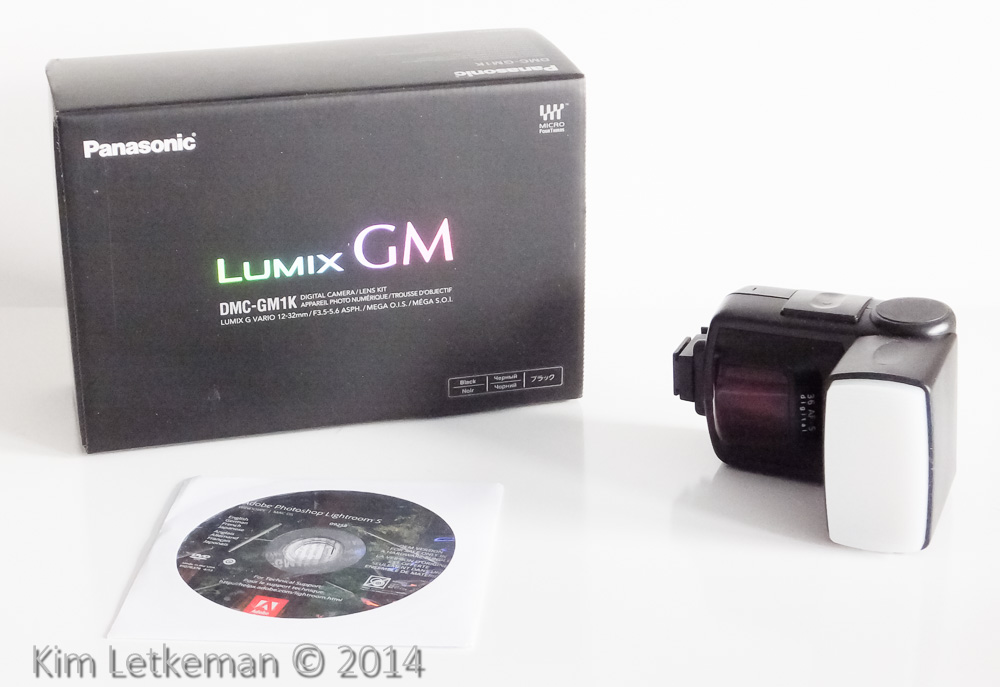
Note the flash sitting beside it … this is the other smokin’ deal I managed in the last few weeks. It is a Metz 36 AF5, a well regarded flash that retails for about 130 in both Canada and the USA. I got it for $12.50 or so with about 12 in shipping. I.e. 25 bucks. A steal by any standards. The seller listed it as for parts, not working. But in the description he said that it powered p and test fired but that he had no camera with which to test it. So I sniped it intending to send it to Mecablitz for repair if it was broken, but on arrival my tests showed that it worked perfectly. Happy camper here :-)

Here’s the camera with the GF3 X zoom kit and two Fuji compacts, the F770EXR and the XQ1. The size is simply amazing.

If the lens was a true pancake, it would be pocketable. As it is, you can call it coat pocketable. Any coat or cargo pants should have no trouble.

My general impressions of the body so far:

  • Superb fit and finish
  • Battery door is damped, feels great
  • Buttons work very well, dials are perfect (but I shoot a lot of compacts so this is right in my wheel house)
  • No problems holding it, but I ordered a Franiec grip anyway (it shipped the same day the GM1 arrived)

I tried two things to start with … manual focus with peaking, and extreme ISO. Since these are the premier features I was after, this seemed the logical intro to the camera. Focus peaking does not actually kick in in a lot of cases where I shoot. Meaning that you need a pretty hard edge before peaking will show you something. I will have to spend much more time testing how to best use it though, so my first impressions are not of much use.

Still, the magnification at 10x works great and I liked that result. Here, I focused on a tin can with the Pentax 50mm 1.4 set wide open. Obviously, that is a really tough task, since DOF is very shallow.
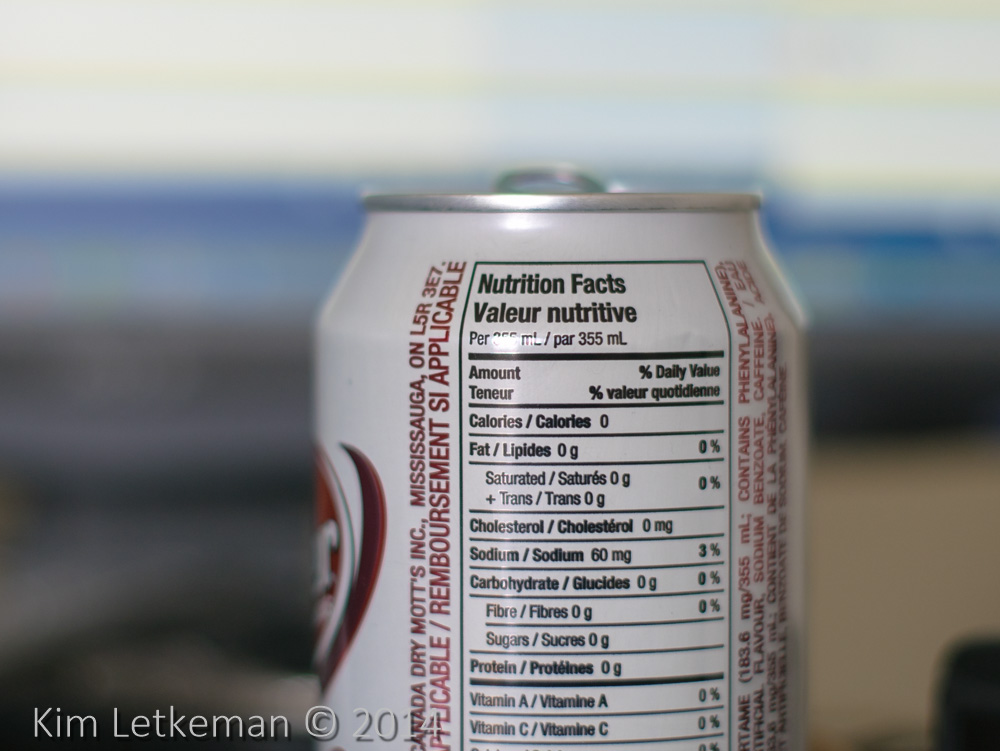

Panasonic GM1 & Pentax 50mm 1.4  200ISO  f/1.4  1/160

I won’t complain about that.

The following shot was focused on the corner of the Galaxy S3 case closest to the camera. Again, no glowing edges to help. But again, very easy to focus at full magnification. Wonderful LCD on this cam. I show the Lightroom 5 image and the out of camera JPEG image. The JPEG is softer and has much less contrast, which is how I set them up for now. I think I will change that to stronger settings for the preview value, especially sharpening. I never use the JPEG anyway, despite them being very good on the GM1.
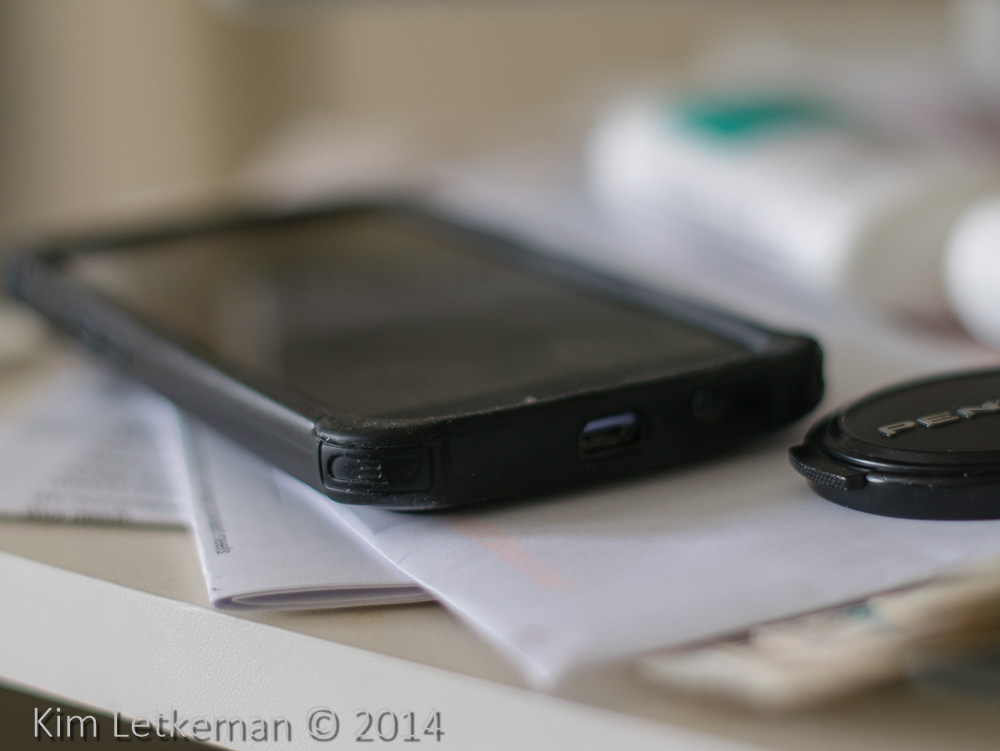

Panasonic GM1 & Pentax 50mm 1.4  250iso  f/1.4  1/125  -- Lightroom 5
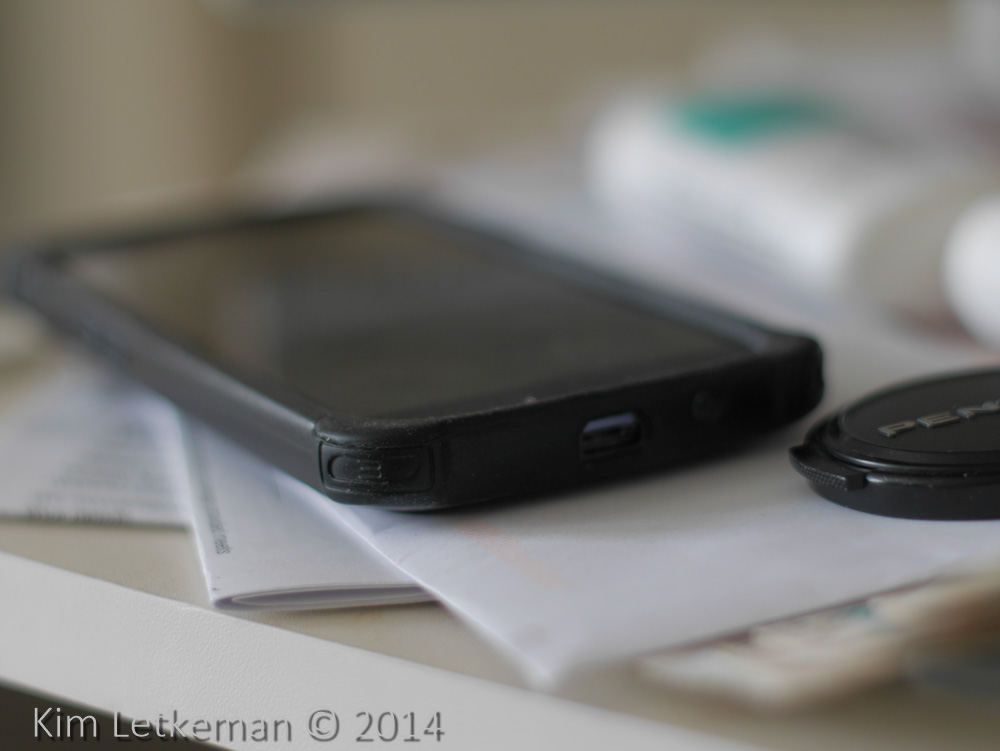

Panasonic GM1 & Pentax 50mm 1.4  250iso  f/1.4  1/125  -- JPEG OOC

I am very satisfied with how manual focus works on this camera, but I plan on spending some quality time with the manuals and the camera to suss out the best settings for focus peaking and manual focus. I expect more from it than what I’ve seen so far. More on that later on …

High ISO came next in my initial examination.

I must say that I am really, really impressed so far. In fact, I set 12800 as my max ISO for auto mode and I allow the camera to go nuts … it is that good.

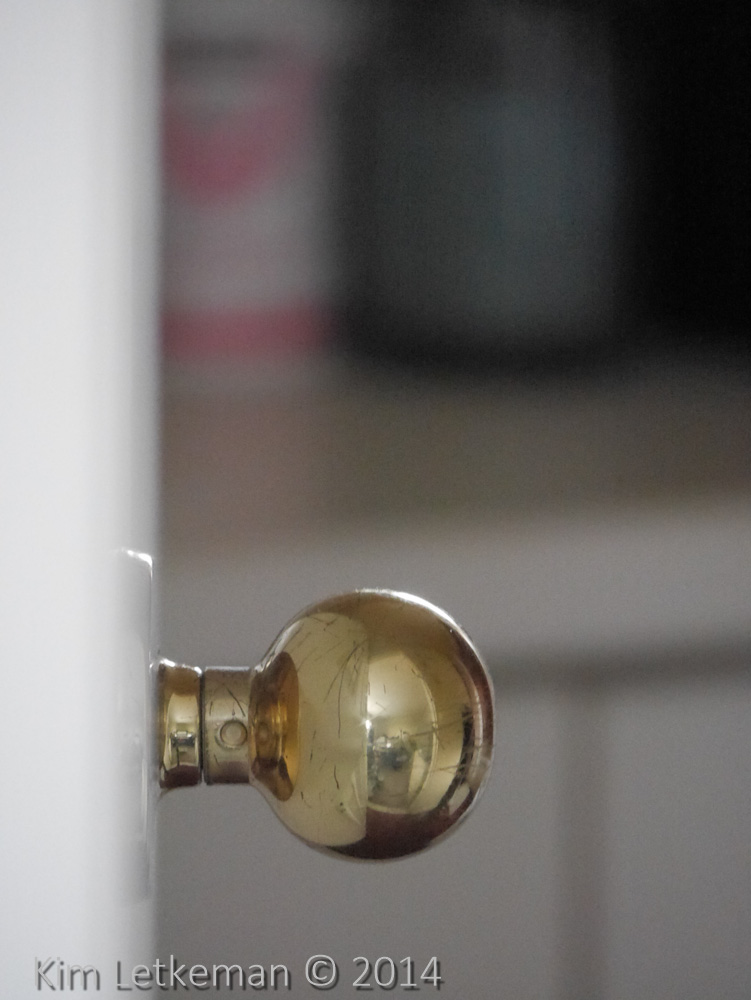
Here is a shot of a door knob. The lens is the 100-300, which sounds and even looks like nonsense on this body, but in fact which works extremely well. The door is edge on, so the shallow depth of field blurs the door over the base of the knob. A neat effect I think.
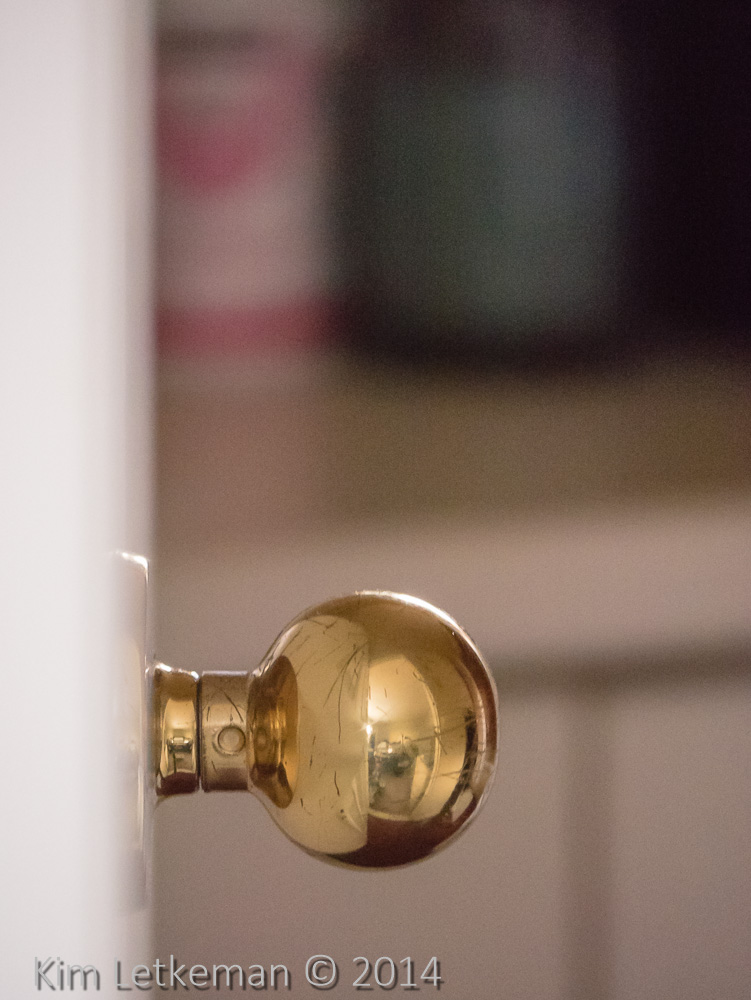

Panasonic GM1 & 100-300 @300mm  12800iso  f/6.3  1/100

I always leave some grain because I don’t consider it ugly. Further, it disappears when printed or downsized. The JPEG is even smoother, although a tad softer as well. And of course the tones are all muted.
Next up, one of my favourite targets for low light testing – a wire mesh pencil case with lots of pens and markers. The market make particularly good subjects because I am always looking for reasons to lose the “3D” effect of round pen caps. Meaning, I want to see how much dimensionality is retained at high ISO. Small sensors tend to butcher the edges at high ISO, but this camera does a remarkable job in this rarified ISO …

Again, the raw first and then the JPEG.


Panasonic gm1 & 100-300 @300mm  12800iso  f/6.3  1/80

Note the shutter speed … this is 600mm EFL indoors at 12800. The appropriate hand held shutter speed is 1/600s, but we’re at 1/80s and relying on OIS. That is exactly 3 stops of stabilization and I remain impressed by these lenses. And on this body, which has none of the dSLR grip and anchor points for your hands and face. Just excellent …

While the 100-300 is on the GM1, I leave the 12-32 on the GH2, which is easier than finding lens and body caps for both. (Can you say PITA?) So here is what that lens looks like on the GH2 … this is the OOC JPEG by the way.
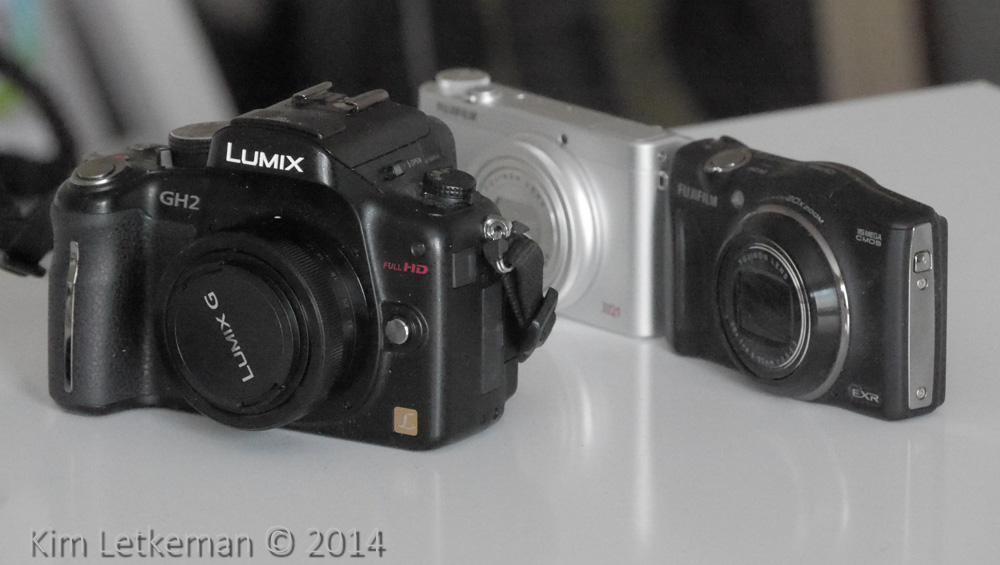

panasonic gm1 & 100-300 @100mm  12800iso  f/6.3  1/200

I then swapped the kit lens back onto the GM1 and shot this donkey right in the face, so to speak. Now, if this texture at 12800 ISO does not impress you then I suggest you get checked for a pulse :-)
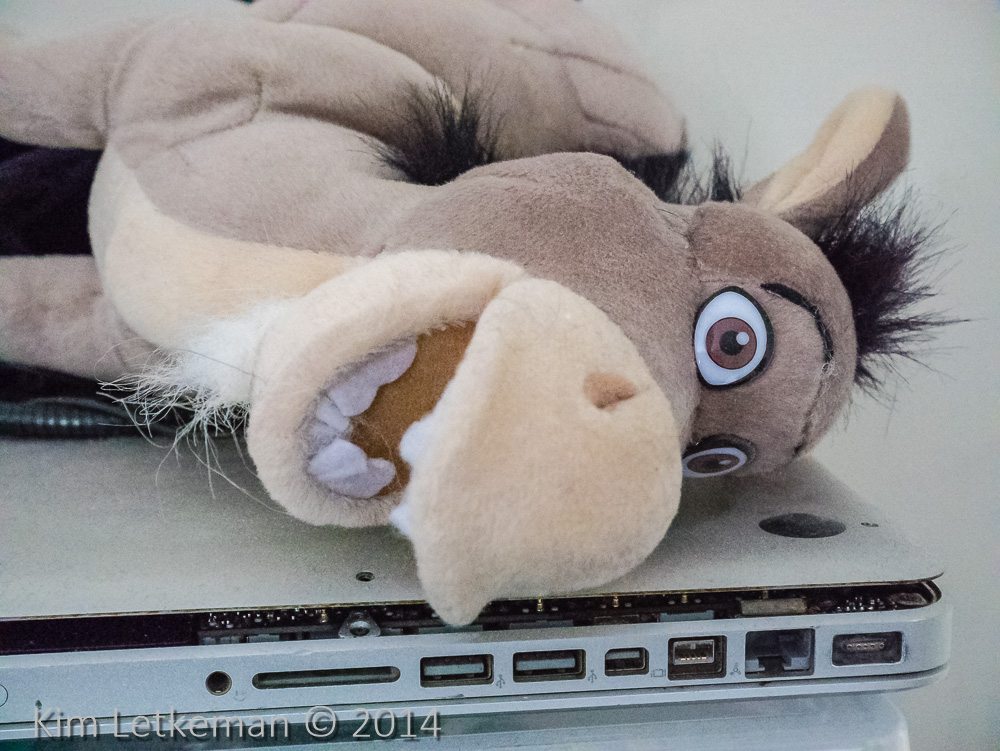

panasonic gm1 & 12-32  @32mm  12800iso  f/6.3  1/80

Even the JPEG retains tons of texture.

Conclusion

Wow.

Saturday, February 1, 2014

I can’t go on. I’ll go on.

No, this is not something pertaining to me and these are not my sentiments. In fact, that is a quote from Samuel Beckett, that appeared as the salvation of Paul Lakanithi in his superb essay entitled “How Long Have I Got Left?”

It is a discussion of how he, as a 36 year old chief resident in neurological surgery at Stanford University, get diagnosed with lung cancer and transforms from doctor to patient in the blink of an eye.

He takes us through the whole process of desperately seeking statistics as a way to deal with impending death and slowly draws us through the reasoning as to why doctors cannot be more specific and why we should not want them to be.

This is one of the best essays of its kind I have ever read and I highly recommend it.

Note: Kudos to Yoni Freedhoff from the blog Weighty Matters for passing this along.

Friday, January 31, 2014

Blue Jays home opener … rip off …

Yeah … turns out they sold out in 48m and anyone who tried probably faced an unending stream of “high demand, no tickets available” …

But “dreamtix” has already listed dozens and dozens of tickets on eBay for 6x the cost …

Nice …

Tuesday, January 28, 2014

Ender’s Game

image

Impressive, sort of. I enjoyed the movie and was glad that they did their best to deal with the major formative points.

But so much was left out that I cannot help but recommend that you read the book as well. Watch the movie first, else it will be mildly disappointing. Once you’ve seen the movie, the book will blow your mind …

Rogers Internet … slooooooowwwwwww …

I am normally thrilled with my Internet service, which just makes times like this a bazillion times worse!

I pay for 45Mbps and regularly get 65Mbps … so 3.4Mbps is really, really horrible …

Some hours later, things are back to normal ….

Thursday, January 16, 2014

And yet one more L vs M test …. F770EXR, F900EXR, HS50EXR

EXR cameras have an unusual matrix that allows them to pair pixels up to either bin them (this is called SN mode and double the effective pixel area in hardware, yielding better noise handling) or blend them on a curve for extended dynamic range (which is called DR mode, when the bright pixels lean towards mid and shadow tones and the dark pixels lean towards mid and high tones, creating a flat-toned image that retains detail everywhere.)

This is a wonderful trick, but carries a few penalties. One is that the anti-aliasing filter must be tuned for either 1 or 2 pixels (which actually means 1 or 4 since it will be a circle of confusion that is affected) and in choosing which way to go, they will actually soften one mode more than the other (I think.)

What has always been true is that both modes can create a fairly sharp image, but one mode was always better. That mode was M size. Shooting M mode allowed you to retain low ISO (100) while blending two exposures in camera to achieve 2 stops of dynamic range extension. This makes EXR cameras better than any other technology at holding skies and opening shadows at the same time. Theoretically, at least. Some manufacturers have very good software dynamic range extension (basically digital fill) that is hard to distinguish from the Fuji solution. But doing it in hardware has worked well for Fuji.

What happens when you shoot L size, though, is that you are using all the pixels for one exposure, and hence you don’t get your DR extension. And that blows highlights and blocks shadows with abandon. Fuji does, however, have their own version of digital fill for software based dynamic range extension, so all is well. Except that it’s not. Fuji’s version of digital fill boost ISO by 1 stop for every extra stop of dynamic range. So the images look right, but the get noisy fast, which triggers significant damage to low contrast textures and edges from noise reduction. Even when you shoot DR100 at ISO100, you still end up with serious edge issues because the pixels are smaller and the shadows are deeper, thus forcing more noise reduction.

This is especially damaging on the 1/2” sensor that is present in all of Fuji’s EXR cameras with long zooms --- the F series and the HS series. The X series uses shorter zooms and the 2/3” sensor, which works fantastic in JPEG and not so well in Adobe raw processing software like Lightroom and ACR. Silkypix fares better, but I dislike its interface and would choose JPEG over using that tool.

Anyway … the HS50 and F900EXR have had some tuning to improve their handling in the raw converters and to improve the L size handling. Moon shots, for example, look quite good in L size. The craters are high contrast and the extra detail from 16mp does not go amiss – provided that the obvious protocols are followed by shooting many images and selecting the one with the best “seeing.” As for their abilities in shooting fine, low-contrast textures, they are a wash, at least in really good light.

http://kimletkeman.blogspot.ca/2013/04/hs50exr-review-part-19-l-versus-m-again.html

On the other hand, when the details are one smooth curved surfaces and these surfaces are not in direct sunlight, things tend to be less clear. Some parts of the following crops are better on the Msized image and a few are better on the L sized image. What this tells me is that shooting L size continues to be very risky for no gain whatsoever. (Note that there are tests out there that show spectacular differences in favour of L size. These make no sense to me so I cannot put any faith in them, especially given that the two people pushing L size are also prone to extreme rhetoric.)

So I thought I would run one more test with my F770EXR, which is featured in the link above the previous paragraph as well. It tends to be pretty even in well balanced light and the edge destruction in shadow is there, but not rampant. Still, I would never shoot it in L size for the simple reason that there is never any real advantage and there is often palpable disadvantages.

But what about bad light? Orange, indoor light from halogen bulbs for example? What does that do? Well, I would predict that L size would take a major beating from the combination of pushing the blue channel very hard and the shrinking of pixel sizes into the range of noise grain, triggering a beating from the noise reduction. That’s pretty much what always happens in shadows, and indoor light is low enough to be like mid to shadow all the time.

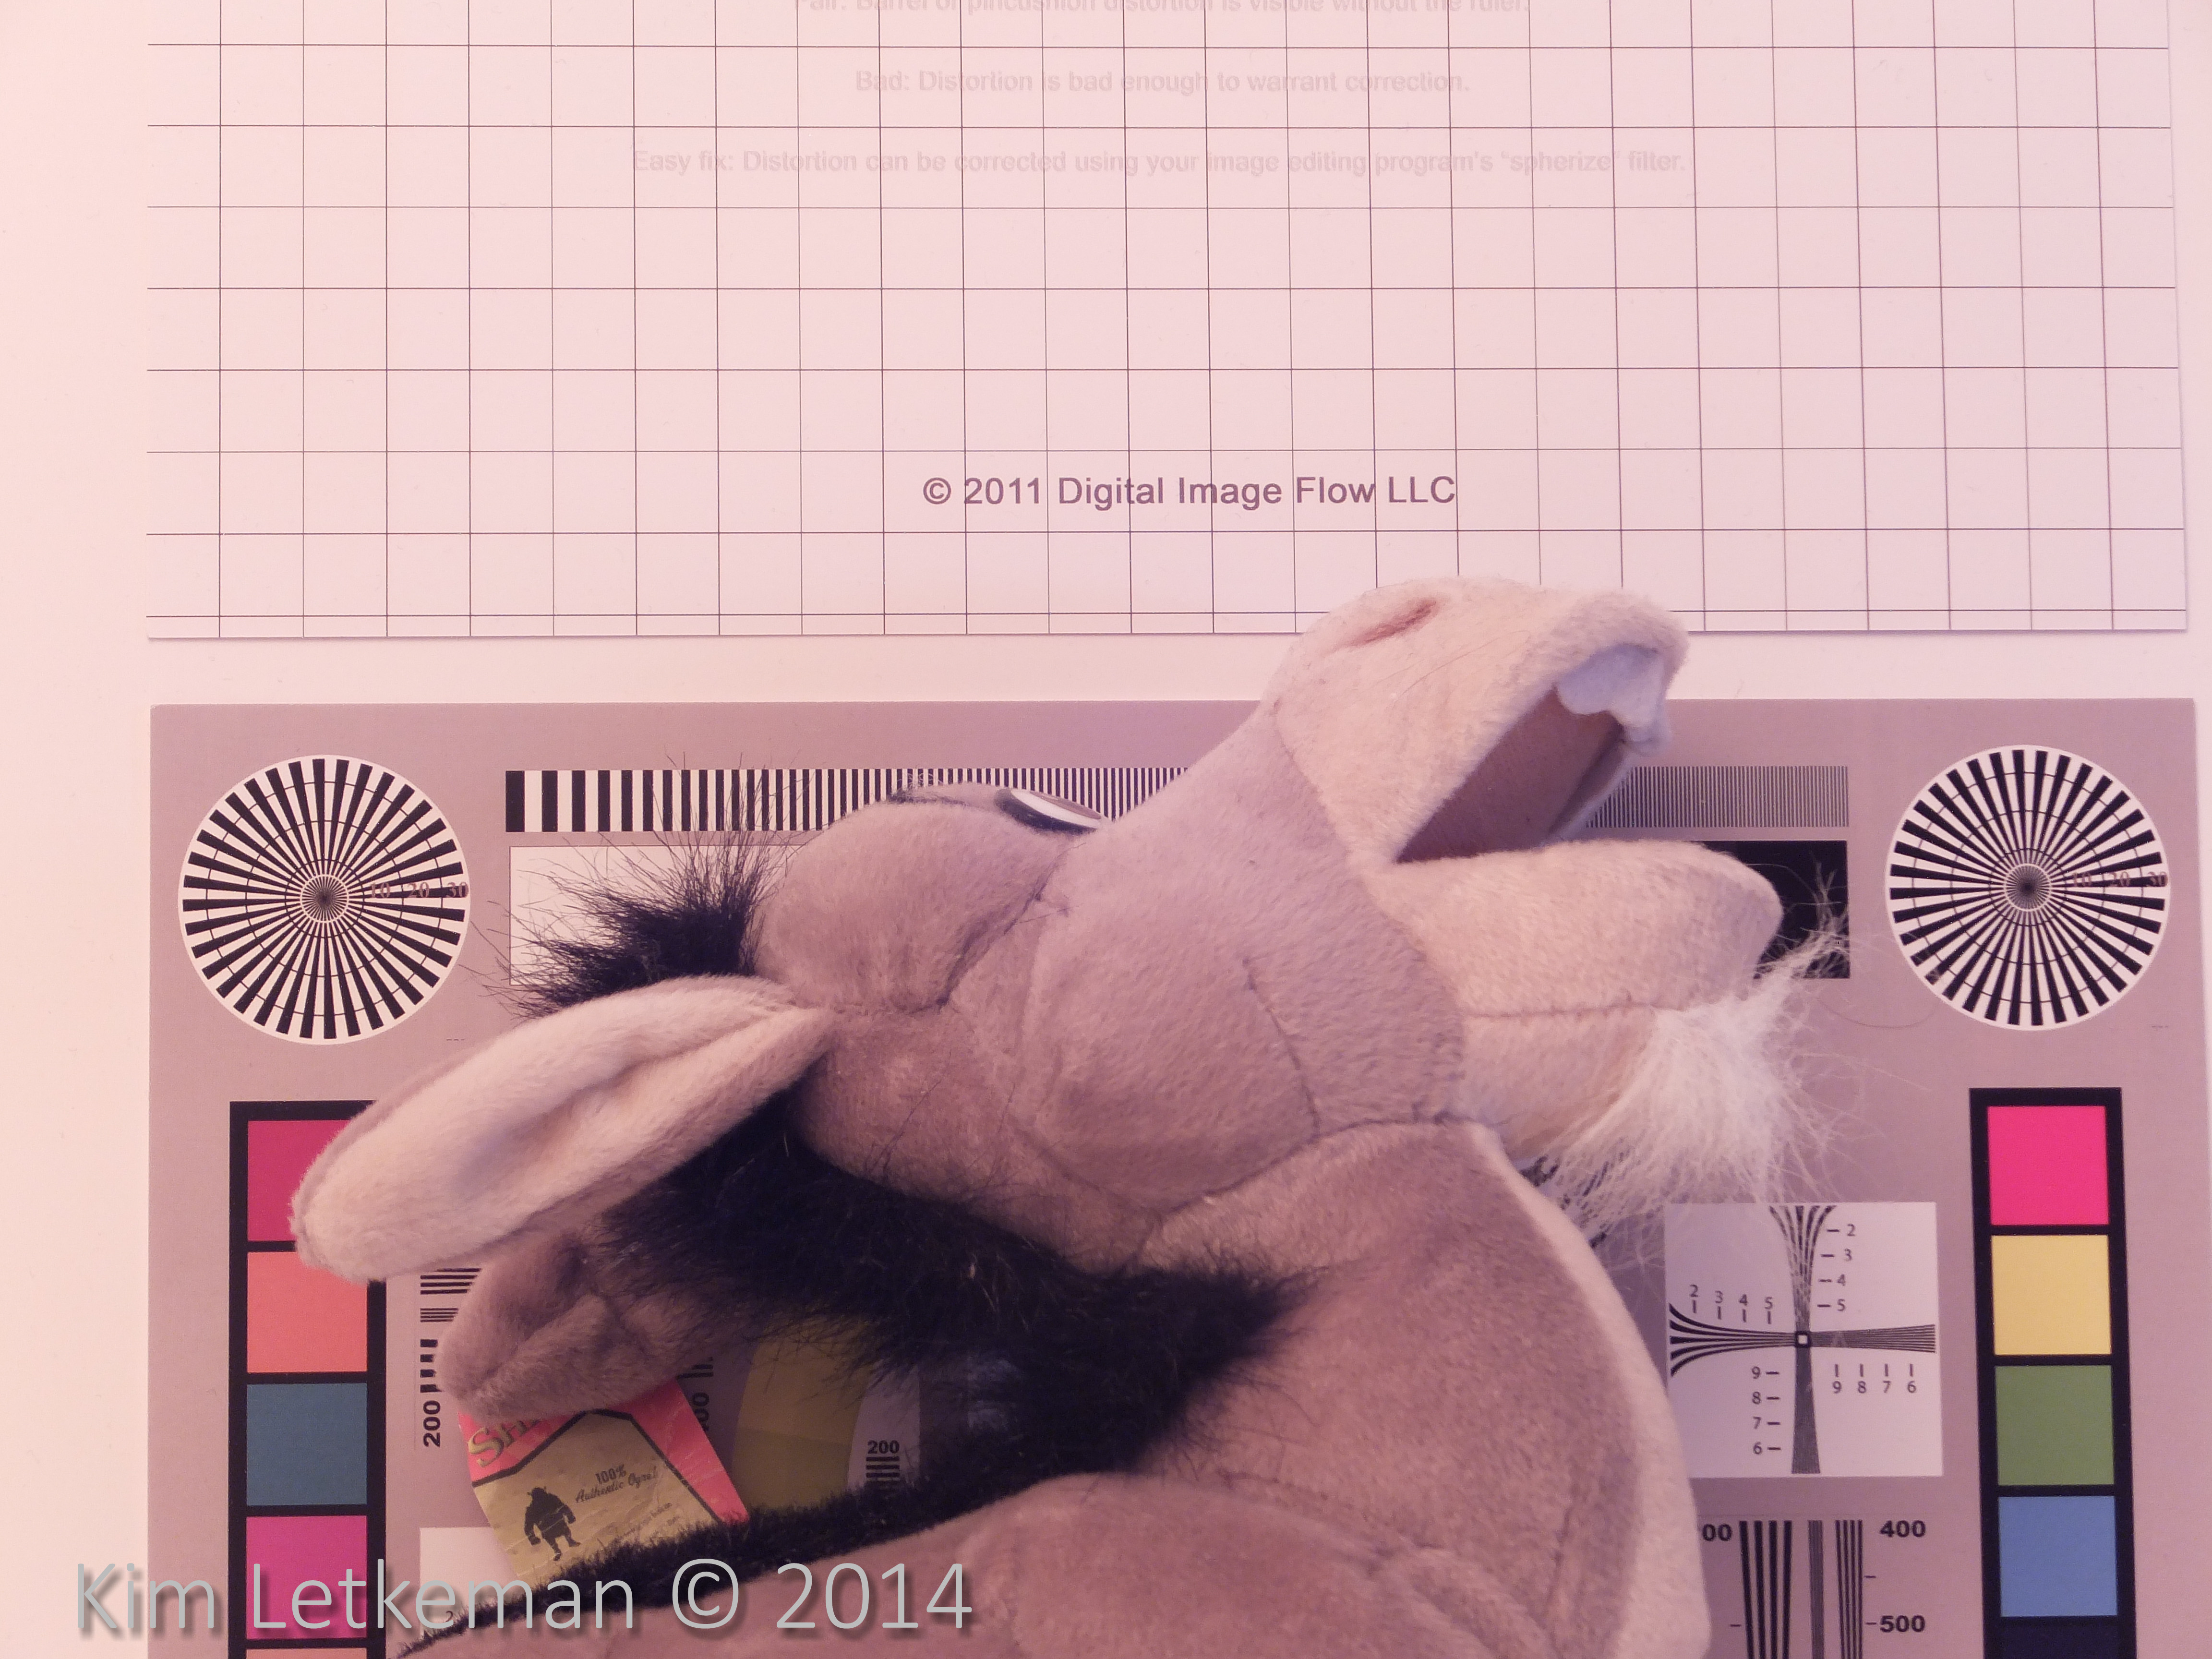
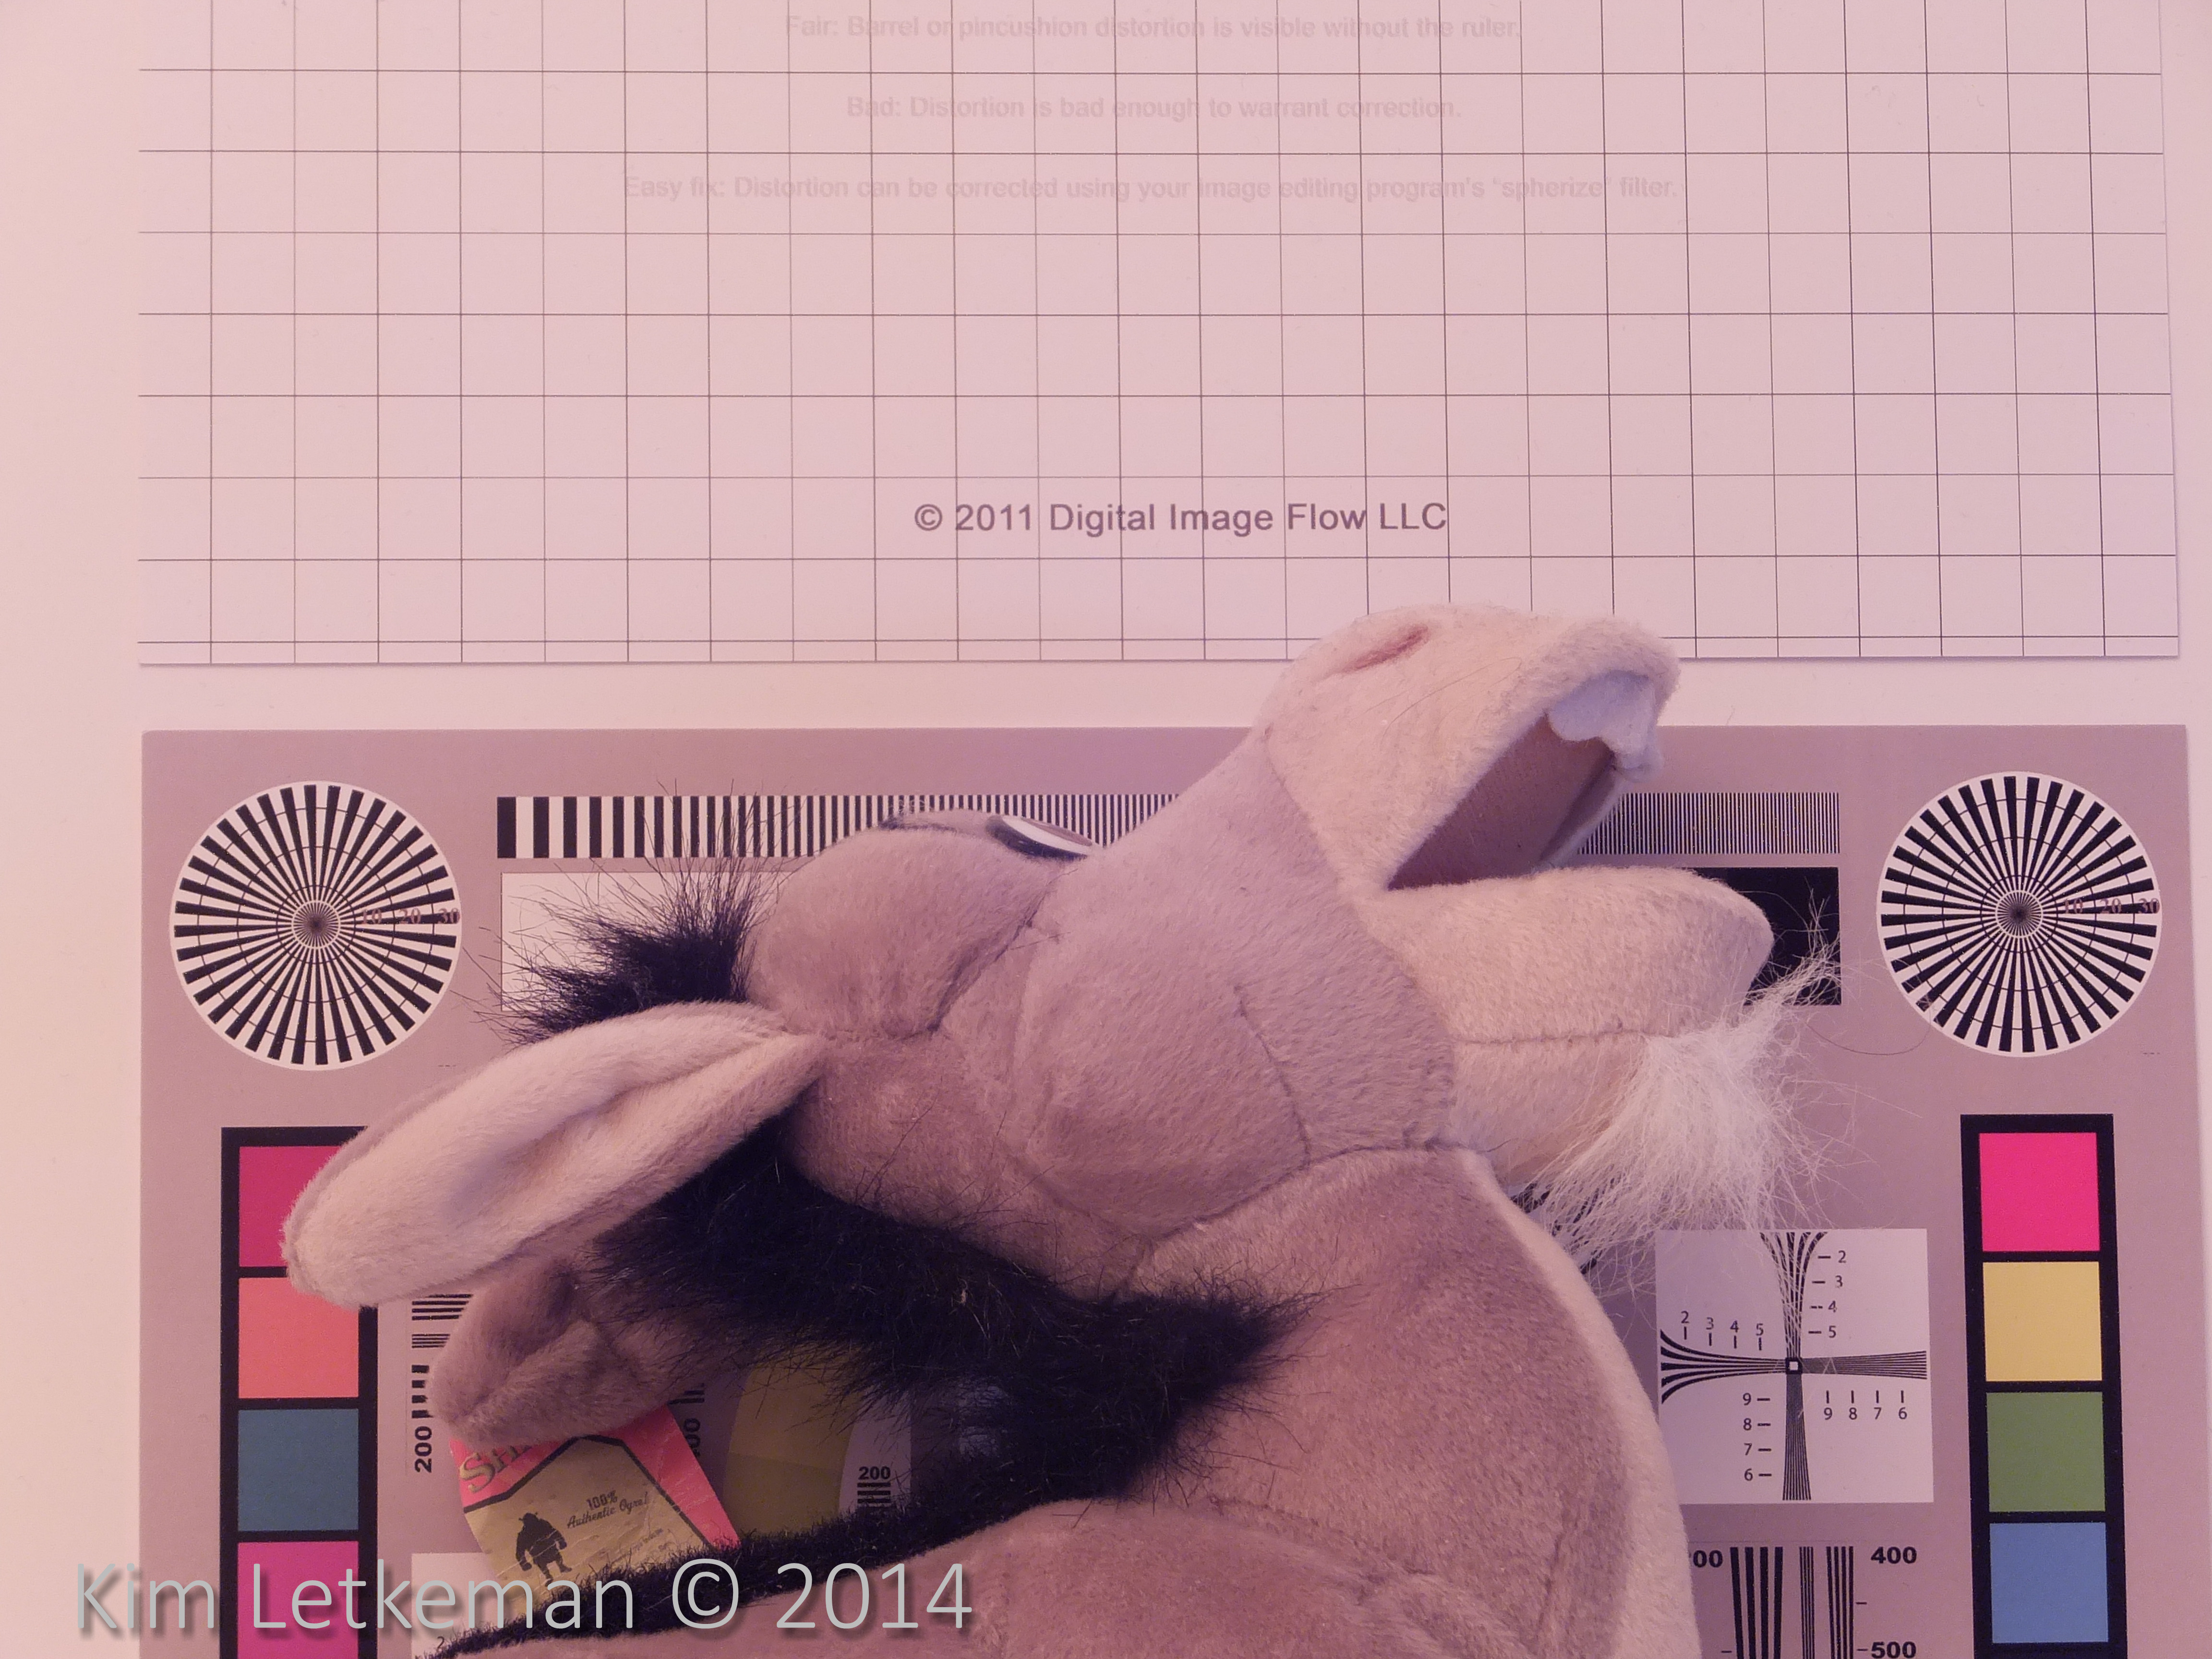
So I shot JPEG+RAW at 100 ISO with M4:3 at DR400 and L4:3 at DR100. Since both are at their best (no raised ISO) this is a fair fight. I processed the JPEG just to resize the M with a hint of sharpening and add watermarks. The names reflect which is which, but you will be able to tell easily … the M version has a flatter tone curve as it should. The textures on the L size are largely destroyed, as is normal on any but the latest EXR cameras (and I would dearly love to get access to those cameras one more time to run this test, as bad light seems to aggravate the already poor handling of textures.)

It is easy to think that maybe the images are not focused the same, but since they were shot on tripod and released by timer, that’s not actually an issue. Further, the hard edged lines are almost identical on most of the image (the exception being the cross on the right, which is in shadow and is crushed by NR I believe in the L sized image.) I have created two animated GIFs to illustrate the brightly lit area top left corner where they are essentially identical after upsizing the M, and the main, which is in shadow and very dark … here, the texture destruction is absolutely rampant in the L sized image and almost non-existent in the M sized image.

So … the four images … download as you wish, but I am exerting my copyright on these that you must give credit if you repost the images and you may not post derivative works that are designed to twist the results. That’s why you are getting originals that are only resized to match and rendered in Lightroom to fit inside the 4MB limit of my Gallery host.

L4:3

M4:3 Upsized

Crops Top Left Pattern

The edges are a tad smoother on the L sized image, but there is no difference in detail. The contrast is better on the M image, likely owing to the less harsh tone curve (not intuitive, I know … but I think it has to do with the overall image contrast and not the local contrast.)

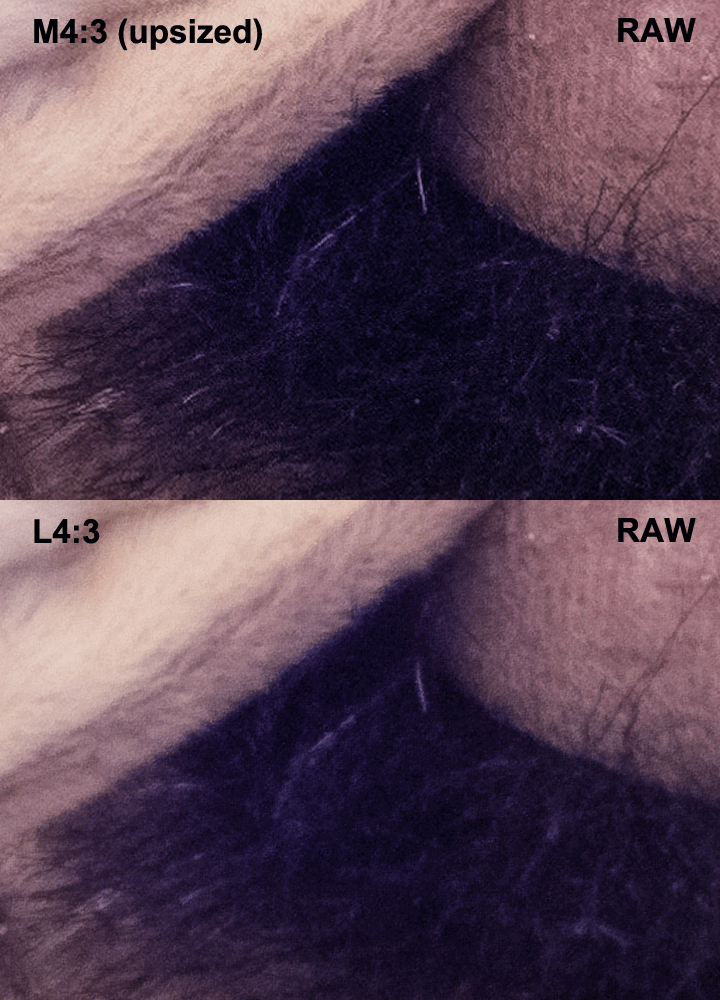
Crops Donkey’s Main

Here, the difference is night and day. I have always found that the noise reduction can get completely out of control in areas where there is little light. It just cannot tell detail from noise and the smoothing is applied with a sledgehammer.

Conclusion

The newer models handle L size much better than this model. But there are still issues as shown in the two links above. And if you shoot anything but the HS50EXR and F900EXR, you really don’t want to mess with L size very often. It does very bad things to the files … in JPEG and in RAW.

Even with the newest models … I would not bother except in very limited circumstances. Very close macro might work, if there is no texture at play. And the moon tends to work because we don’t really care about the part of the surface that has no craters. And even then, you have to carefully process that part to avoid seeing pure mush.

So … enjoy. Shoot however you like. You have been warned Smile