Note: I performed the same repair more recently on an old used pair of Infinity SM62 bookshelf speakers that were also rotten and again I have an excellent pair of like-new speakers for a song. I use them as my main computer speakers now with an old NAD 7155 stereo receiver as amplification.
This is a story of a good deal turning out not so great, then turning out really great. I was struck one afternoon with the need to find a cheap pair of Paradigm Titans for my bedroom. I already have two pairs and a center channel Titan for the 5.1 Dolby system in the home theater (my living room) and they sound incredible with the Yamaha subwoofer that I bought in the first year I lived in Ottawa (1979.)
I scoured Kijiji and found a pair of V1 Titans for only 60 bucks. I called and was invited to come see them. The cabinet on one of them had a crack an inch from the end, indicating a fall from some height at some point. But they made noise, so I naively walked out with them. I liked the guy who sold them to be and I really liked his dog, Bear. :-)
I got them home and they sounded as good as I had hoped on first listen. Sweet high end with full bottom … (stop snickering.)
But … I cranked it up for listening to movies and realized that there was a weird buzz going on. Eventually I decided to test them properly and used a nice 20-20000hz sweep tone I found on YouTube … shown below. Be careful how you listen to this as high volume could destroy your ears or your speakers. You have been warned!
There was a very loud buzz from 75hz through 150hz on the left speaker, so I decided to try to go around it by purchasing bass blockers for 300hz on a 6dB curve. That was an epic failure :-) .. but luckily Amazon has an excellent return policy and pays for the shipping for you with a full refund. Mind-blowing, to be honest.
So I finally gave in and took them apart. What I found kind of shocked me.
Yes, both surrounds are 100% separated, leaving the cone to float without any support. That provides ample opportunity to flap around and buzz against whatever it touches under stress. Bad news, and I would have ruined a lesser driver with my testing. But these are cast baskets with seriously good parts in them, so I had something to work with.
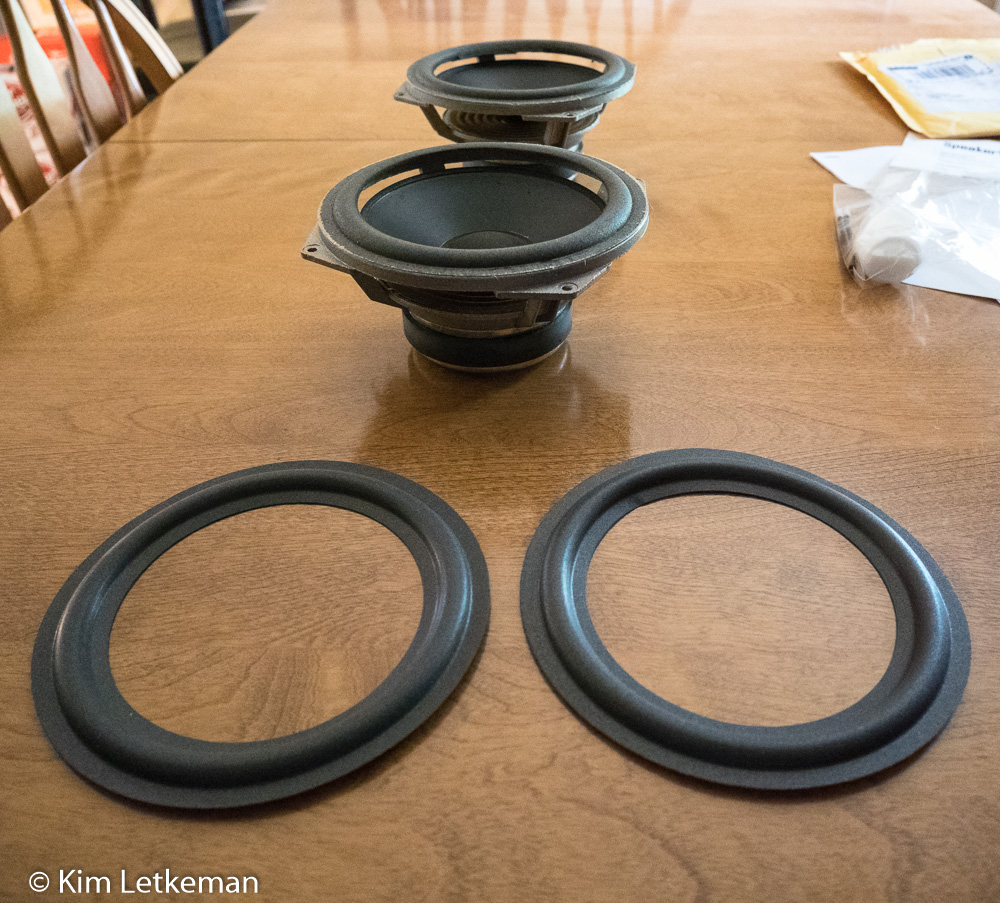
I ordered a fairly cheap pair of 6.5” foam surround replacements from SpeakerWorks.com with first class postage from Eugene, Oregon. They have very good prices and the shipping was pretty quick, about a week. I was pleased and surprised when it arrived that it had changed from first class in the USA to ExpressPost in Canada.
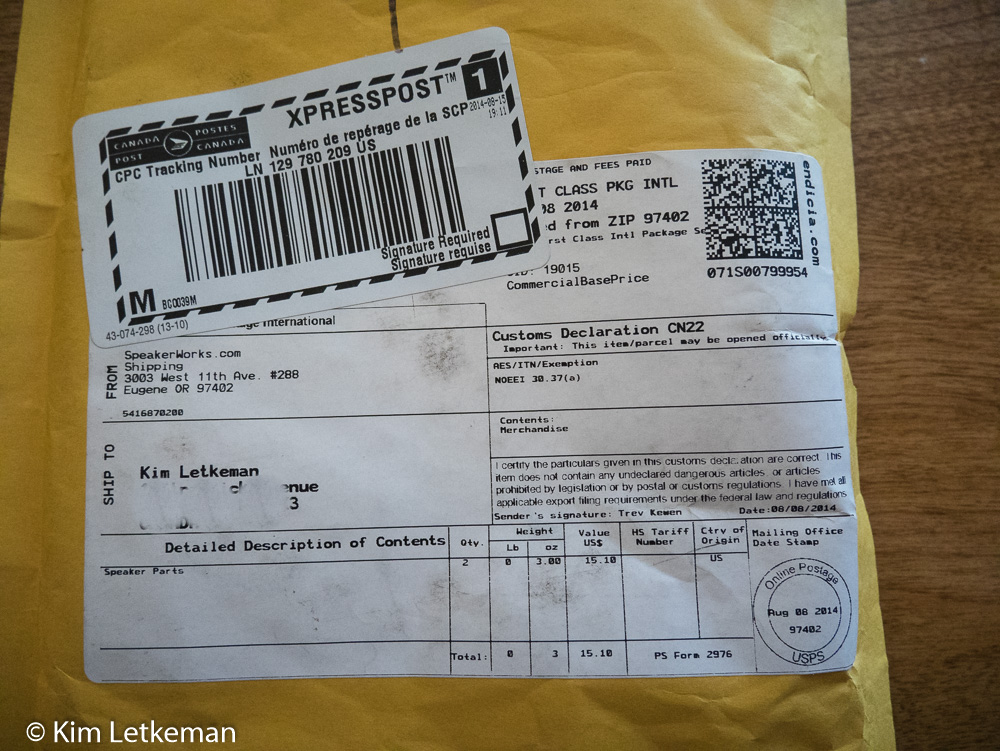
They are pretty simple looking, but they fit perfectly and all the various DIY videos online swear that they make speakers sound like new.
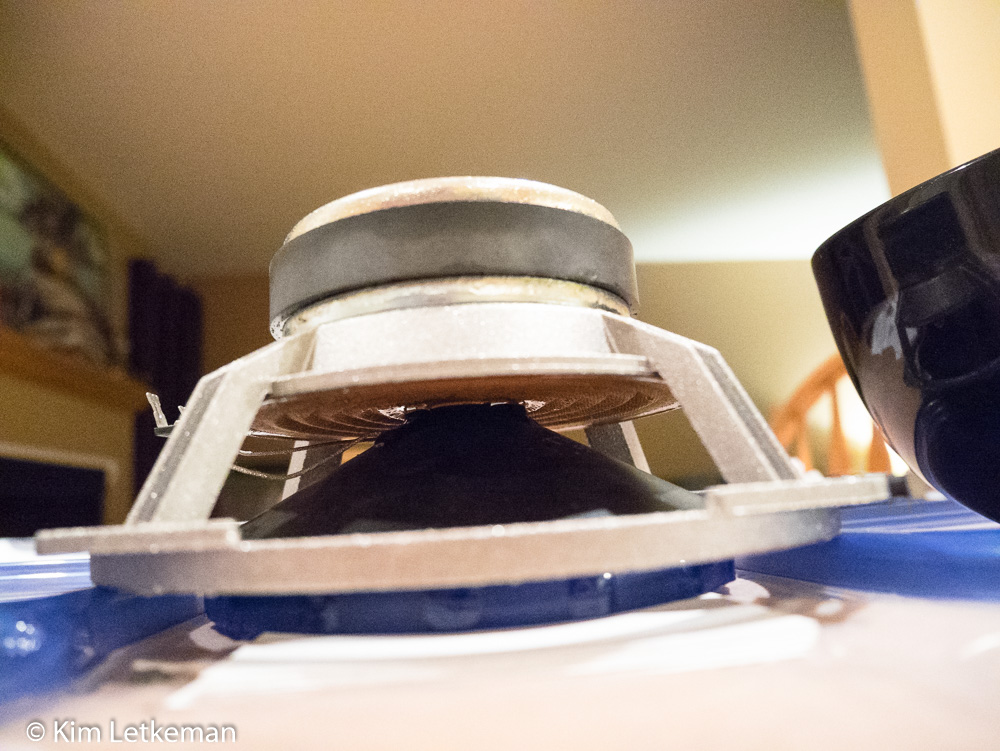
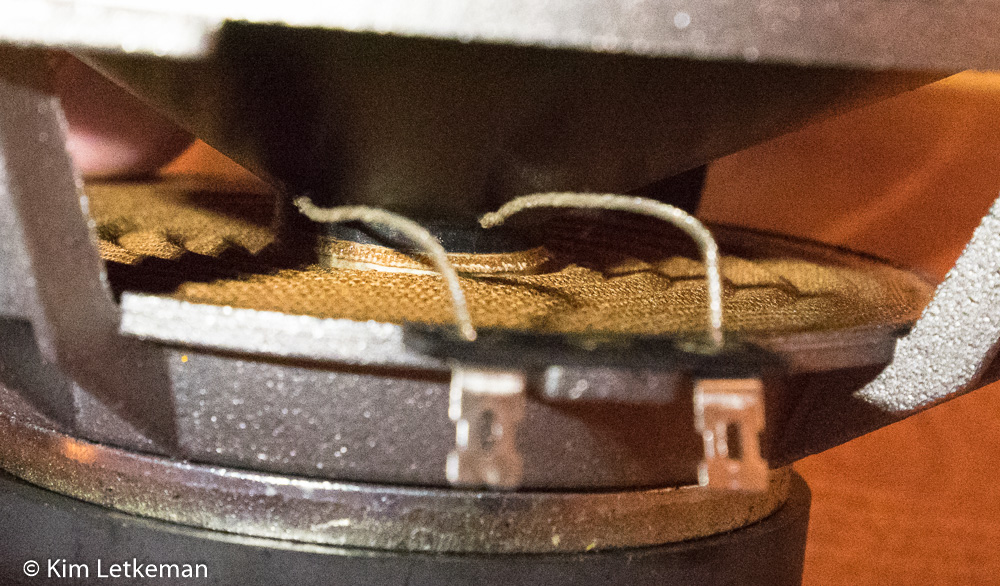
I waited a day or two until I had mustered the courage to perform the repair. I played with the speakers a bit while I was thinking about the repair and planning the steps when I noticed a weird clicking feeling and sound as I lifted the cones to make it easier to attach the inside of the surround. The trick is to roll paper and slide in between the basket and cone. Turns out that the clicking was a detached voice coil, on both speakers! Mind blowing. Here you can see it floating free of the spider that is supposed to stabilize and damp the cone.
So, time to get going. The table is covered with a plastic drop cloth and the tools and surrounds and glue is ready. The latex based glue came with the kit, but I had to go out and find self-mixing 5m epoxy for the voice coil reattachment.
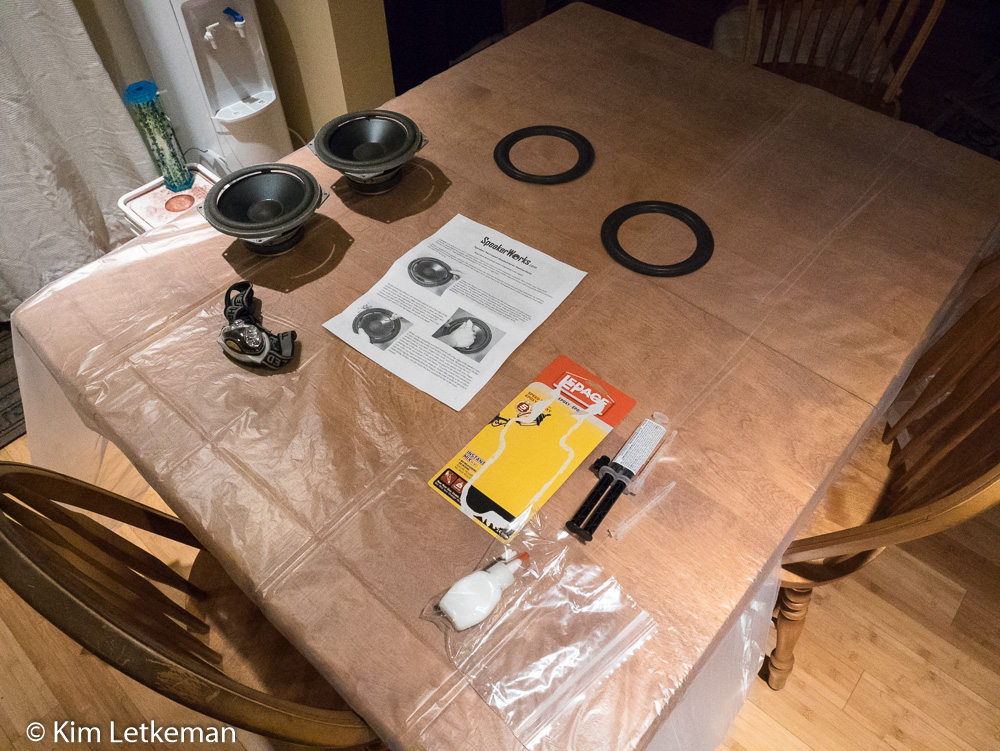
Note the headlamp. I performed this repair after dark by the light of four overhead pot lights and that did not help me see into anything inside the speaker, so the headlamp allowed me much better vision while I was repairing the voice coils for example.
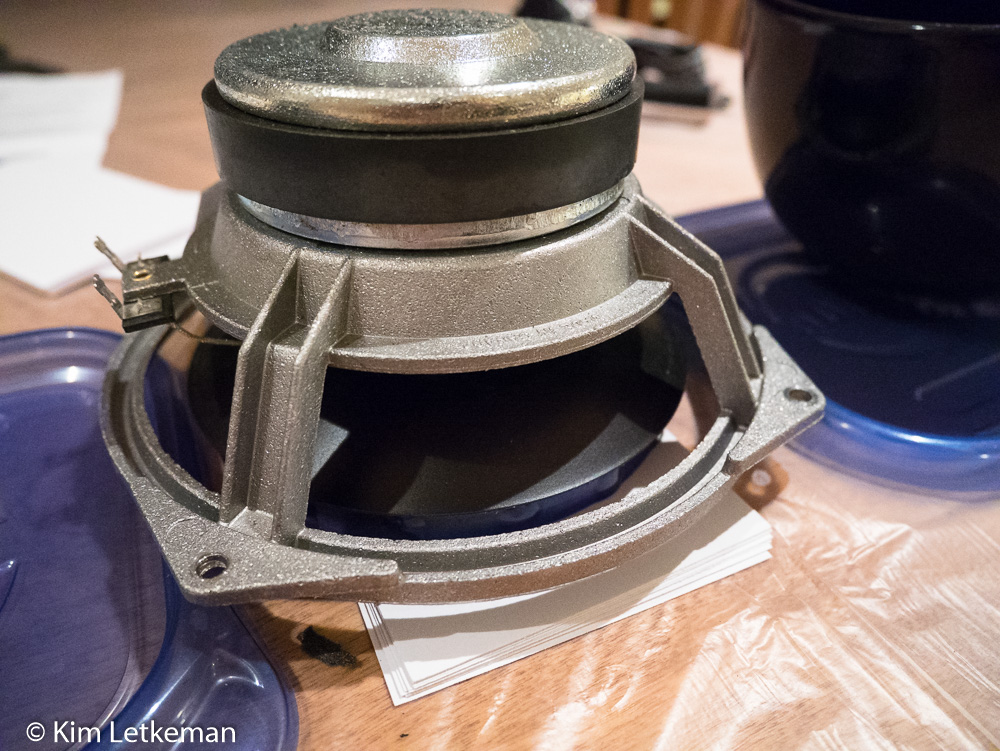
The first task was to remove the surrounds so that I could lay the speakers flat on their baskets for the voice coil repair. Here you see one of them done, which involves peeling the surround with your fingers and then slicing the glues part carefully with a razor blade. I used a paring knife instead and it worked fine.
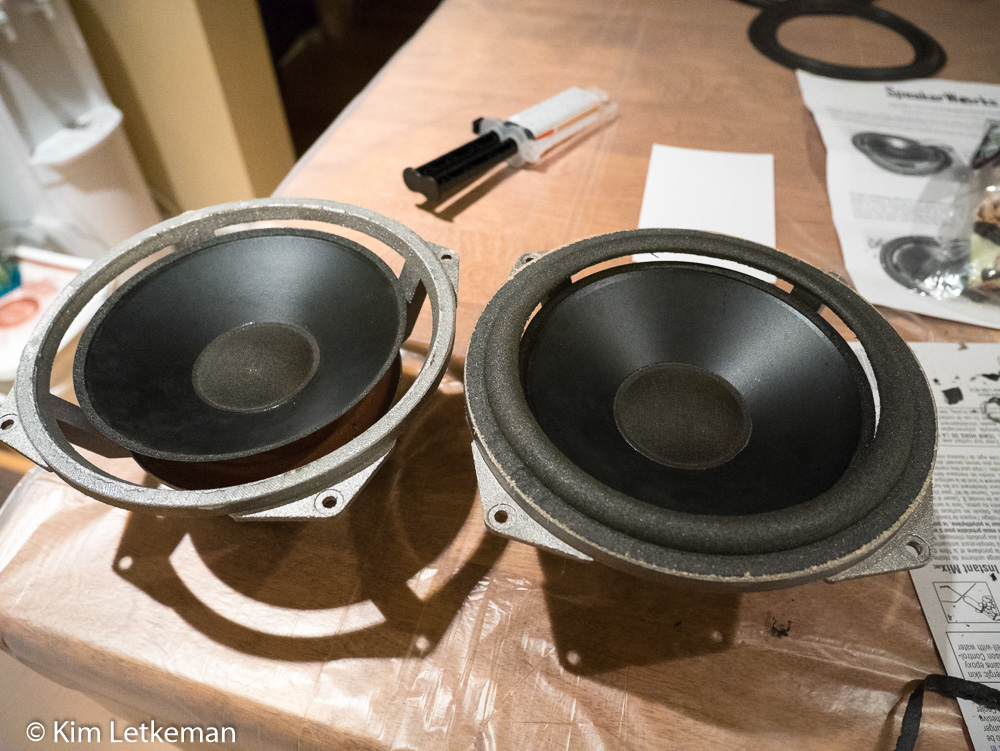
Once both were clean, I needed to figure out how to stabilized and center the cones when the voice coil was reattached. There was no way I was going to slice off the dust caps to expose the voice coil and then insert shims to center it. Not in a million years. So I cobbled together a little jig from two kinds of Ziploc lids, 20 note cards and a pair of latte cups … I shit you not.
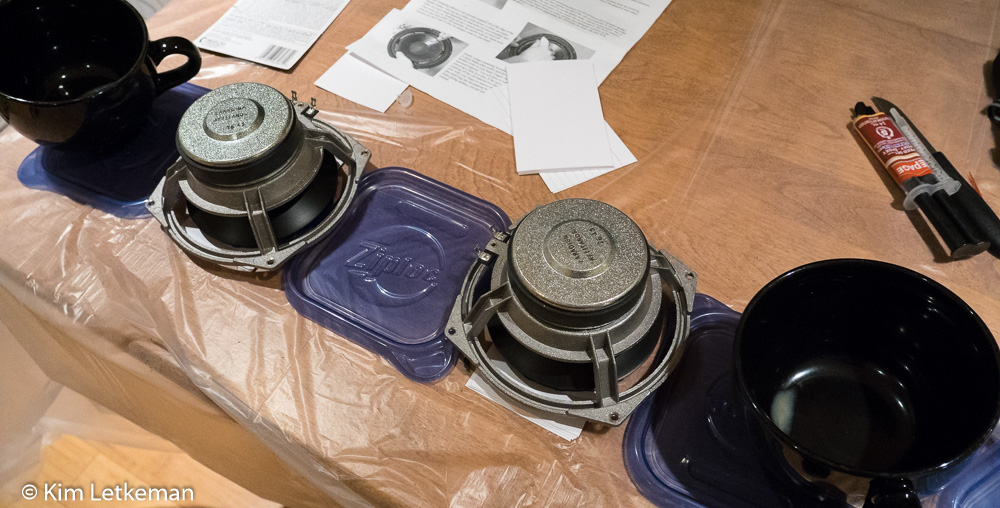
I started with the two round lids, but they were a tad too high. So I added the three square lids, but they had the voice coil extended too far. The coffee cups were need to counter balance the weight of the speakers and keep the jig flat. I finally realized that I could use some note cards to lift the two lids until the voice coils were at the depth I wanted. Ten was the magic number.
This is more obvious in the side view, where you will see that I wanted a tiny bit of the voice coil to show so that the original glue point would not cause weird attachment issues.
From this dry run, I picked up each driver and spun it with the left hand while squeezing the epoxy syringe with the right. I allowed a fair amount of epoxy to flow around the touch point. After a moment, I flipped the driver over and settled it into place, carefully tweaking the lid to center it around the cone. This gave me a good chance of creating a perfectly level driver. From above, you can see the lid centered under the cone.
At this point, I watched an episode of George Gently in order to allow the voice coils time to really set up before I started the surround repair itself.
When I got back, the voice coils had cured nicely and the drivers were ready for another beating.
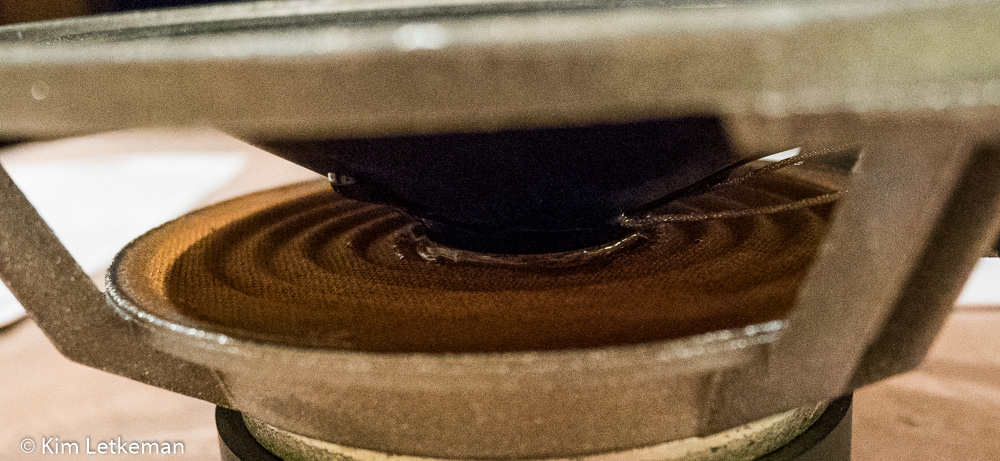
A note on the photography: All images were shot with the Panasonic GM1 and its 12-32 kit lens. Since there was little light, the ISOs are all very high. 4000 would be considered low for this series, and this last one was shot at 8000 ISO. While there is a bit of grain in there, the image is clear enough to see the relevant details and I think this pretty much proves my point that people should worry more about their skills and less about buying big expensive lenses for their tiny little cameras :-)
You can see here how nicely flat the cone is in relation to the basket.
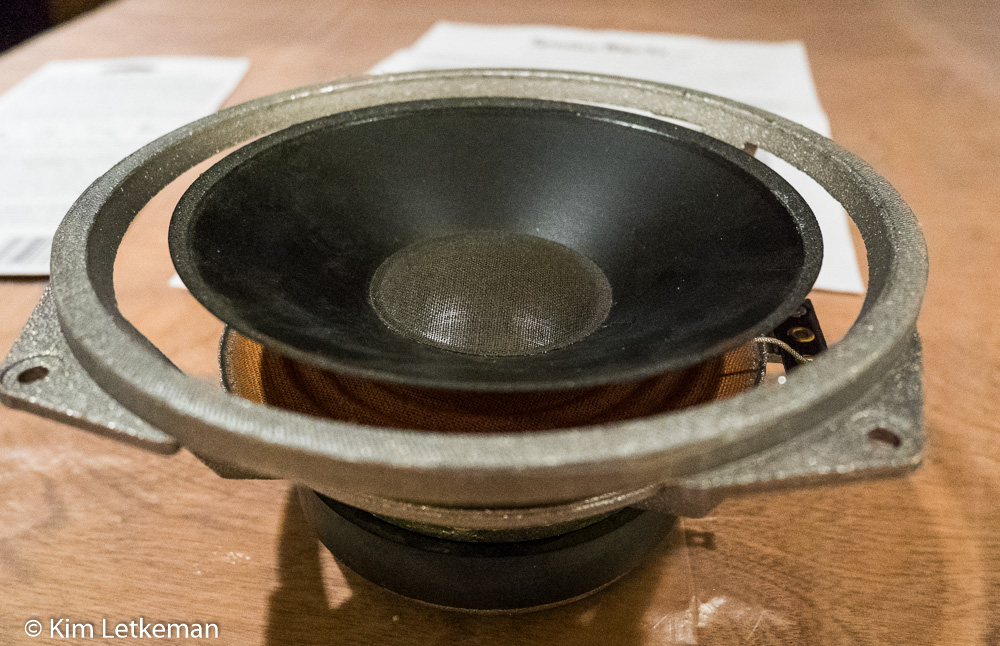
To put the new surrounds on, you have to squeeze a small bead of glue onto the bottom surface of the inner ring of the surround, and onto the edge of the cone. The kit supplies a couple of spreaders for you to get the glue fairly thin. You are meant to air dry the two for a while before bringing them together, sort of how you use contact cements (which are good alternatives to the latex glue supposedly.)
When you bring them together, you try to make sure that the cone is centered (I was a couple of mm off on one of them) and you have to go around the cone and gently press the surround down into contact with the cone. Over and over and over for 5 to 10 minutes. Eventually, the two will mate and you can set the driver aside to set up a bit while you do the other. The white glue drives clear, as shown here – and yes, I know that I get no points for neatness. You try it :-)
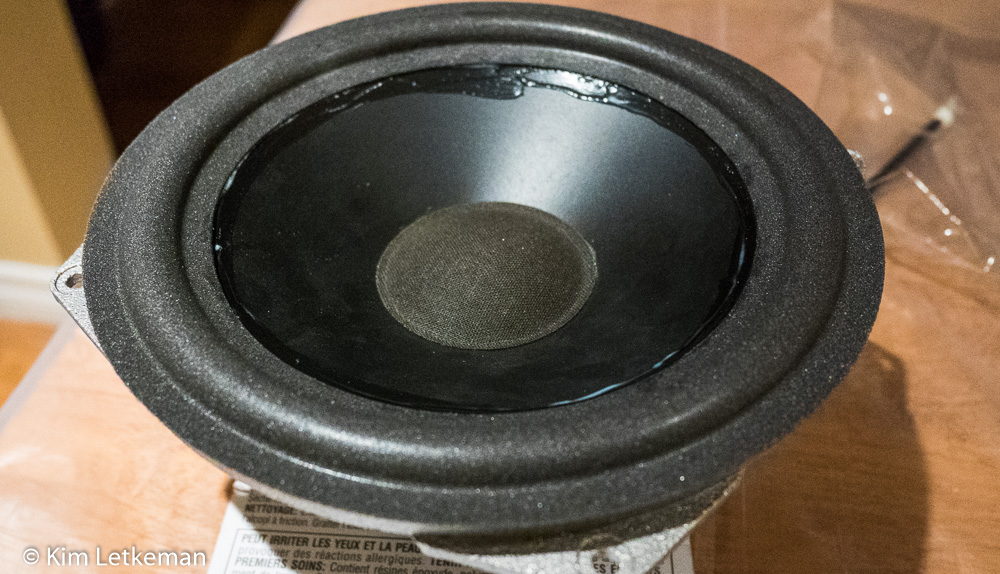
And here is what happens if you do a really poor job of spreading.
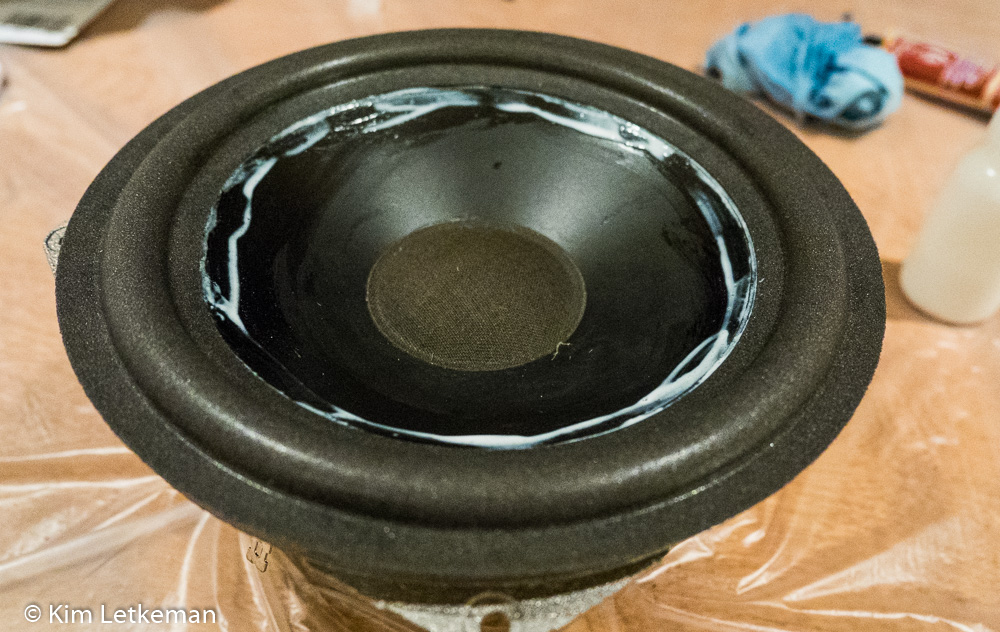
You can probably see here that the new surround is wider than the basket. That’s ok, as we will see later.
Anecdotally, I accidentally glued the outside ring on the second speaker and decided to try to do both the inner and the outer at the same time … so there was glue everywhere when I realized that I was insane. So I ran to the sink and washed off the glue from the surround. I did my best to wipe the glue from the cone and the basket and I gave it a few minutes to dry before trying again. DUH.
The outer rings require that you put a single bead around the basket rim while lifting the surround gently. You make a second pass with the spreader and then you start the 10 minutes of pressing it down. For each one again …
And then you set them aside to cure overnight.
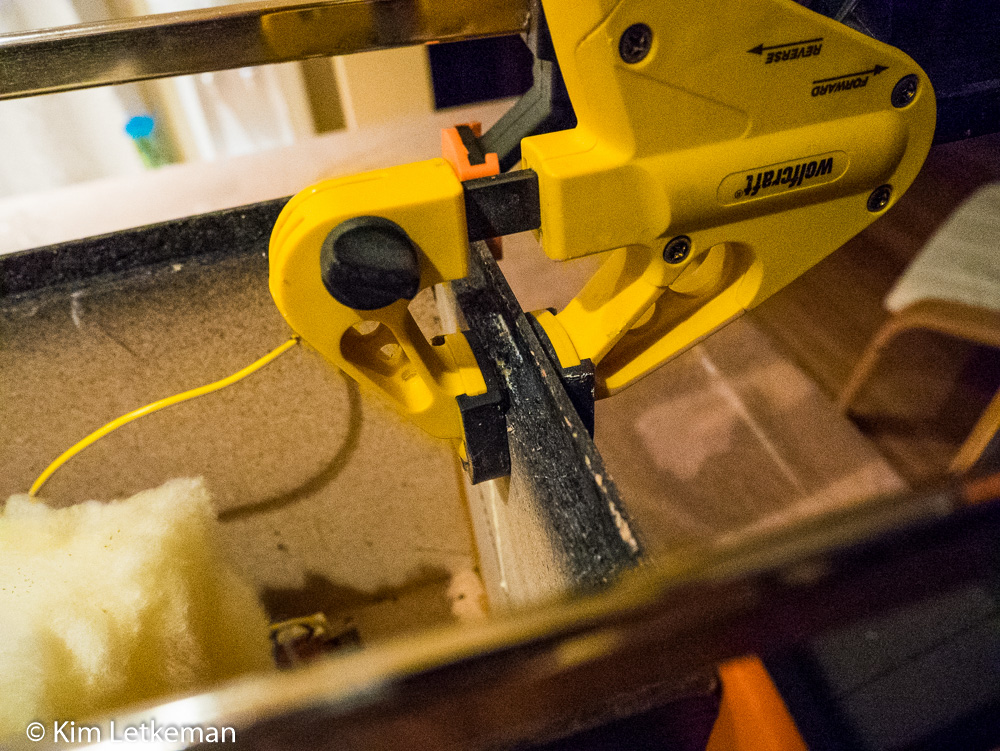
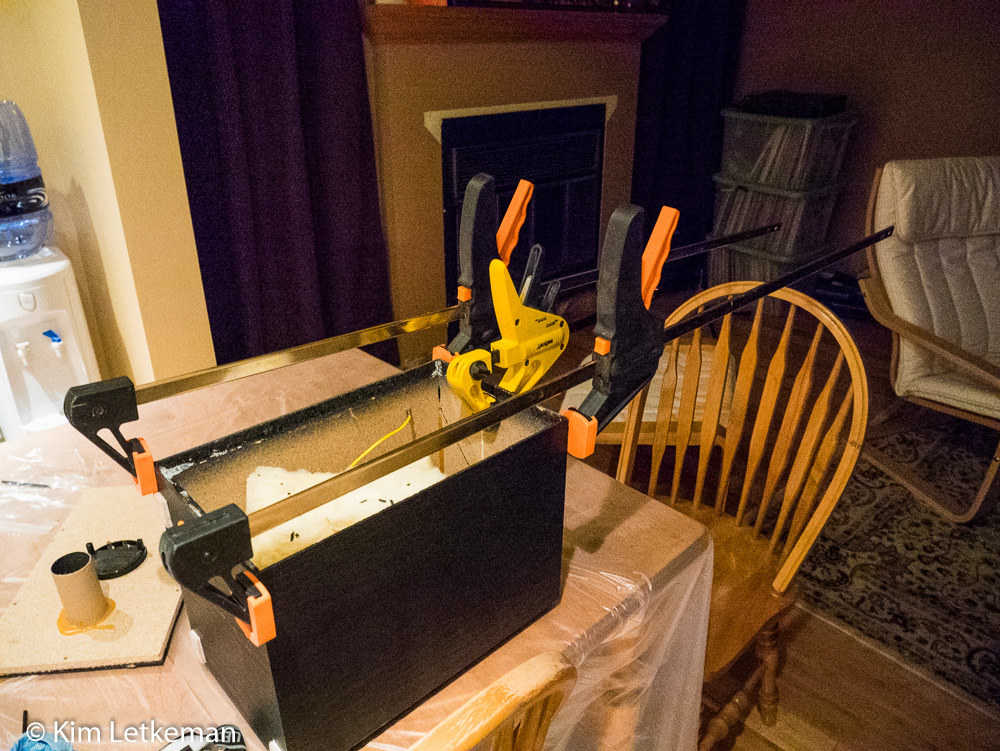
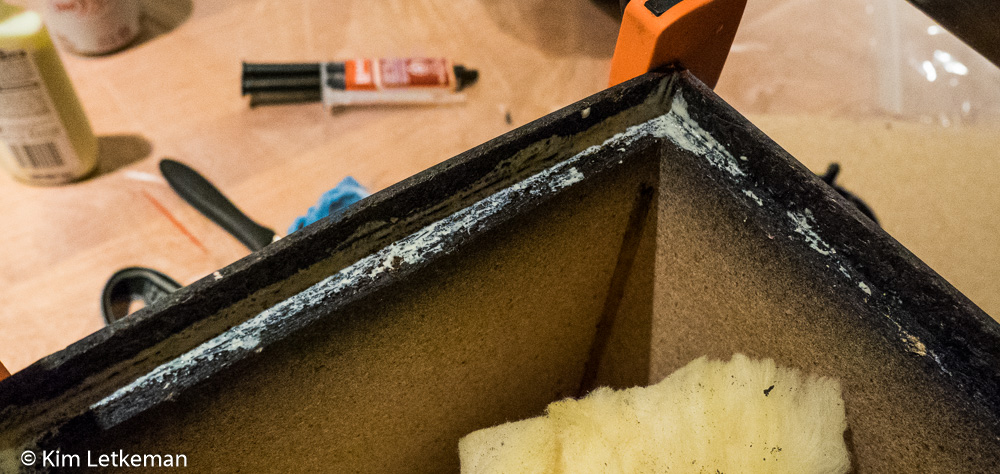
I turned my attention next to the broken cabinet that I had mentioned earlier. Turns out that the sides and top and bottom were separated on the outside of the main frame of the speaker, where they met to continue the corners around the back. So I glued the crap out of all four corners and got out my long clamps to squeeze it all back together. There was a damaged section where the top screw on the back went into the damaged box where I also glued it and clamped with a smaller clamp. The following images document that process.
Both drivers are perfectly tight and the cones move much more stiffly, which is what we want.
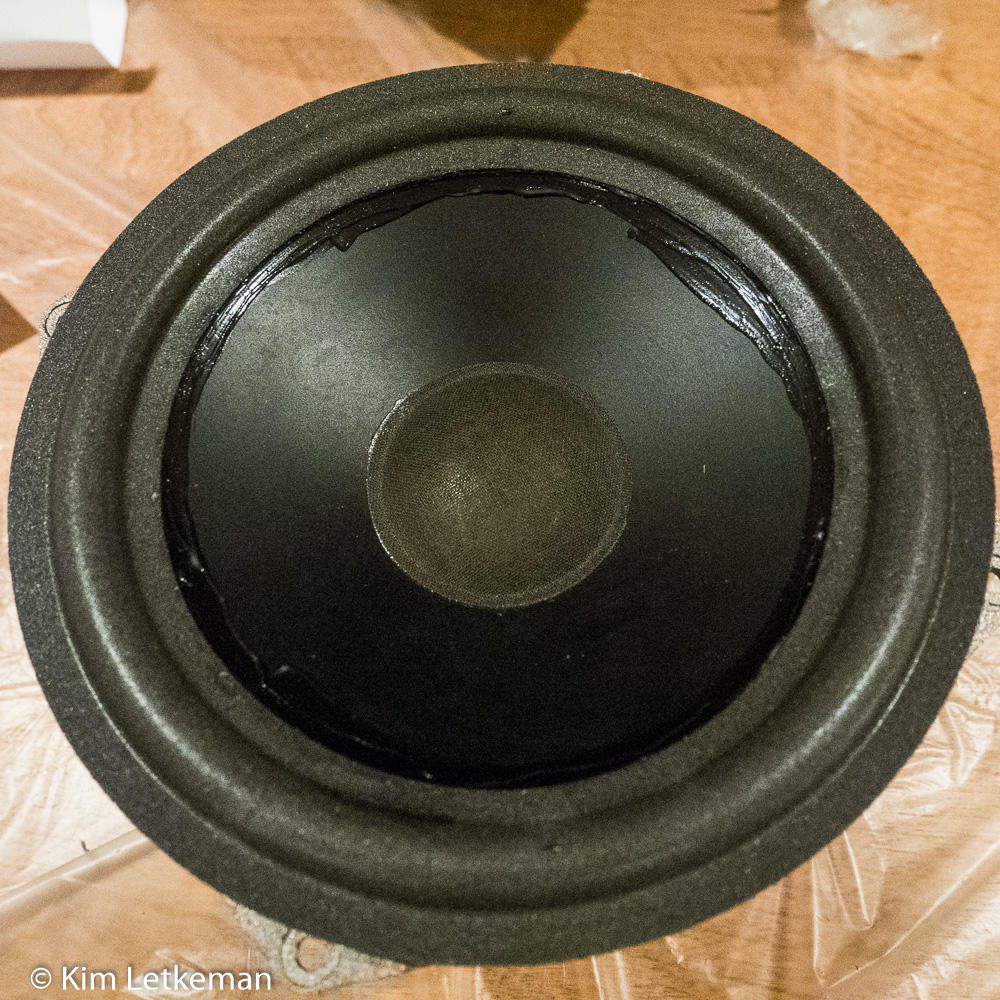
Of course, there is still the matter of the excess surround hanging over the basket. I didn’t actually remember this until I could not get the driver to go back into its place in the box.

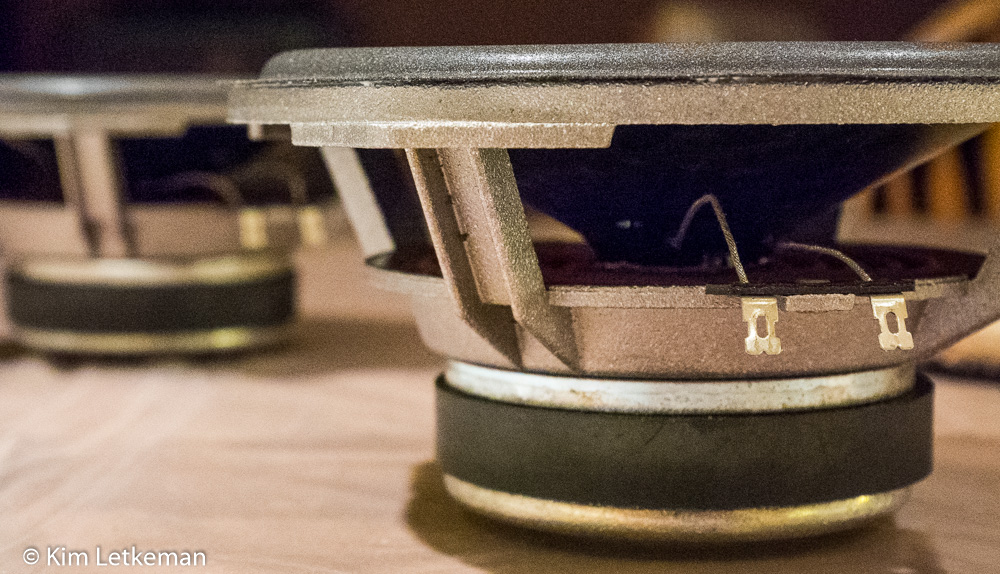
These last shots were taken at 12800 ISO. That’s really pushing it under very yellow light, but the images are serviceable.
After trimming the edges of the surround by pressing a paring knife to the edge and slowly sawing the excess surround away, I inserted the drivers into their routed holes and wired them up from memory, which for me is an image or two on my phone:
Always remember to document things as you take them apart. It saves a world of hurt when you are tired and trying to finish the project.
The final assembly includes screwing the driver to the box (I use magnetic dishes to hold the screws during the project) and then inserting the piece of fiberglass damping into the cabinet before closing it up.
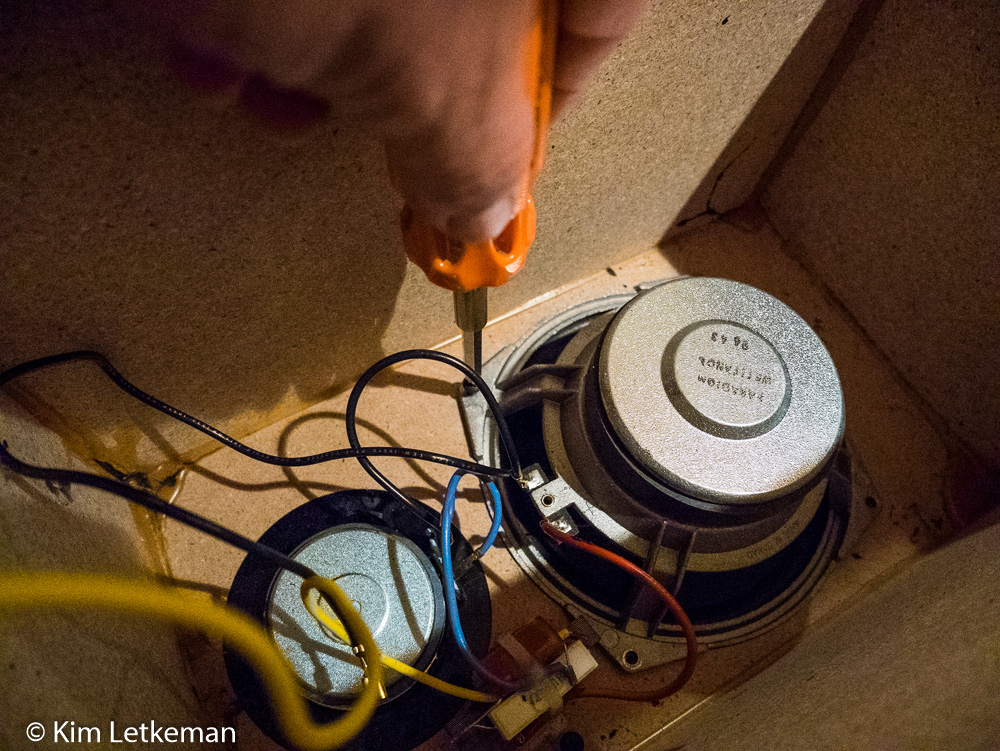
And there we are.
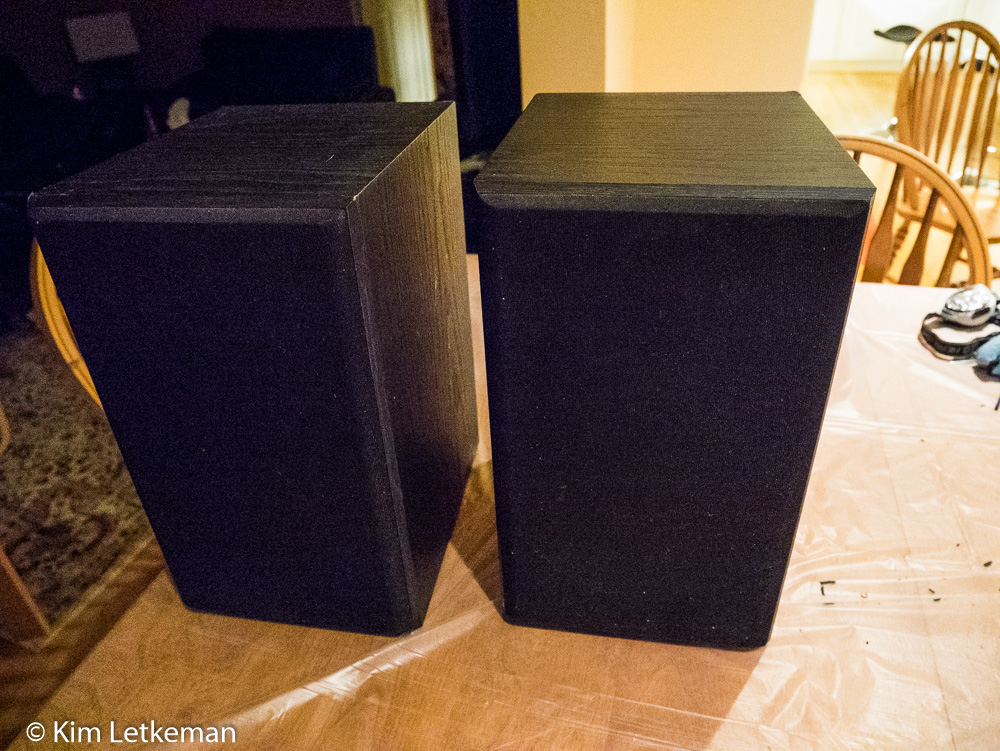
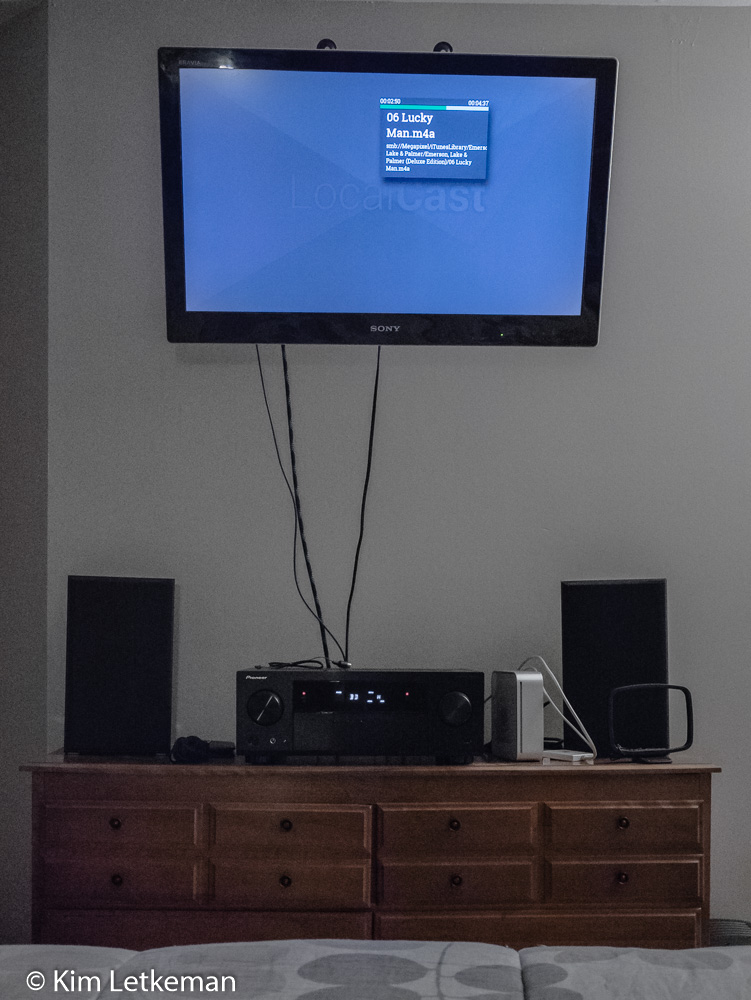
Time to shift them up to my room and move the Missions down to the man cave.
I tested them with the song that had driven completely nuts … Emerson, Lake and Palmer’s Lucky Man. They passed the test very well :-)
Note, this room is dark except for a single light in the corner near the ceiling on the far right. Hence the shot is at 12800 and has rather a lot of noise in the blue channel. C’est la vie.
A note on the repair of the broken box. Turns out that the clamps had been a bit tight, so I had to force the backs into place. A fair bit of cracking ensued, but the corners did not separate. So the cabinets are strong, if not perfectly pretty.
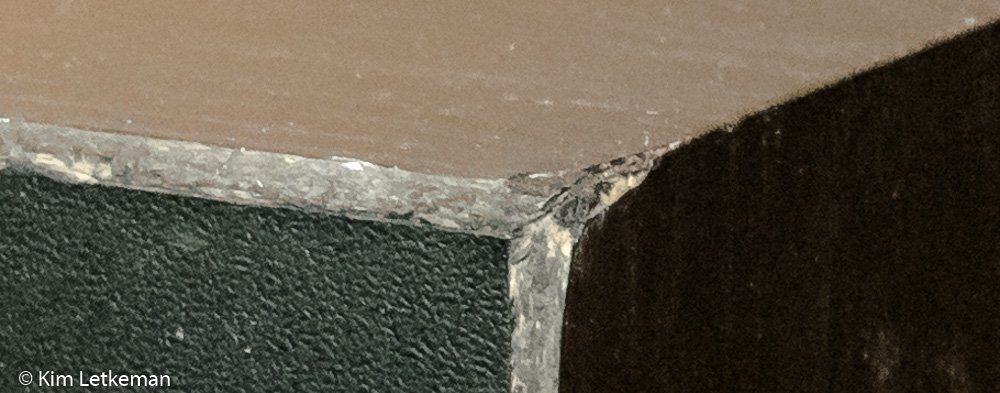
That last image is flash lit, which allows a good view of the actual crack that was glued. It is not nearly so obvious under normal lighting, as you will see in the last image of the series.

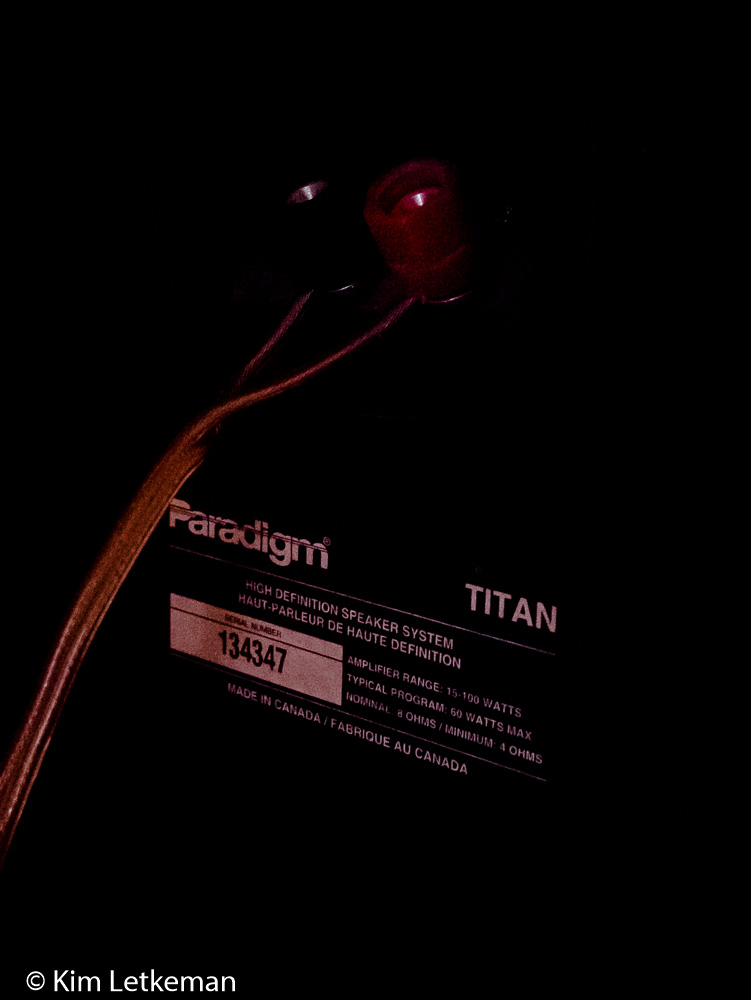
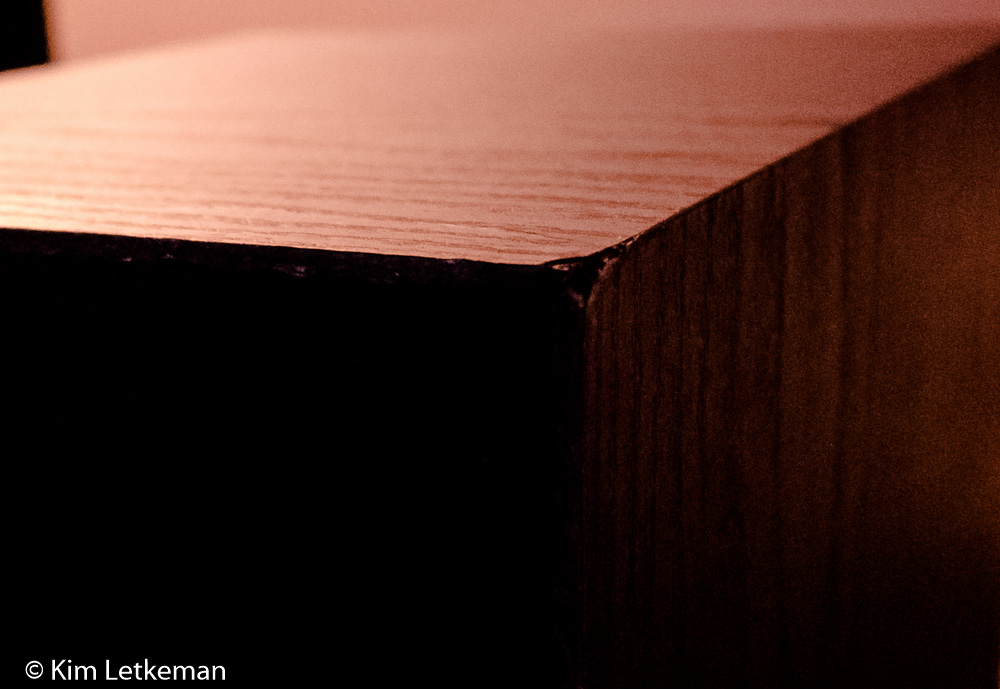
A note on the fellow I bought these from: when I mentioned the buzzing, he offered to refund my money. I refused, as I wanted to do this project. I’m very glad I did, because I got a rebuilt pair of Titans for less than a hundred bucks. And they sound terrific.
So don’t be afraid of older speakers. If you happen to have rotted surrounds, they are repairable. If you are afraid to do it, there are places that will do it for you. Even separated voice coils should not frighten you completely … :-)
![P1020505_DMC-GM1_12%20mm_ISO%2010000_1-60%20sec%20at%20f%20-%203_5[1] P1020505_DMC-GM1_12%20mm_ISO%2010000_1-60%20sec%20at%20f%20-%203_5[1]](https://blogger.googleusercontent.com/img/b/R29vZ2xl/AVvXsEjwmYqNHtQZEyNF0uqMVhg_cFIdMI4GNIdioOuR_fSRQ-sSrjfscw-BGVW7EGXtzNwhNhMlJtDJ5uwKxe1FAHA6IZ3lozyUVVNh0xUzd-UksDFuifgdhMHoviQ6MlWnpNDaoLrgncBDiKAa/?imgmax=800)
