Let's use a small crop to make this quick and painless.
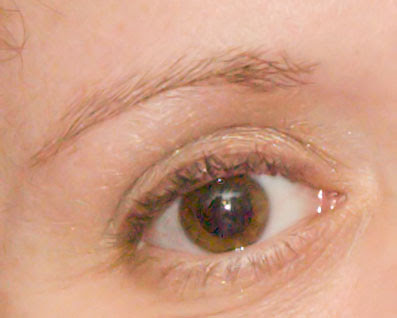
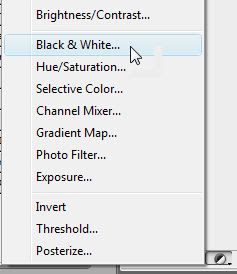
A black and white face with colored irises is desired. Step 1 is to create a black and white layer on top of the first. There is a small half white half black circle at the bottom of the CS3 layers palette, which you press to get a set of smart layers that can perform a specific image modification. In this case, select the black and white layer:
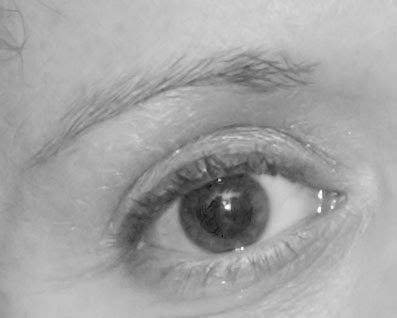
 After playing with the dials a bit, a layer is added that looks like this:
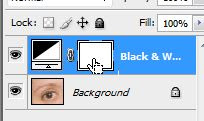 The cursor is pointing to the layer mask, which we click into in order to mask out certain things on this layer. If we paint black into the layer, we reveal what is underneath (blocking this layer's content) ... if we paint white, we hide the layer beneath, showing the black and white version. If you make a mistake, simply switch colors and paint some more until you like what you see.
When painting, you actually paint right on the image, and the mask changes its value. This looks like:
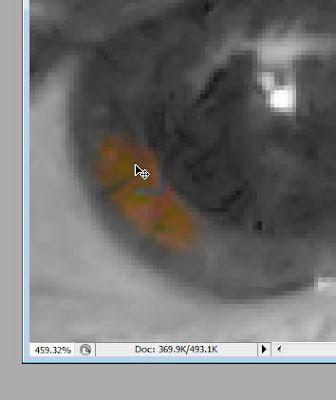
It is best to zoom the image considerably and shrink the brush to a manageable size ... this makes it easy to stay in the lines.
Complete the painting of the iris, tweak contrast and do a bit of burning of the hair and you get something like this:
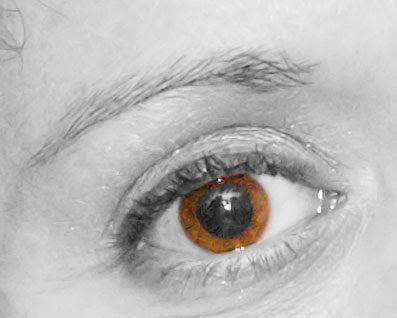
This can also be done with normal layers. Right click on the main (background) layer and select duplicate ... this creates a second normal layer that is opaque. Convert that layer to black and white using any number of techniques ... desaturate, channel mixer, black and white image command, LAB luminance channel, and so on.
Once you have the black and white layer on top, you only need a mask into which you can paint black to reveal the color beneath:

At this point, proceed as before, selecting the mask and then paining black over the iris. You end up in the same place.
No comments:
Post a Comment