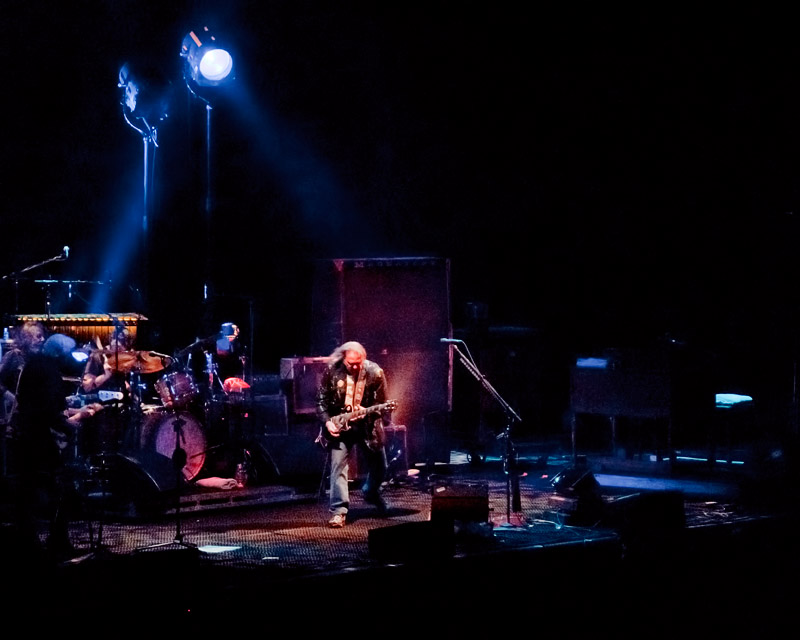
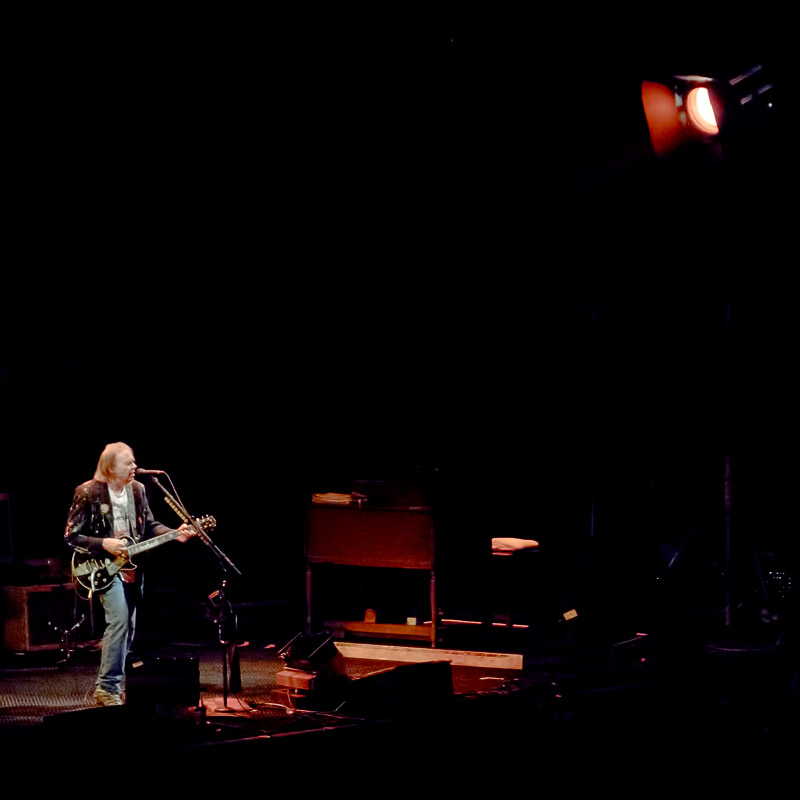
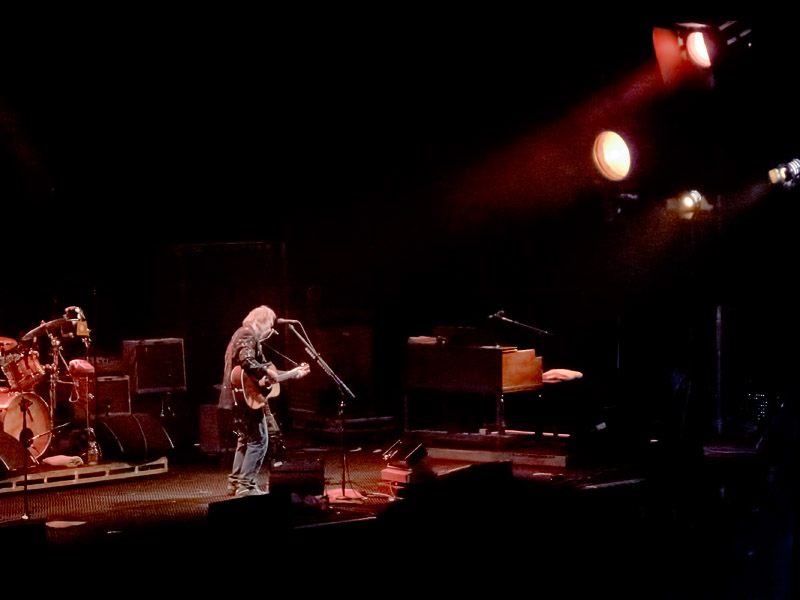
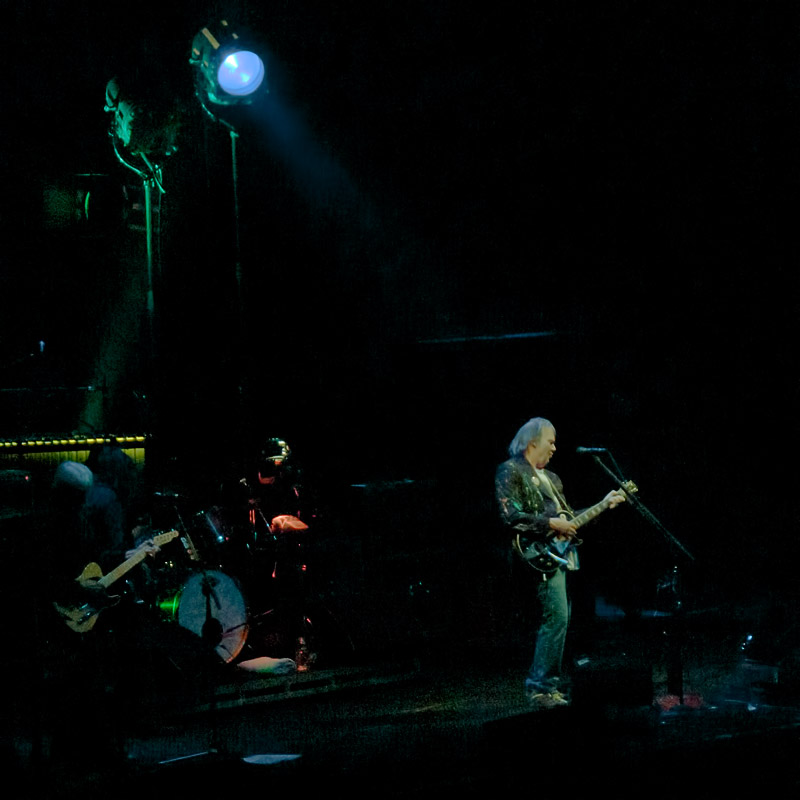
I saw Neil Young at the Scotiabank Center way back in December of 2008. I had had the Canon G10 for only a few days by that time, so I was quite unfamiliar with it. Still, I got some images that were ok. But I’ve always felt that the images would have been much better with a camera with longer reach and better high ISO.
Well … maybe the issue was more my lack of sufficient skill to peel away the blue channel noise. That seemed to really affect every shot I processed, and I even abandoned one or two because I could not get control of the blues …
So this evening I was fooling around with a G10 and a G11 RAW file and found that the G10, while much worse than the G11 where luminance noise is concerned, was in fact quite clean after processing and downsizing. So much so that I saw little value in shooting a G11 over a G10 if one shoots RAW …
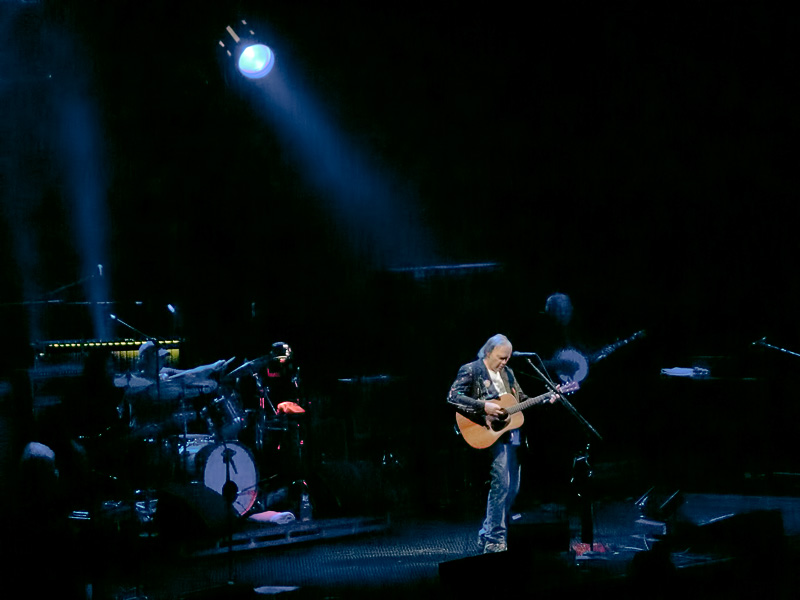
I went back in time to the Neil Young concert and processed or reprocessed a few images. Some turned out quite a bit cleaner than their earlier counterparts, so here they are …
Remember to click through these to see the larger versions.
I am very pleased with these … and I have to admit that I am not sure at all any more that I made the right move when I got rid of the G10 :-)
So what is the secret sauce?
Well … here are the steps I took for each one:
- Convert in ACR 6.3 … this is the most important step. You need to lift the exposure (all of these were underexposed to keep ISO down) and add fill if necessary. It rarely is. Set blacks until there is just a hint of blue in the background. We’ll take care of that later on. Select the 2010 setting on the appropriate tab, and I like to select Camera Neutral or its equivalent. No sharpening … just enough color NR to remove the blotching (about 1/4 to 1/3) and enough luminance so the grain evens out. But leave some grain so the details are not affected.
- Once in CS5, go to levels and select the blur channel. Drag the black point to the right until it is slightly into the histogram and the blues in the background have disappeared. Neil would be overly warm by this point, so slide the gamma (middle) marker left until Neil looked like his old self. Check that by making the levels layer invisible … you should see the background blue grunge disappear and everything else should be about the same color.
- If necessary, address the green and red channels a bit as well. That happened to me on a couple of images where I used less contrast. But it also leaves a much more smooth and subtle set of tones in my opinion. The final image in the set shows that nicely.
- Clean the rest of the noise using Topaz Denoise 5. Fine tune each slider to get the right balance … it can smooth anything while leaving or even restoring details. It’s simply remarkable.
- Downsize to 800px on the long side (or whatever you want.)
- Sharpen to taste. I use the new PKSharpener2’s Superfine output sharpener for web. I sometimes dial it back on a layer because it can get overly strong, but for Neil it worked perfectly without fine tuning.
And that’s it … the real secret is the high quality NR of ACR followed by the levels and later the Topaz Denoise. Although I got some good images back on 2008, these images look more dSLR like in their tones, and that’s always my goal.

No comments:
Post a Comment