Last night, the Moon and Jupiter were aligned to within a few degrees in the sky. This is a real problem for shooting Jupiter, since the contrast is so much lower owing to the huge, almost full, sunlit light source in such close proximity.
But you can still get a reasonable shot just for fun
The moon itself is rather easily shot. I did not even look at my usual series of images in my night skies album to find a decent exposure, instead I simply shot an example and then adjusted the shutter speed to find an exposure I liked. I set ISO at the base 160, since a sunlit object can be shot with the “sunny 16 rule” – that being to shoot at shutter speeds of 1/ISO at f/16. I chose to shoot with the G5 and the Tamron 500mm mirror lens with Tamron 1.4x teleconverter, for an effective focal length (EFL) of 500 x 1.4 x 2, or 1400mm. That’s a lot of magnification. This rig looks like:

Panasonic GX1 & Sigma 19mm 2.8 800iso f/2.8 1/60
I used an after market wired cable release in order to shoot many images quickly, and I must say that it performed flawlessly. I found the G5 responding much quicker than my dSLRs simply because I was always forced to raise the mirror, wait for vibrations to subside, then release the shot. Here, I was able to simply go click, click, click as fast as the camera would respond, which was fast.
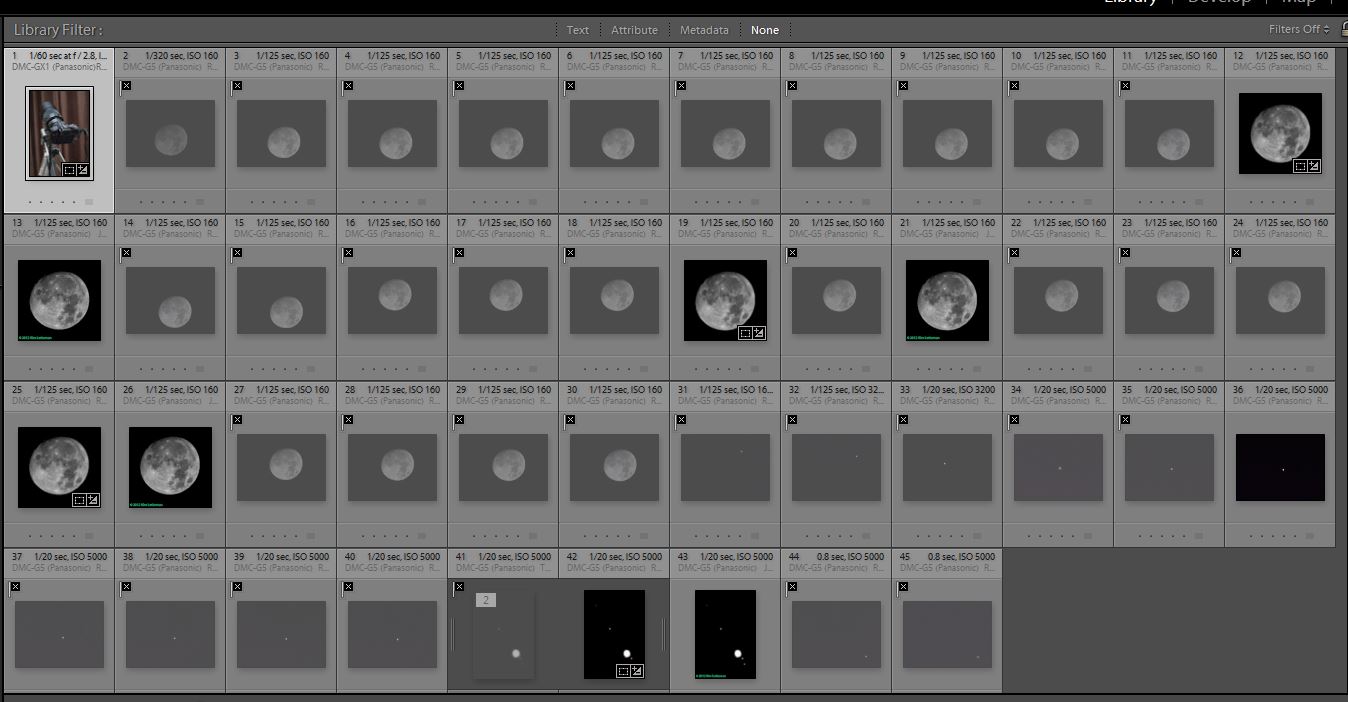
I shot a bit more than 2 dozen images, hoping for a sharp one. And I got exactly 1 really sharp image. A few others were tolerable, but I rejected them since I had one really sharp one. I also saved a couple of crappy shots to show examples of what you usually see when shooting long through the atmosphere. This is what that looks like in Lightroom once you have culled the images (press the “X” key to reject an image and move to the next with the “->” key.)
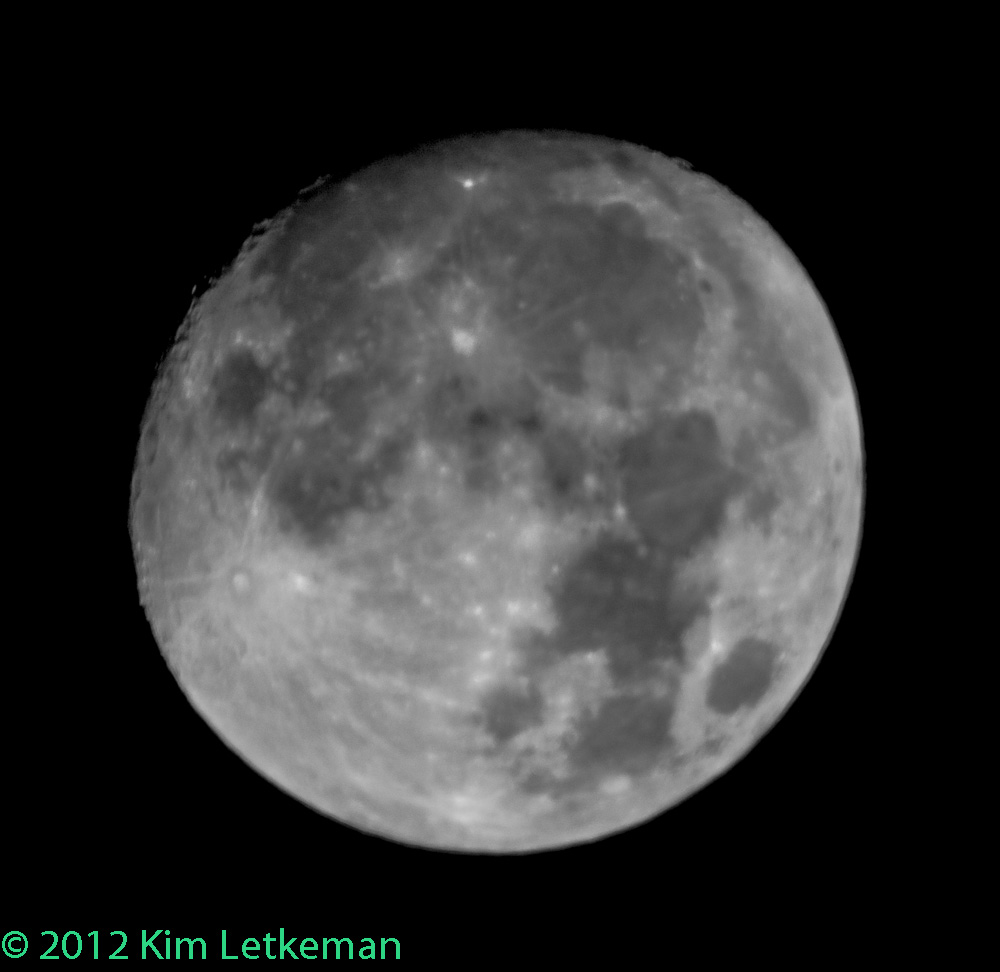
And this is the best shot I got. Not perfect, because it was hard to get perfect focus on the moon, but pretty sharp at the craters. I got quite a few of the smaller craters away from the edge to come out.

Panasonic G5 & Tamron 500mm mirror lens & Tamron 1.4x teleconverter 160iso f/11 1/125
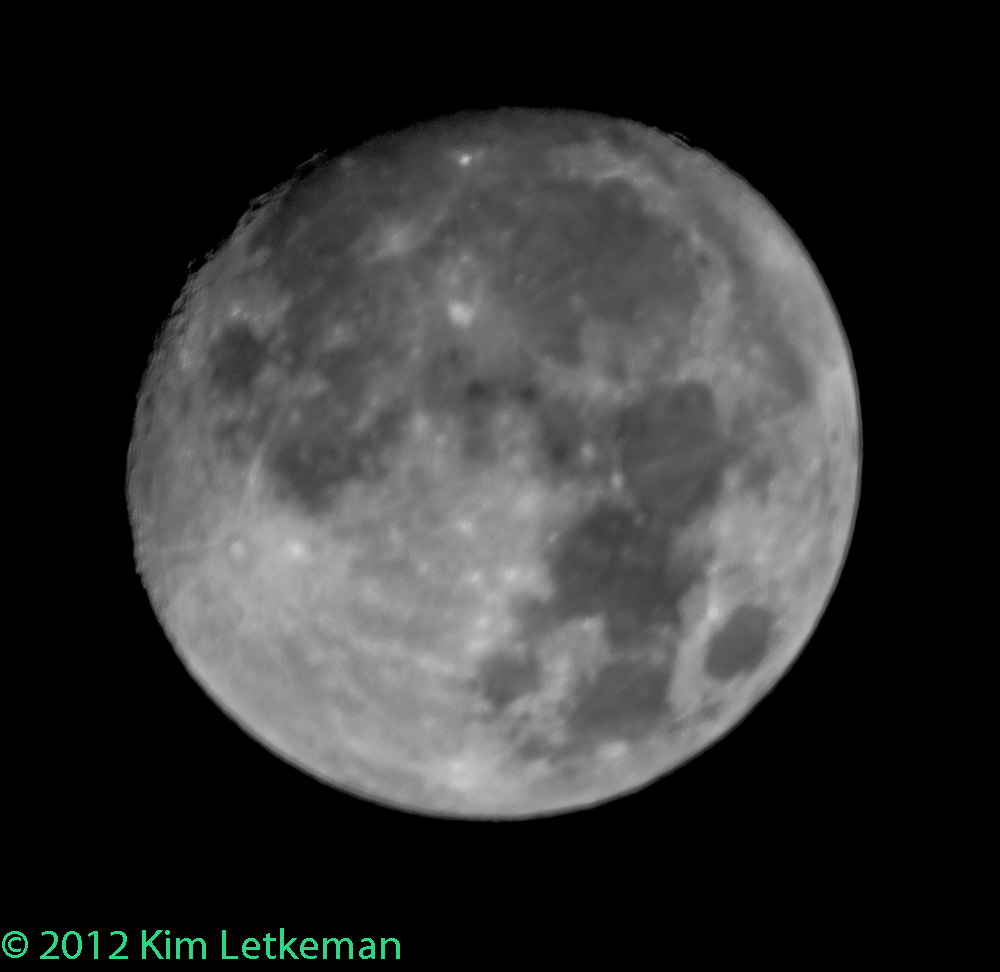
And a couple of examples of what you likely get it you stop after one shot …
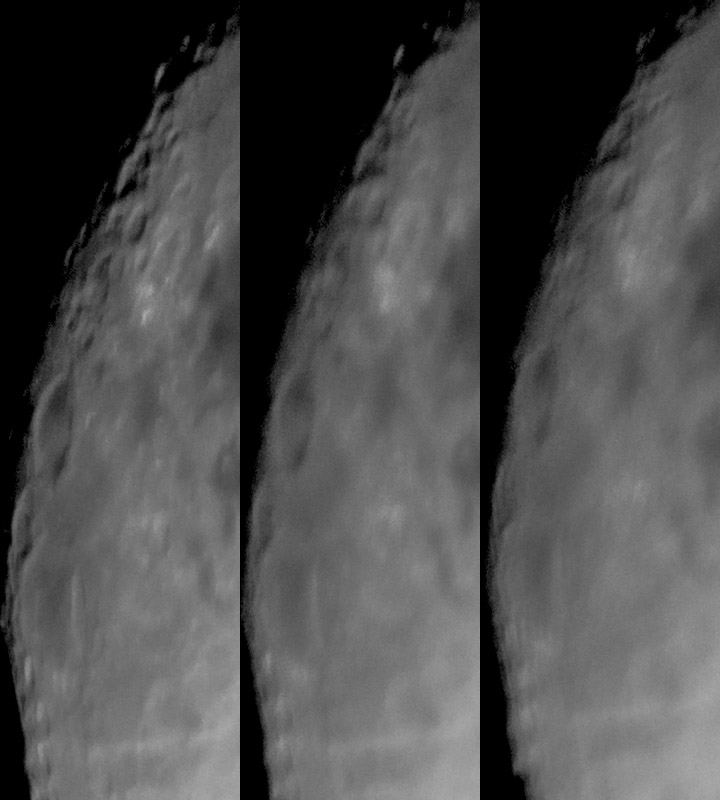
Click on the images to see the differences. It is readily apparent. But just to hammer the point home, here are crops from these three. The left most is the only really sharp image I got, and the other two are examples of the range of quality (with some being much worse than these) for the other 25 images I shot.
Now … moving on to Jupiter. By this point I was getting pretty cold, since the temperature was something like –13C or something like that. So I basically just set ISO a lot higher and then bracketed with ISO by setting it higher and higher after a few shots of each. I knew that with the moon so close, the contrast would suck. So I was just after an image that showed lumps for the four moons and I knew that I would be bringing them out using Lightroom’s local brush set to increase exposure. So this is a mangled image of Jupiter, but you can see the moons where they were and that was something …

Panasonic G5 & Tamron 500mm mirror lens & Tamron 1.4x teleconverter 5000iso f/11 1/20
So … fun with the mini telescope. These Tamron mirror lenses are under 100 bucks and can really be a hoot. Enjoy.