Well, I managed only a few quick shots at lunch and a few when I ducked out for an errand, but I am learning a few things about the HS10.
One thing I am trying to start with is the use of low jpeg settings to reduce the “bruising” of the pixels. By bruising, we generally mean artifacts from jpeg processing, which usually include heavy contrast or sharpening. Once that stuff is applied, it can be very hard to reverse.
And yet, the HS10 is different in that the noise reduction is fairly harsh … I have been known to call it sledge-hammer noise reduction. So when you cut contrast and sharpening and lower the saturation, suddenly the noise reduction sees a lot more of the detail as low contrast detail … a.k.a. noise. Couple that with even a slight amount of underexposure and you are can have problems.
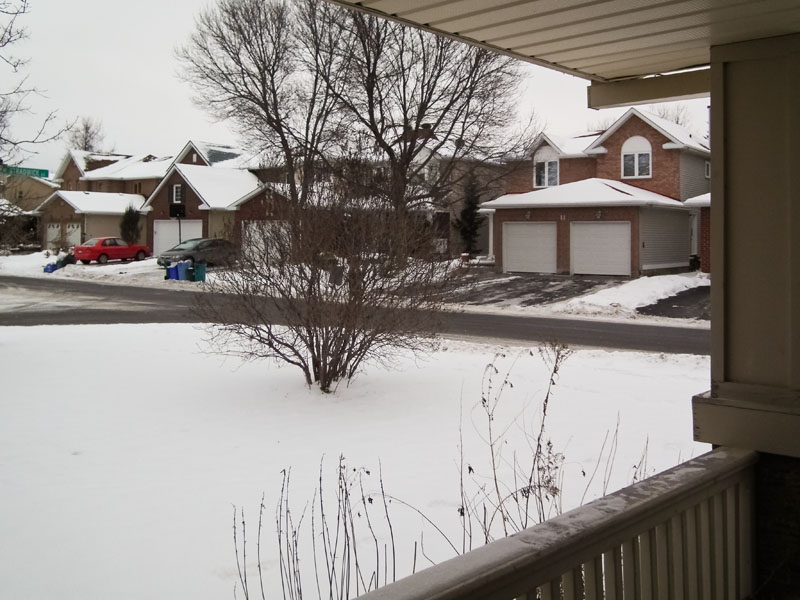
Any example from today’s images illustrates this perfectly. I poked the cam out of my front door and shot an image at 100 ISO in a light snow on a cloudy day. I slightly underexposed the image because I have been blowing highlights too much, something that it turns out is unavoidable with this camera.
The road in this image is wet and thus comes out fairly dark. The Lilac bush in my front yard is also wet and thus fairly dark. And guess what happens when the branches cross the road in the image …
This is one of the best illustrations of selective noise reduction that I have yet seen. And remember that this is shot at 100 ISO. This is after raising the exposure and sharpening in ACR a bit.
Clearly, shooting low settings might be an issue in some cases.
So back to the beginning … I was holding the camera and there was my mortar and pestle. I’d shot that with the D700 the other day in terrible light, so I thought today I would shoot it in slightly better light with the HS10. The subjects is smooth, so I’m not testing much here except maybe the background blur. The close subject distance gives me a bit, but certainly nothing at all like the D700 … crop factor 5.7 takes it toll. This is shot at 100 ISO …
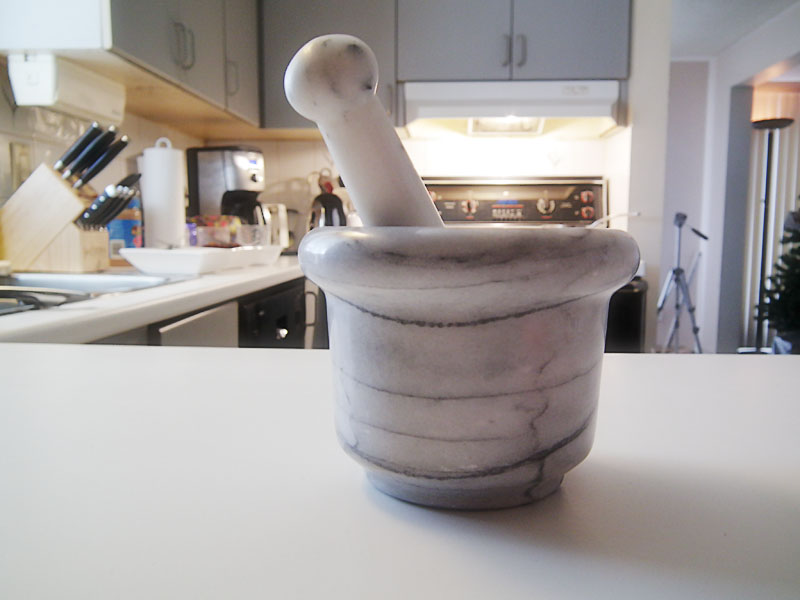
The light from the range hood is totally blown out, but it works alright in that shot. A quick little shot down the pestle ….
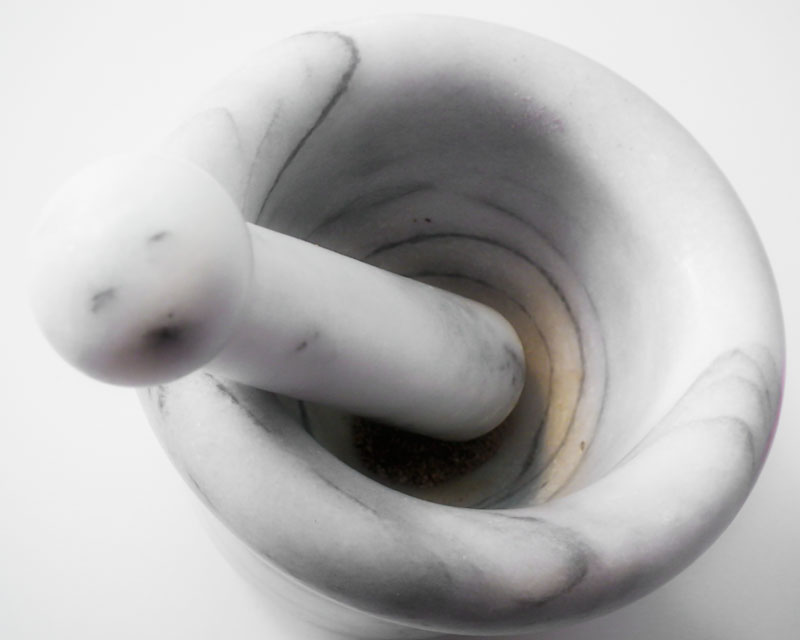
I should mention that these images are all processed except where noted. I’m not all that excited about the output straight from the camera. Once of course crank up the sharpness, contrast and color and even add a film mode and have a completely different experience. But my premise for this series is that I want to process the images and so I don’t want the pixels bruised.
And here sits my rather nice Shun Santoku Knife … my favorite when I do some serious cooking.
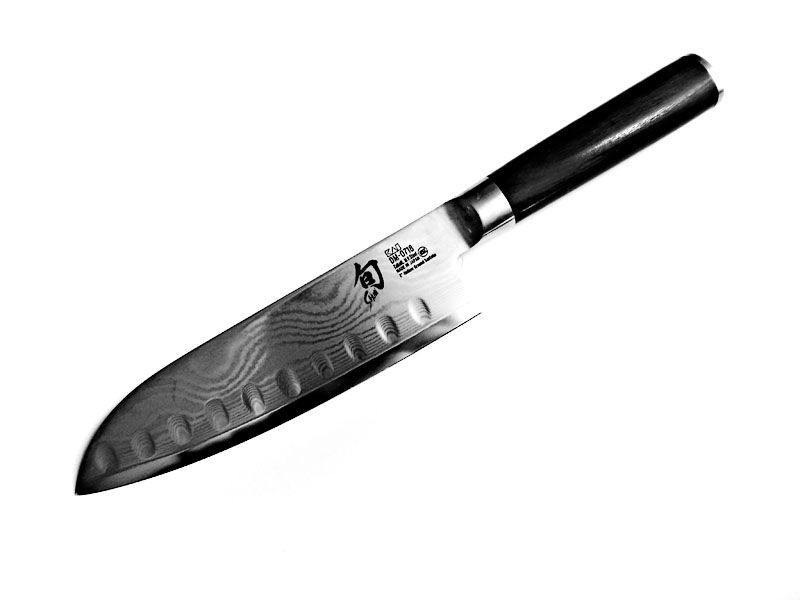
The counter did not render well … colors in this moderate light were a little off, and vignetting was rather strong. This is mostly due to fall off from the window source, but I am starting to see a bit of clumsiness around bright light sources.
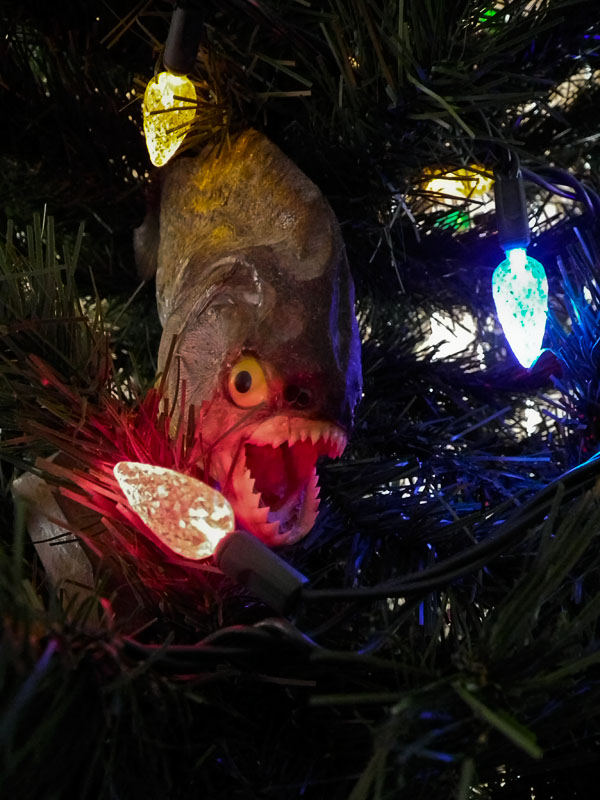
I wander to the Christmas Tree which is inexplicably still up. The house Elf must have the decade off or something … and the Christmas Piranha patiently waits for more fingers. Being petrified apparently bestows a great deal of patience.
I switched to 1600 ISO here and it’s not bad at all …
As with the X100 Simulation series, I moved on to Santa, sitting up on the mantle.
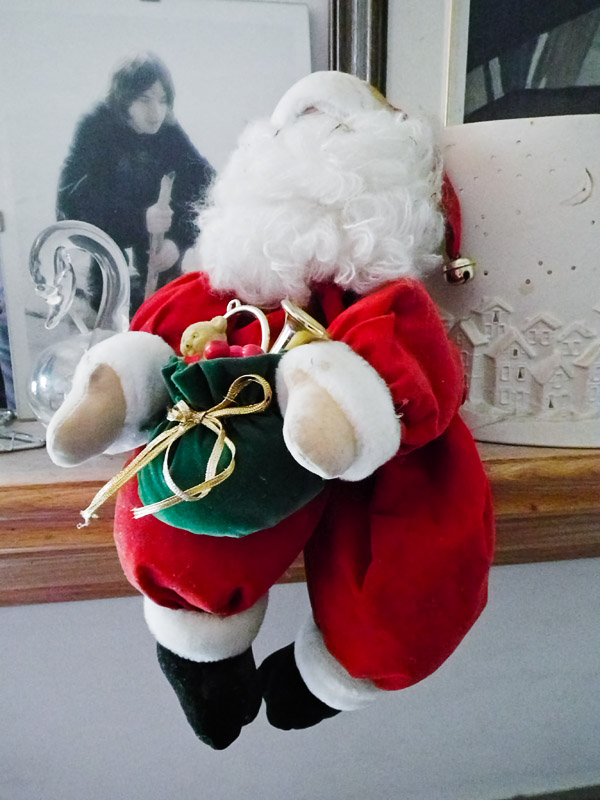
Another rather decent 1600 ISO image. And next the four glasses … in the daylight, though the window must be dealt with, and the camera again blows the highlight sky high. But this one is partially my fault … I exposed for the glasses to get that part looking good, and it worked. But the +1EV exposure blew the highlights sky high. The overexposure also created a rather dramatic amount of flare down the left side of the image.

Remember the front yard image that opened this article? Well, here it is in all it’s glory. And if you look closely, especially when you click through to the 800px version, you can see the slight loss of detail as the branches cross the road.
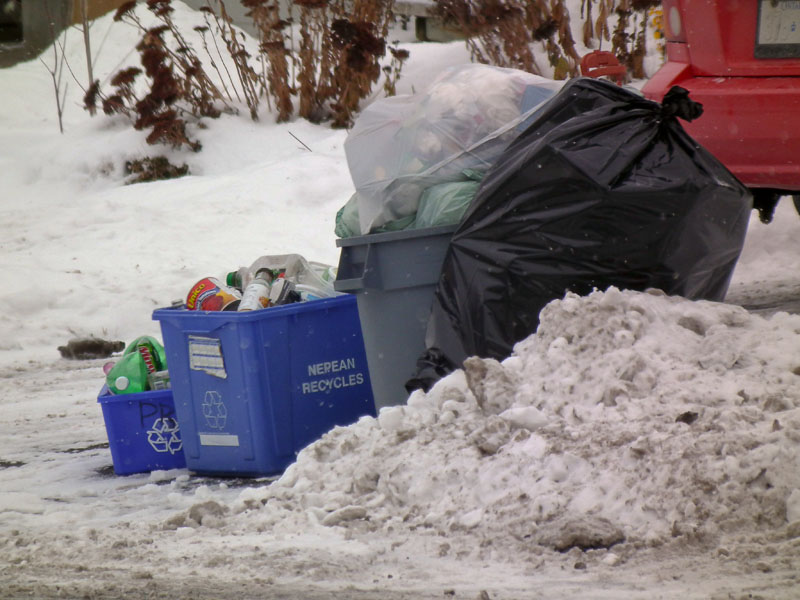
It’s Tuesday, and in my neighborhood that means garbage collection. You can just make out the mount of garbage across the street. But with the magic of a 720mm zoom lens, I am able to clearly see the garbage. At soft settings, this was not all that clear … the long end seems to drop contrast even further. But I called up Topaz InFocus and used my usual array of local contrast filters and all was well enough. This shot is, of course, garbage. Ba-da-bing!
I had to leave for my errand then and on the way back, I popped into the nearby Monaghan Forest for a few quick shots around the trails. First, the trailhead.
For some of the shots from here on I used some Topaz Adjust for its pseudo-HDR look. Cloudy days do not create images that have a lot of color or excitement, so ya gotta do what ya gotta do …
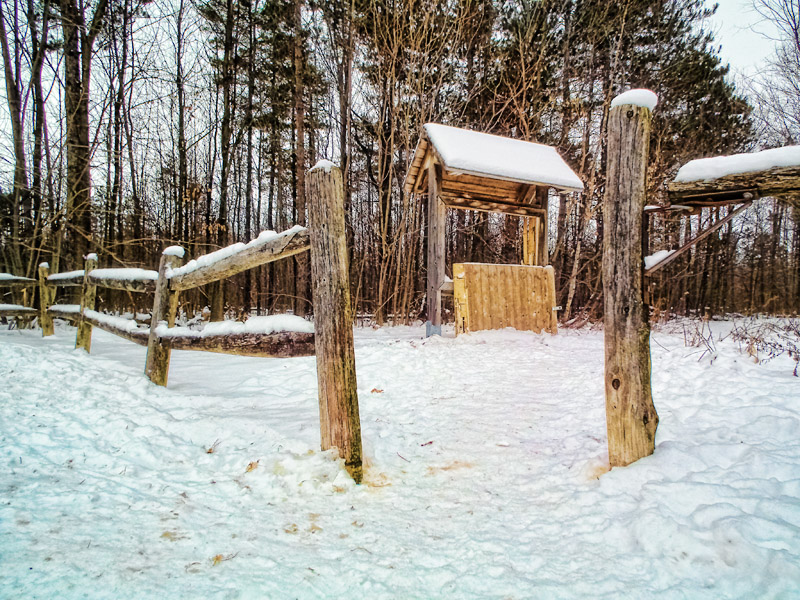
And yes, I like the swivel LCD for shots like this. No dirty knees :-)
One of the side trails is blocked by a pair of fallen logs. The detail in the bottoms of the trees does seem to go pretty far back, so the noise reduction is not always kicking in. Just when contrast falls.
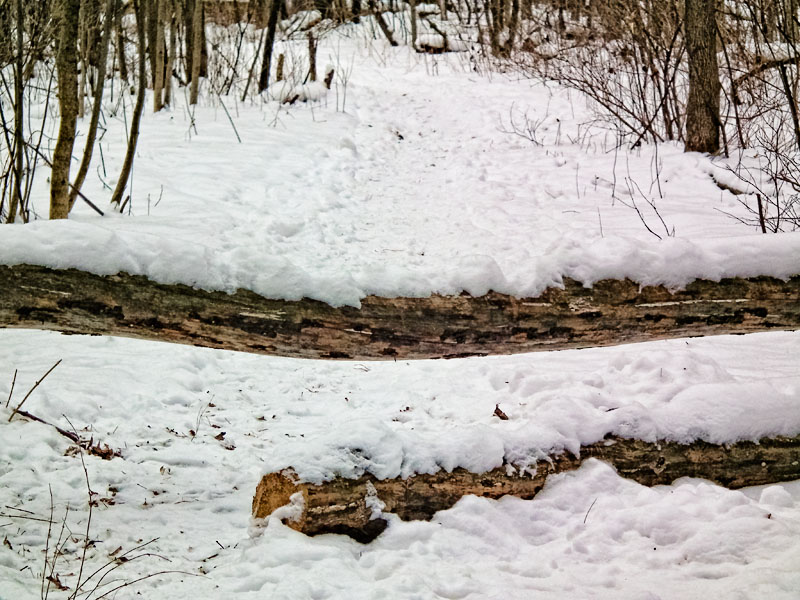
And now I switch to RAW. My initial shock when I played with it earlier has passed, so I know to count to 6 every time I press the shutter … then look down to see how it turned out.
I processed the RAW files in ACR 6.3. I have the HS10 lens correction loaded, which works very well.
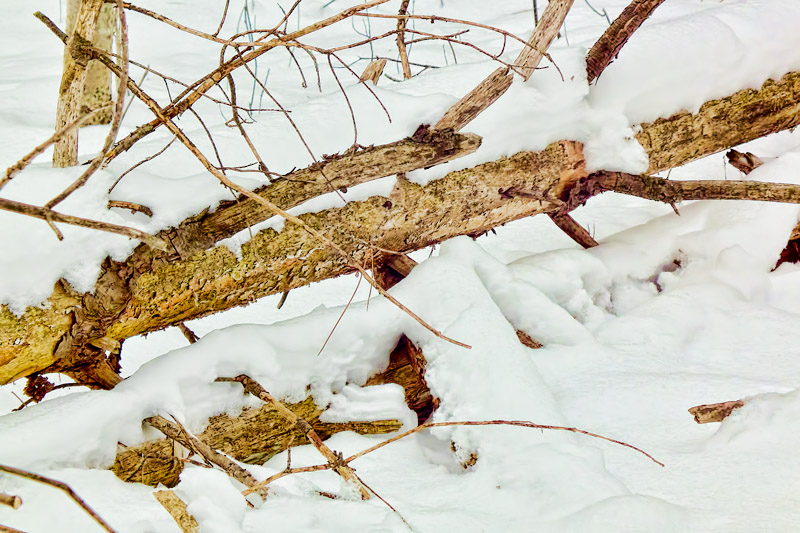
The difference in the subtlety of tones available in RAW from what jpeg was doing is rather breathtaking … I think I will try to shoot RAW all the time now, despite the required patience.
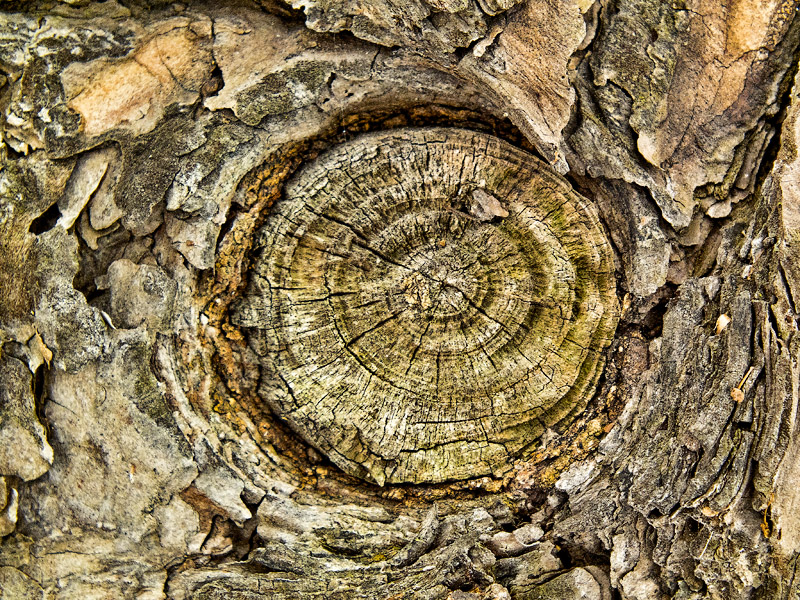
Knotty problem … very nice detail preserved …
Still stumped … love the bokeh …
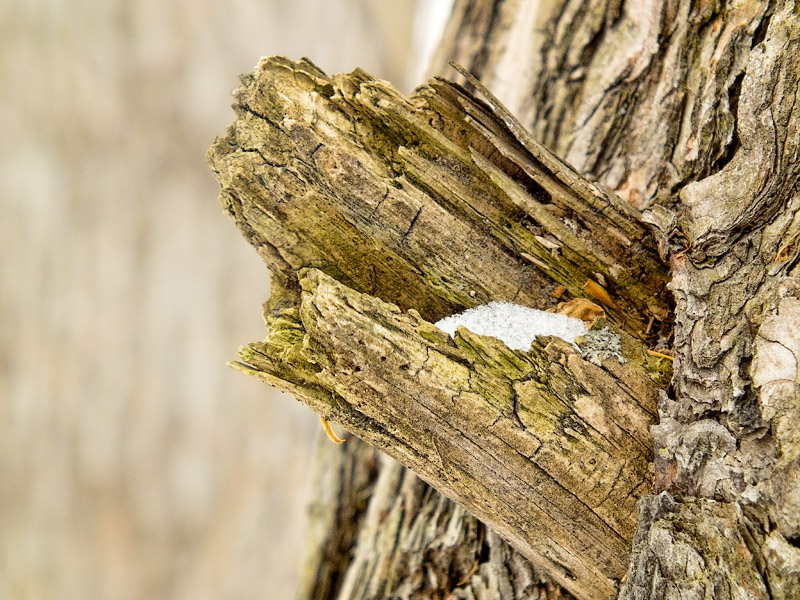
The only thing keeping me from saying that the above could have been shot from a dSLR is the amount of fine-grained noise embedded in the file. But such is the price of the tiny sensor.
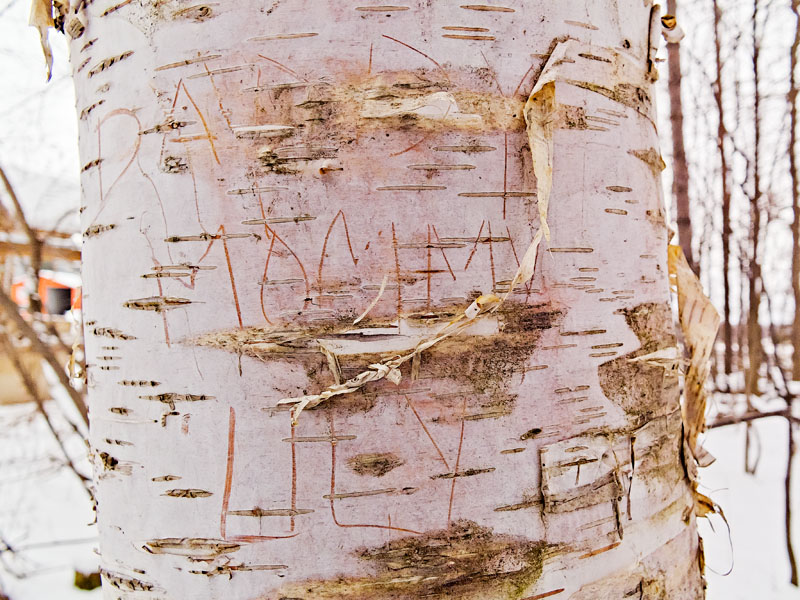
On the way out, I notice some writing on the Birch tree I’ve shot a few times. Looks like Lily loves mommy and daddy so much that she is willing to deface a tree permanently to express it. How sweet …
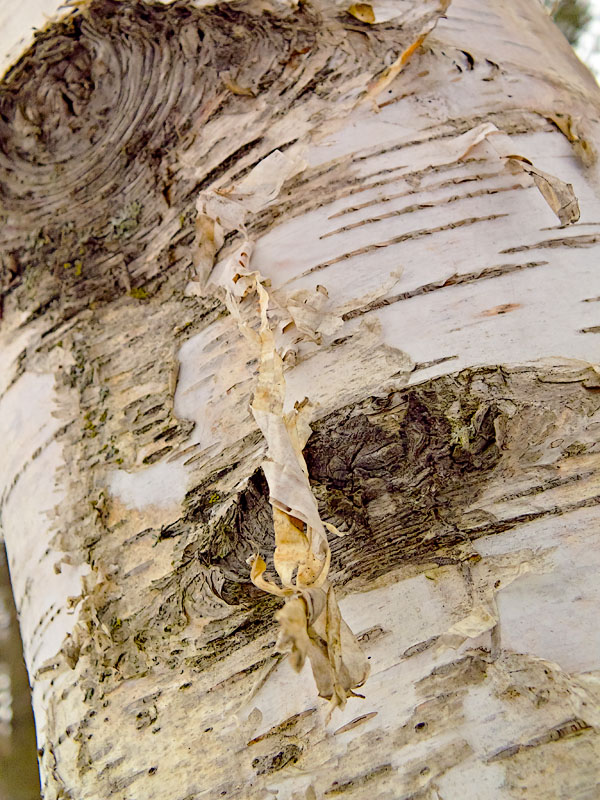
The tree next to it has retained its dignity, if not all of its bark.
Ok … that’s all I have for images. Nothing earth-shattering here, although I am partial to a couple of them. The fallen log and the first knot both would be candidates to fill out the 10 entries for Cams Across Canada … but I hope I get better images than these in the next 6 days.
One final thought … I ran a quickie experiment regarding the notion that one can get better images by setting sharpness to hard. Well, on its own, sharpness is not enough. It does not cure smearing … but it does hammer the living heck out of the image. Snow looks crystallized … branches get bright halos. It’s brutal … this is not pixel bruising, it is pixel burning at the stake …
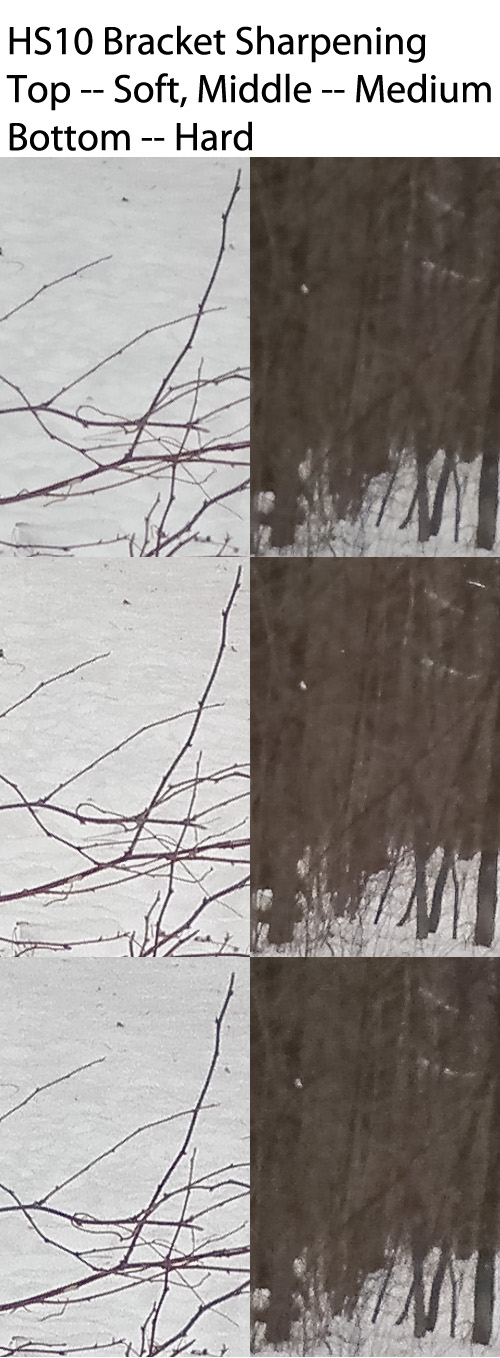
Medium retains basically the same tonal characteristics but adds the nasty halos. The snow crystalizes as well. Hard drops the highlight tones for some reason (snow is darker) and adds all kinds of extra sharpening artifacts in the snow. This gives an image a really “digital” look … especially if there are a lot of edges … tall grasses, lots of bush or trees …
Anyway … the experiment was an obvious failure even on the little LCD, so I immediately went back to soft sharpening. In jpeg it looks far more realistic and allows one to bring sharpness up using all the subtle tricks mentioned in Bruce Fraser’s seminal work Real World Image Sharpening.
So … end of Day 1. The HS10 remains a fun camera, just like I said when I reviewed it last spring. It still shoots images that start fairly soft … but the controls work well enough and RAW files are decently clean.
Just like the punch line from the old “What do you call 2 lawyers at the bottom of a well?” joke … this was a good start.

No comments:
Post a Comment