The answer is unequivocally no …
In some situations, where the light is uniform, an over exposure might be saved. On others, where the range of light is very dramatic, highlights might not be saved. Over exposure is usually a mistake (unless you intended the effect.)
Following are three shots. One indoor shot and two outdoor shots.
The indoor shot was at the settings I favour – RAW, ISO00, DR100 – while the outdoor shots are at settings I do not favour, but which worked fine because of the lack of real shadows in the image. Very uniform light allows you to use those settings, although I will explain in a minute why I managed an overexposure in easy light.
The indoor exposure was of my son sitting on a black leather couch with his computer. He is the tolerant one, the other would have blocked his faced with his hand or flipped me off. :-)
I had a few choices and I decided to go with fill flash but also chose to go with 0EV. This was fatal to the scene outside the window. As shown in the following screens shots of ACR with the highlight alert on (press ALT and the exposure slider), first at 0EV and second at –4EV. Lots of blown red channel and blue channel, and the white means totally blown out RGB.


This leaves me with three choices:
- chuck it
- process it for the subject and ignore the blown sections
- process it high key to make the blown sections look like they belong
So, we’ll view these attempts in order. First, the image when I chuck it.
That was not very interesting, so let’s move to the image processed for the subject. Here, I cloned out a minor flash shadow and did basically nothing else to it after ACR. I had set auto ISO since it was very dark in the room (doesn’t look like it, I know) … the exposure was ISO1250, f/2, 1/30s … the exposure was chosen by the X10 and since it likes 1/30s it chose ISO 1250 …

Well, I have no problem with a memory like that. I would certainly counsel someone who posted that shot to also try –2 ev with +1ev of flash to see how that looked. But this is ok …
Now, what about making that window just disappear … here, the processing is more extensive. Starting from the same edited version (without the flash shadow I mean), I run my threshold action to increase contrast, which darkens the mids and lows and lightens the highs. Then I run my glow action, which adds a blurred screen layer, which has the effect of lightening the image and adding an ethereal glow to everything. I did this a couple of times each. I also added a little dodging and burning to clean up remnants of the window and to bring back my son’s hands a bit …

I’m ok with both versions. This one takes speculation about the background out of the picture. It is obviously meant to isolate the couch and my son, but does leave open why?
Of course, everyone has different taste. These are just ideas.
So switching to the outdoor shots.
They were shot at what I thought were my fave settings. RAW, ISO100, DR400. Brain fart. When switching from jpeg to RAW, DR400 raises ISO to 400. Way too easy to forget. I was on A-Prio and thus took the aperture out of the picture. I was poking my head out the patio door and there was no doubt glare on the LCD. I have no sensitivity to tiny letters turning red, so I missed the exposure warning. And of course f/2 and 400 ISO slams into the 1/1000s limit and exposure is too high.

The white areas are totally blown. The rest in the channels represented by their colors. blue, red, green, blue-red (purple/magenta), blue-green, red-green (brown) …
So … what a mess. Had this been at DR100, I am screwed as I was with the indoor shot. But the precise reason I missed this was that I was on DR400, and that has some kind of Fuji trick involved in RAW, even L size RAW.
So here is the result when I dial it back appropriately … this is exactly what I loaded into CS5 … note the image size at 4000x3000 …

Quite adequate latitude for sure. Here is a 100% crop from the shadow area … I added a pretty heavy capture sharpen … remember that this is shot wide open and this camera probably behaves like the X100 … lots of pretty bokeh wide open but sharpness and contrast take an obvious dip.

Still, pretty good. In this kind of soft light, raising ISO is acceptable. I think I’ll amend my main article to recommend DR100 only when there are a lot of shadows that will be opened. The grain gets pretty bad. But when the shadows are secondary, the extra protection of the DR400 can be useful.
However … I am still staunchly in favor of competent metering. And this was not that. I over exposed because I did not notice the warning. I have since changed my display mode to show me blinking lights for blown highlights, and I review that when it matters. I will get much better at shooting this specific camera over the next few weeks and I encourage others to choose between the two methods based on your preferences.
So, the final product. Both shots I took and processed about the same.
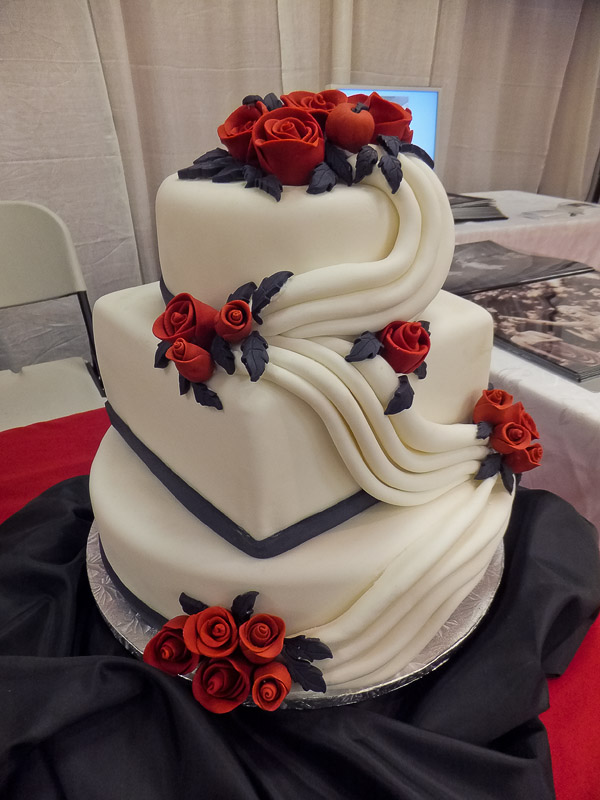
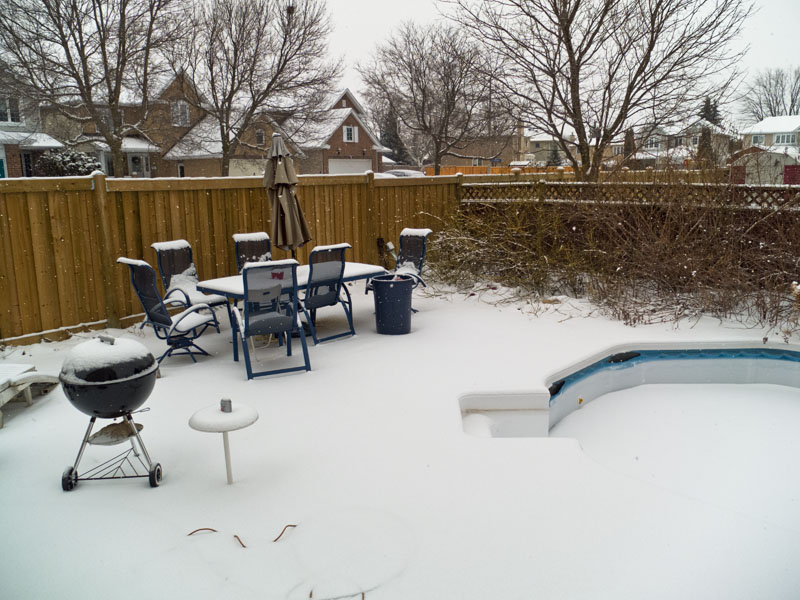
One more point to make … snow looks gorgeous to me when it is freshly fallen and can be made to look like fondant icing.
Here is an example of the 3-dimensionality I look for in snow images. And wedding cake images of course. This is the F550EXR at ISO 500 …
It’s the subtle curvy surfaces and the play of shadows that emphasizes the 3 dimensions. And since snow falls exactly that way, clinging to and curving around edges and surfaces, you can get a similar effect. Even on flat ground, you can emphasize shadows cast under tables and bushes.
And again … without further ado …
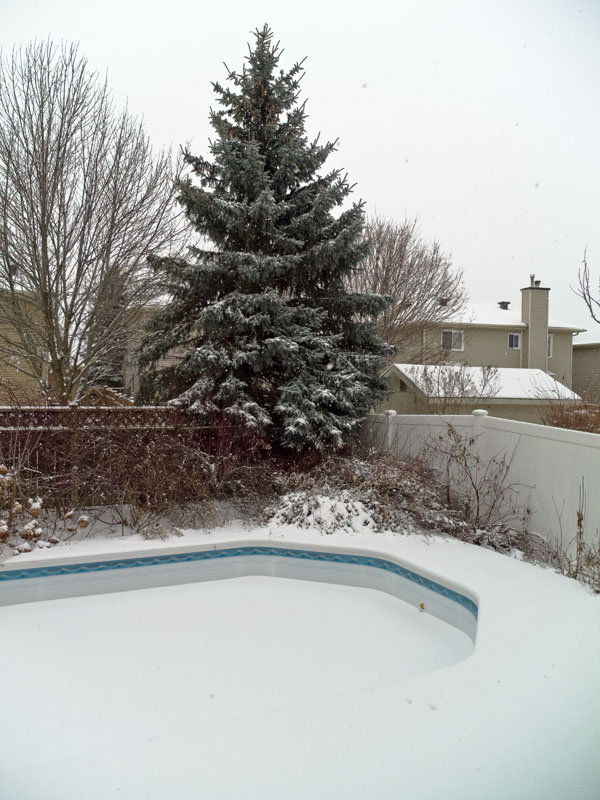
Note the impressive vignetting of the lens. Very common wide open, so don’t fret. But you will have to address it if you don’t like it.
Note: If your monitor fails to show the 3D effect and vignetting, your white point is too low. Meaning that you are losing quite a bit of the top stop, it is all showing as one color. This is very common on TN panels … I’ve calibrated mine and it still shows these much more poorly than my calibrated IPS panel. Of course, I edit and examine images on the IPS panel and use the TN panel for other stuff (Bridge, etc.)
Conclusions
- You will make mistakes. If you don’t want to be a slave to the exposure then shoot the settings for JPEG exactly as I recommend them in the master EXR document. You can shoot RAW, but you should then go against my current recommendations (soon to be updated again) and shoot DR400 and auto ISO.
- However, if you want to eliminate these brain farts, pay attention to the exposure warning signals and dial in compensation. You can then shoot ISO100 in RAW, which forces DR100. Shadows great, less protection (with apologies to Miller Lite.)
- The camera is soft wide open so far as I can tell. Sharpening helps.
- Vignetting is high wide open. This is normal.
- Excellent highlight protection at DR400 in RAW. Poor at DR100 at any ISO. You might as well allow DR to track ISO. If you set DR400 and Auto ISO, you will never see 200 or 100. I don’t like that. I want DR100 at 100, DR200 at 200 and DR400 at all other ISOs. Perhaps it is buried in there somewhere. If anyone has found such a setting, let me know.
- Some highlights are pretty much impossible to save. Either skip the shot or process around it. Note: If you are posing people, then there is l ittle excuse for bad backgrounds or lighting. But candids are a different story.
Your choices, as always, will be driven by your experience, desire for more or less responsibility on every shot, and your preference or not for processing.