I got into the whole Harvest Moon thing last night, and a lucky thing since I was led astray as to the actual date it would happen. Alex corrected the day yesterday about 90m before the harvest moon, so I set up the four test subjects on my rig and took it outside …
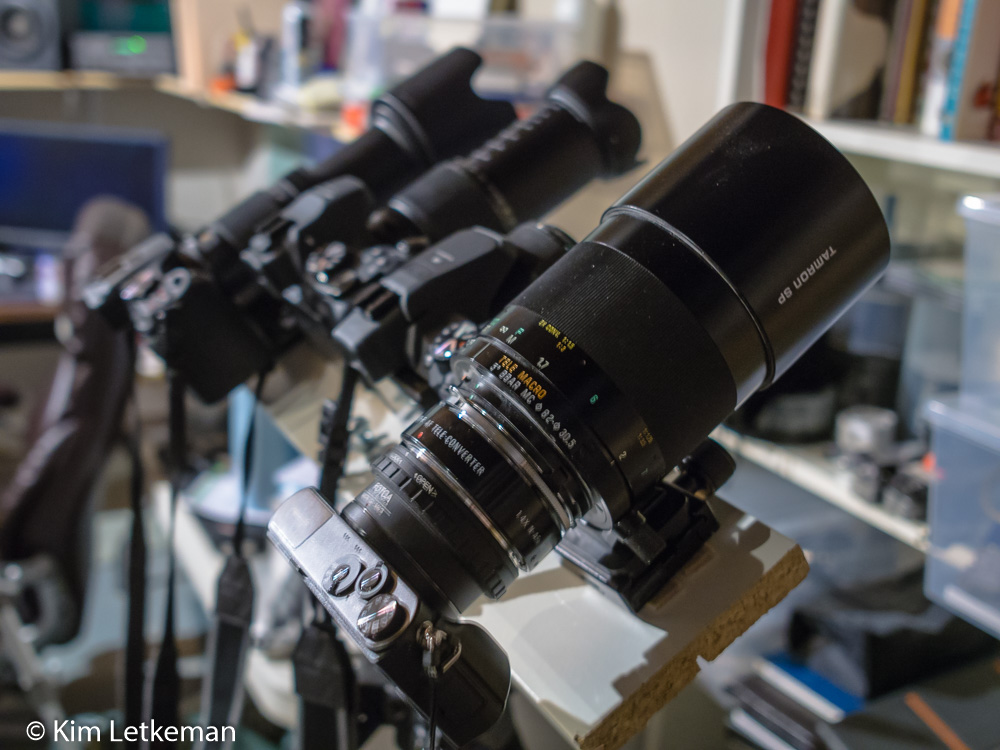
Here’s how this looked outside:


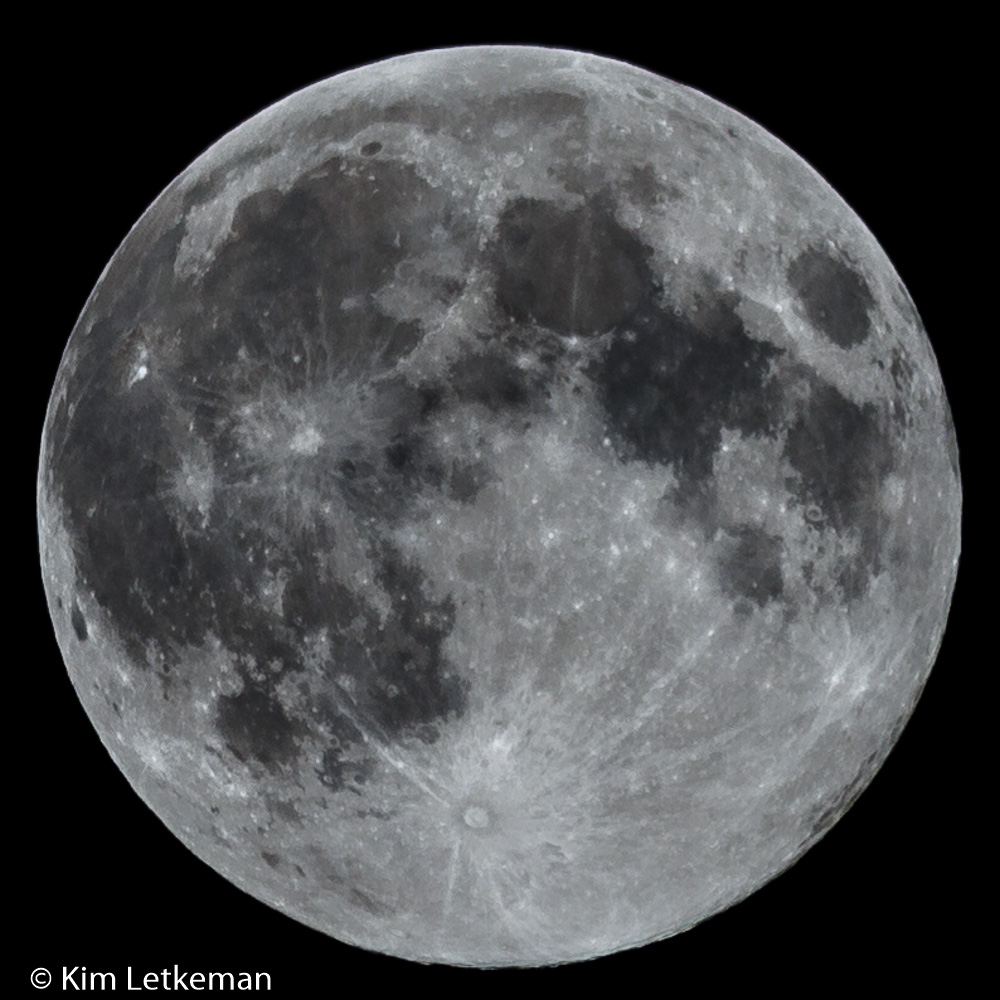
This time, I think the HS50EXR acquit itself rather well …
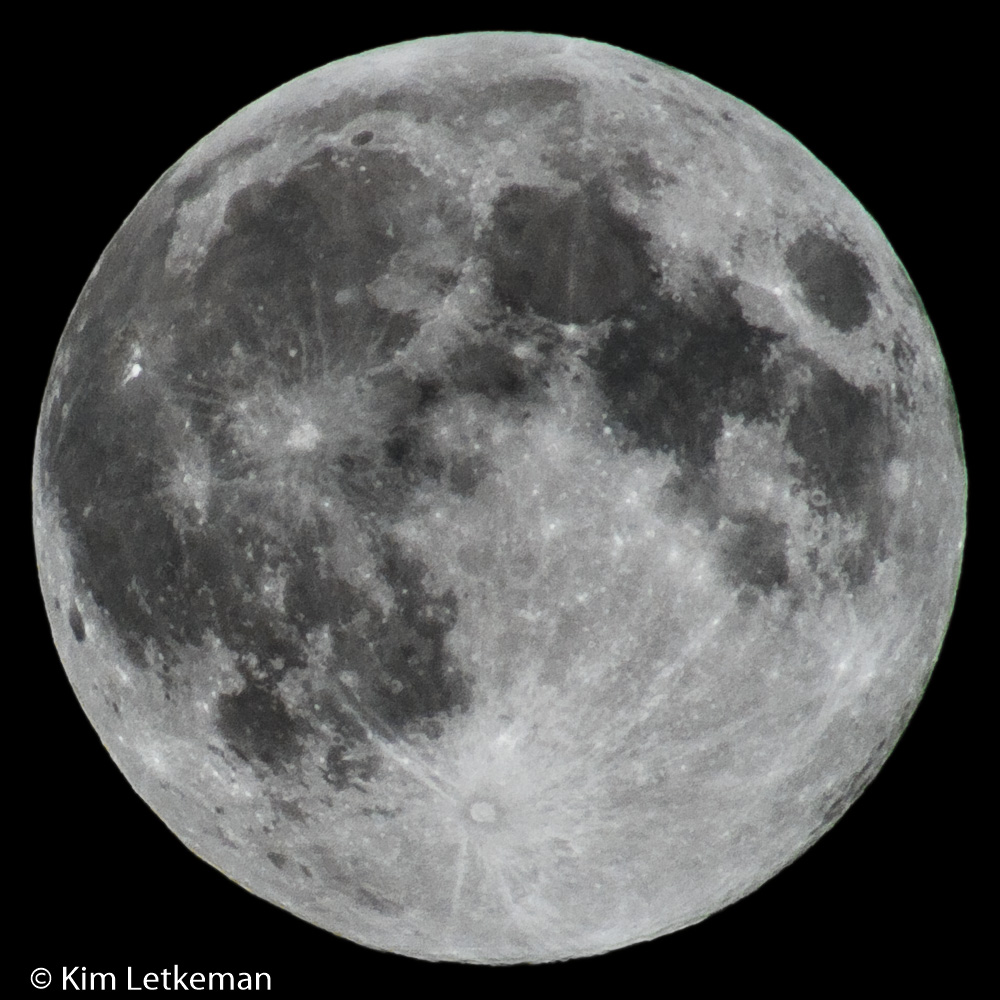
If you click through, you will see that the noise is well behaved, as I definitely E’dTTR
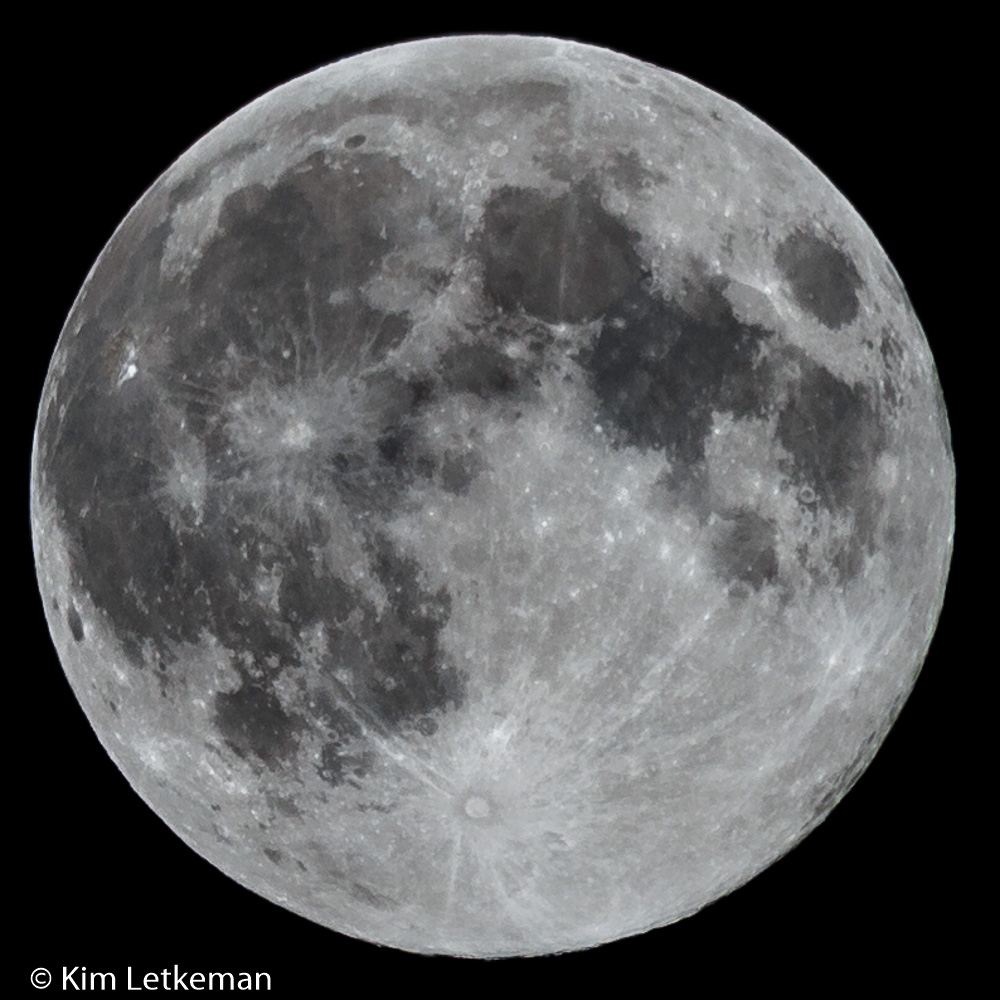
The S1 does not seem to have the lead it had last time, but this might just be my processing. I may take another shot as there is more blue in deep shadow than there should be. But it is still a pretty moon.

Here’s something different … I ended up with four almost indistinguishable images from the HS50EXR. The seeing was excellent for this camera.
Note: I shot fewer S1 images owing to its awful tendency to reset the timer after every image. The persistent timer issue shows that the S1 is definitely of their lowest consumer line. All the others have had the persistent timer added. Another great reason to put this sensor into an HS60?
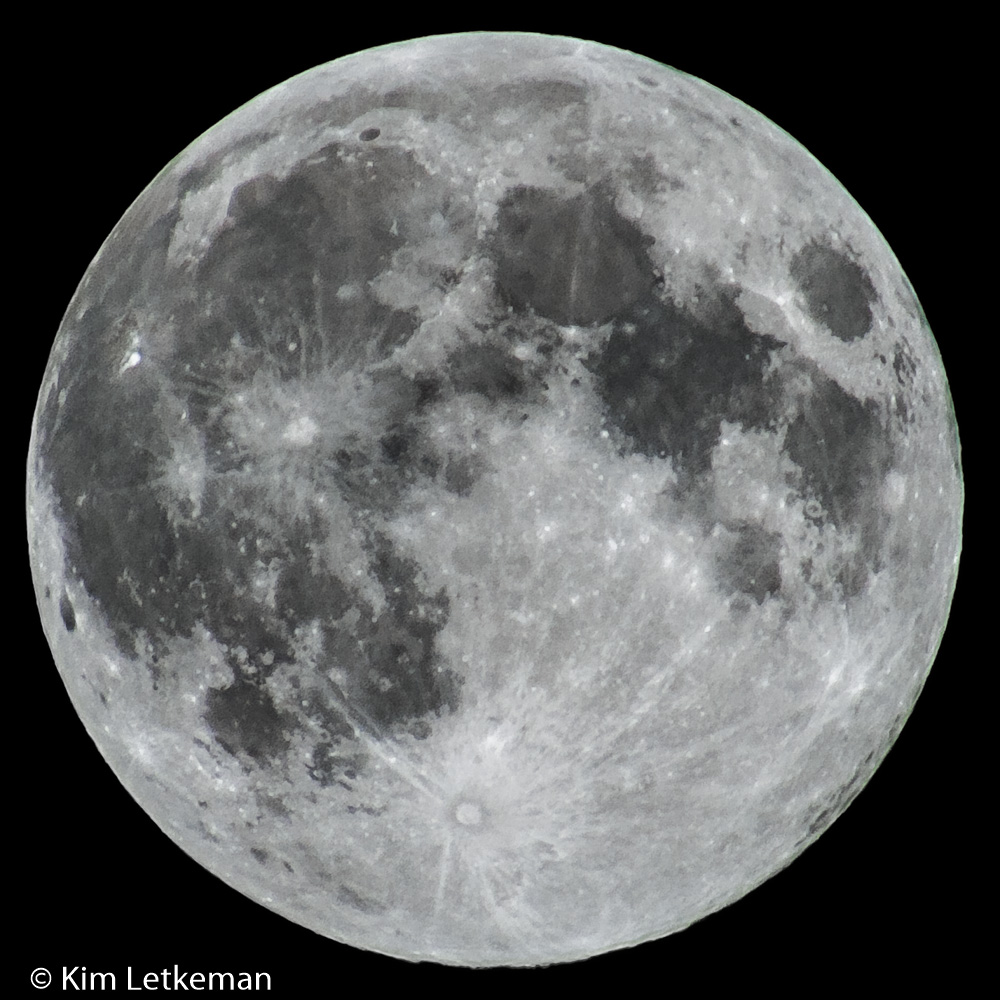
So I thought I’d try stacking once again. Stacking moon shots is a bit difficult in that seeing changes slightly from shot to shot, blurring part of one image and a different part of another. This is clearly visible as I look at each image in loupe view in Lightroom. But I move the cropped images to photoshop anyway and do my best to align them with one another. It turns out that one of the images is slightly rotated, so I discard it.
I remember twisting the rig a bit late in the shoot. Note to self: don’t do that!
To align the images, you can switch off visibility on all but the bottom layer and then move up the stack image by image. For each layer above the bottom, make the layer visible at reduced opacity (say, 50%.) Slide this layer around using the mouse and then the keyboard for fine movements and do your best to align the major features. I move the image up and down and left and right until I am sure that the image is as well aligned as possible. Remember that seeing changes make certain that the moon never aligns to the pixel. You need to judge this yourself based mainly on feature contrast, although small bright objects might be the best area to align.
Once all are aligned, create a new layer in black and put it at the bottom of the stack. Then reduce the opacity of the bottom layer to match that of the other layers. I found in this case that 33% times three images produced a slightly dark image, so I settled on 40% opacity for all three layers and that worked very well.
And without further ado …
And now for the large sensors in the contest …
The G6 is hampered by the lack of range, topping out at 600mm EFL, only half the FL available to the S1. But the 100-300 is a very sharp lens (mine, anyway) and so I think it did just fine, even cropped and normalized to the same size. Here are a pair of images that came out equally sharp, again a rarity with the moon.
A different interpretation on the second one, but both look very good for such severe crops.
And finally, the GM1, which has the Tamron 500mm mirror lens with Nikon adaptall mount and the Tamron 1.4x teleconverter for Nikon, followed by a Nikon G adapter for m4/3 on it … a really long and involved optical stack. This is manually focused and it should be obvious that it is 1400mm EFL but has a high likelihood of being less than tack sharp. And it does not disappoint … it is definitely less than tack sharp :-)
But … that’s a lot of magnification, and the final image is still very nice at 1000px.

And so concludes the saga of the trisupermoon for 2014. But not this review, as there is more to come ….